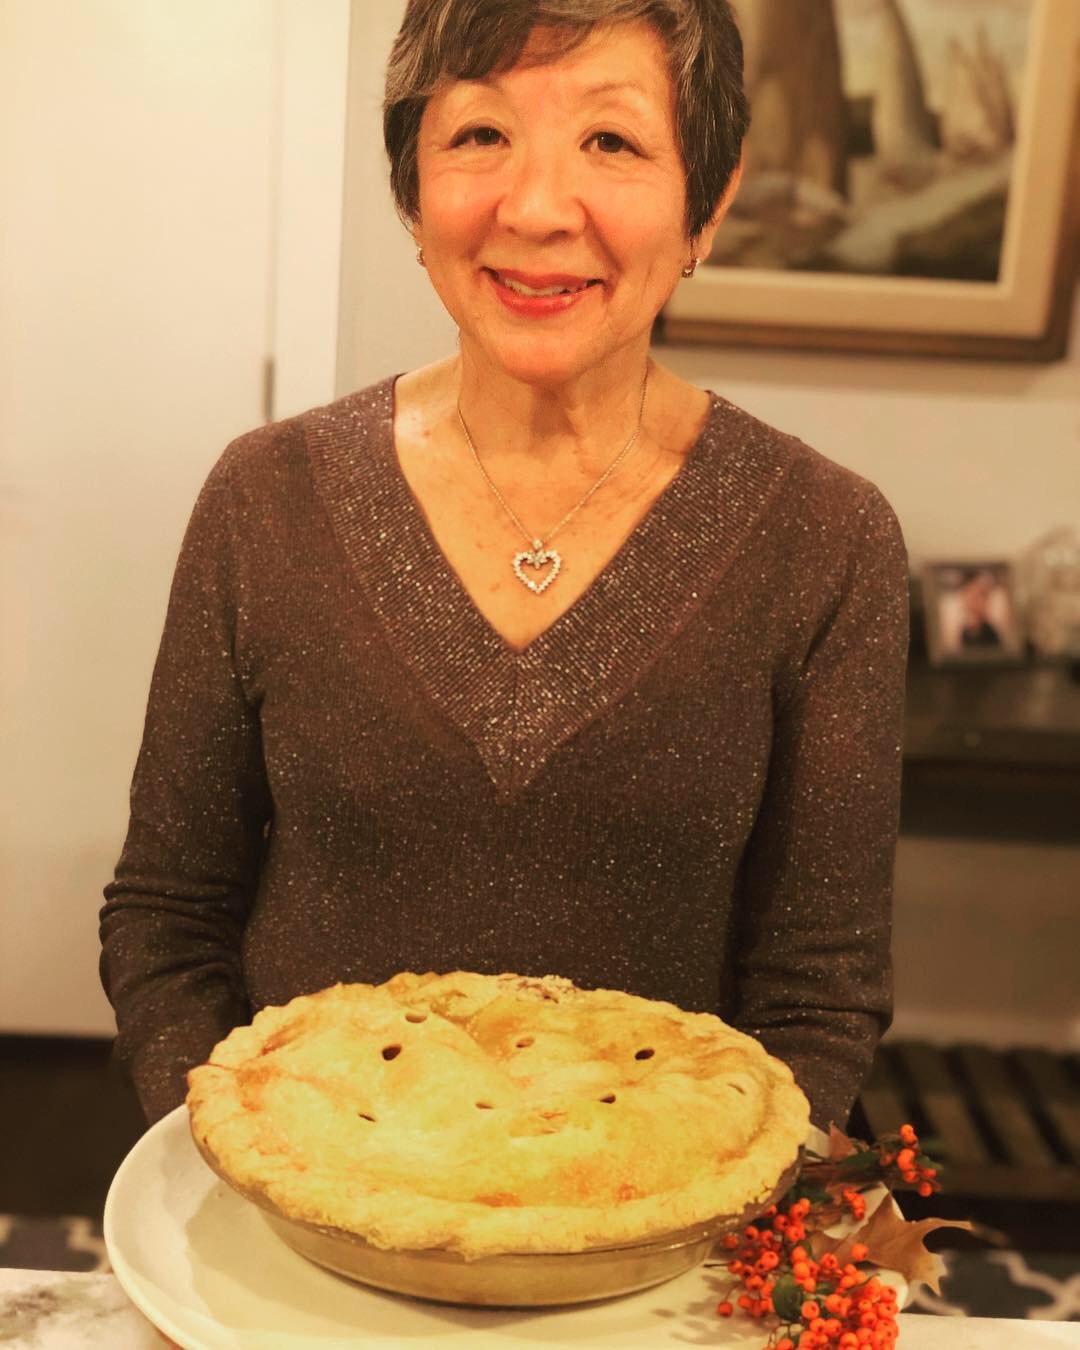
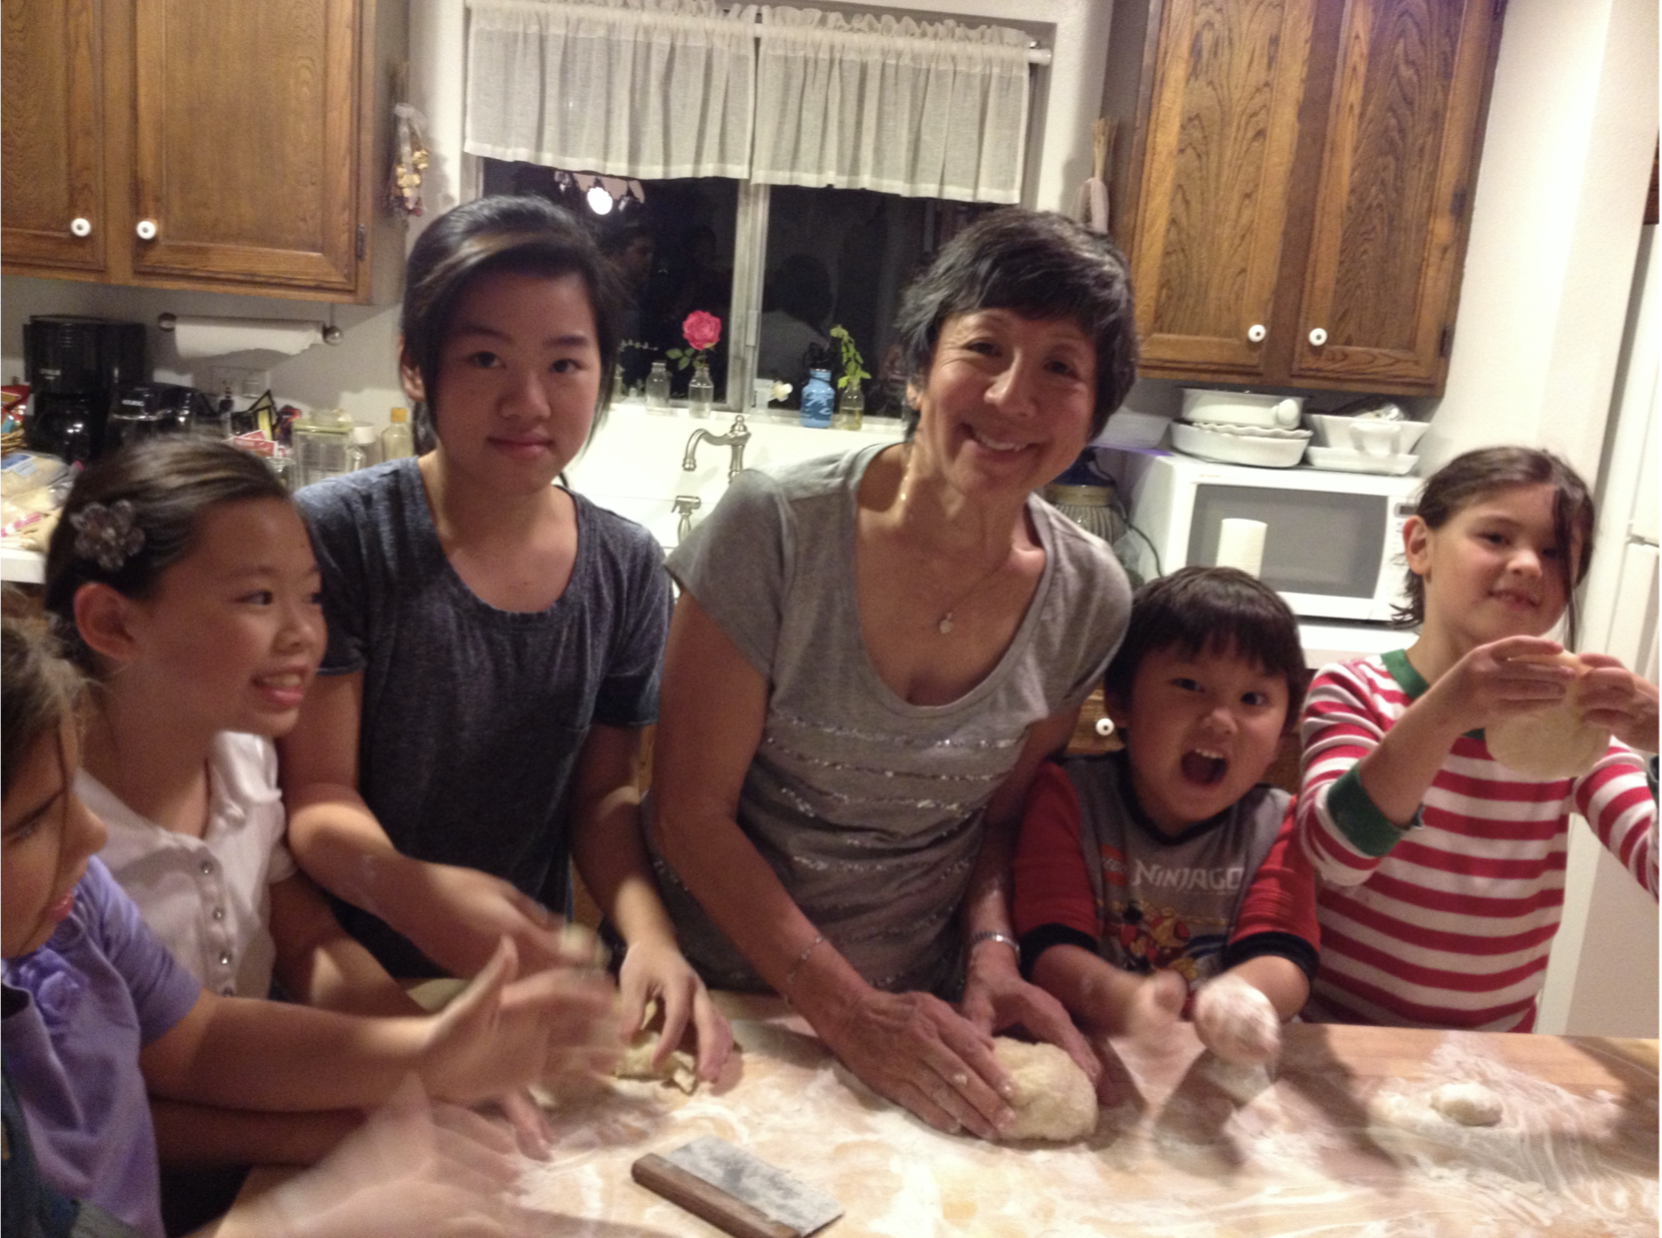
My mom and her best friend Tucky used to make these wontons for our church’s food festival, prepping thousands of them ahead of time and freezing between layers of wax paper. I remember being in the church banquet hall filled with tables and it seemed like the entire congregation was there to help. I’d sit with my brother, sister and cousins happily making wontons for hours. When wontons are defrosted, they can become soggy, so my mom and Tucky had a trick for their filling: instead of using the more traditional regular onions in the filling (which weep when thawed), they would use scallions. This recipe freezes really well, so I highly recommend making the full batch of 100 wontons even if you don’t plan on eating them right away. Also, the great part about this recipe is that these wontons can be fried and served with a dipping sauce or simmered in a hot pot - it just comes down to how you assemble them. Fried wontons are folded to look like a boat with two sails and simmered wontons look like a cinched up purse. The boat shape limits the filling to less meat so the filling is able to cook through during the brief frying time, whereas the cinched up purse technique can hold more filling because the wontons can simmer for a longer time. If you want to try these in a soup, check out my Pork Wontons with Macanese Broth where the wontons are cooked in a slightly sweet, aromatic pork bone broth until perfectly tender.
MAKE AHEAD These wontons can be made in advance and frozen for 1 month. You could also refrigerate them overnight and make them the next day but not for longer.
Mom's Crispy Pork Wontons

Ingredients
- 1⁄2 cup low-sodium chicken broth (store-bought is fine to use here)
- 2 tbsp cornstarch
- 3⁄4 cup finely chopped pineapple; or a 6 ounce can crushed pineapple, drained
- 1⁄2 cup sugar
- 1⁄2 cup ketchup
- 1⁄4 cup rice vinegar
- 8 ounces ground pork
- 6–8 shrimp, about 8 ounces, shelled and deveined
- 1 large egg
- 1⁄2 cup water chestnuts,drained
- 3 scallions, white and light green parts only
- 1 piece fresh ginger, about 11⁄2 inches, peeled
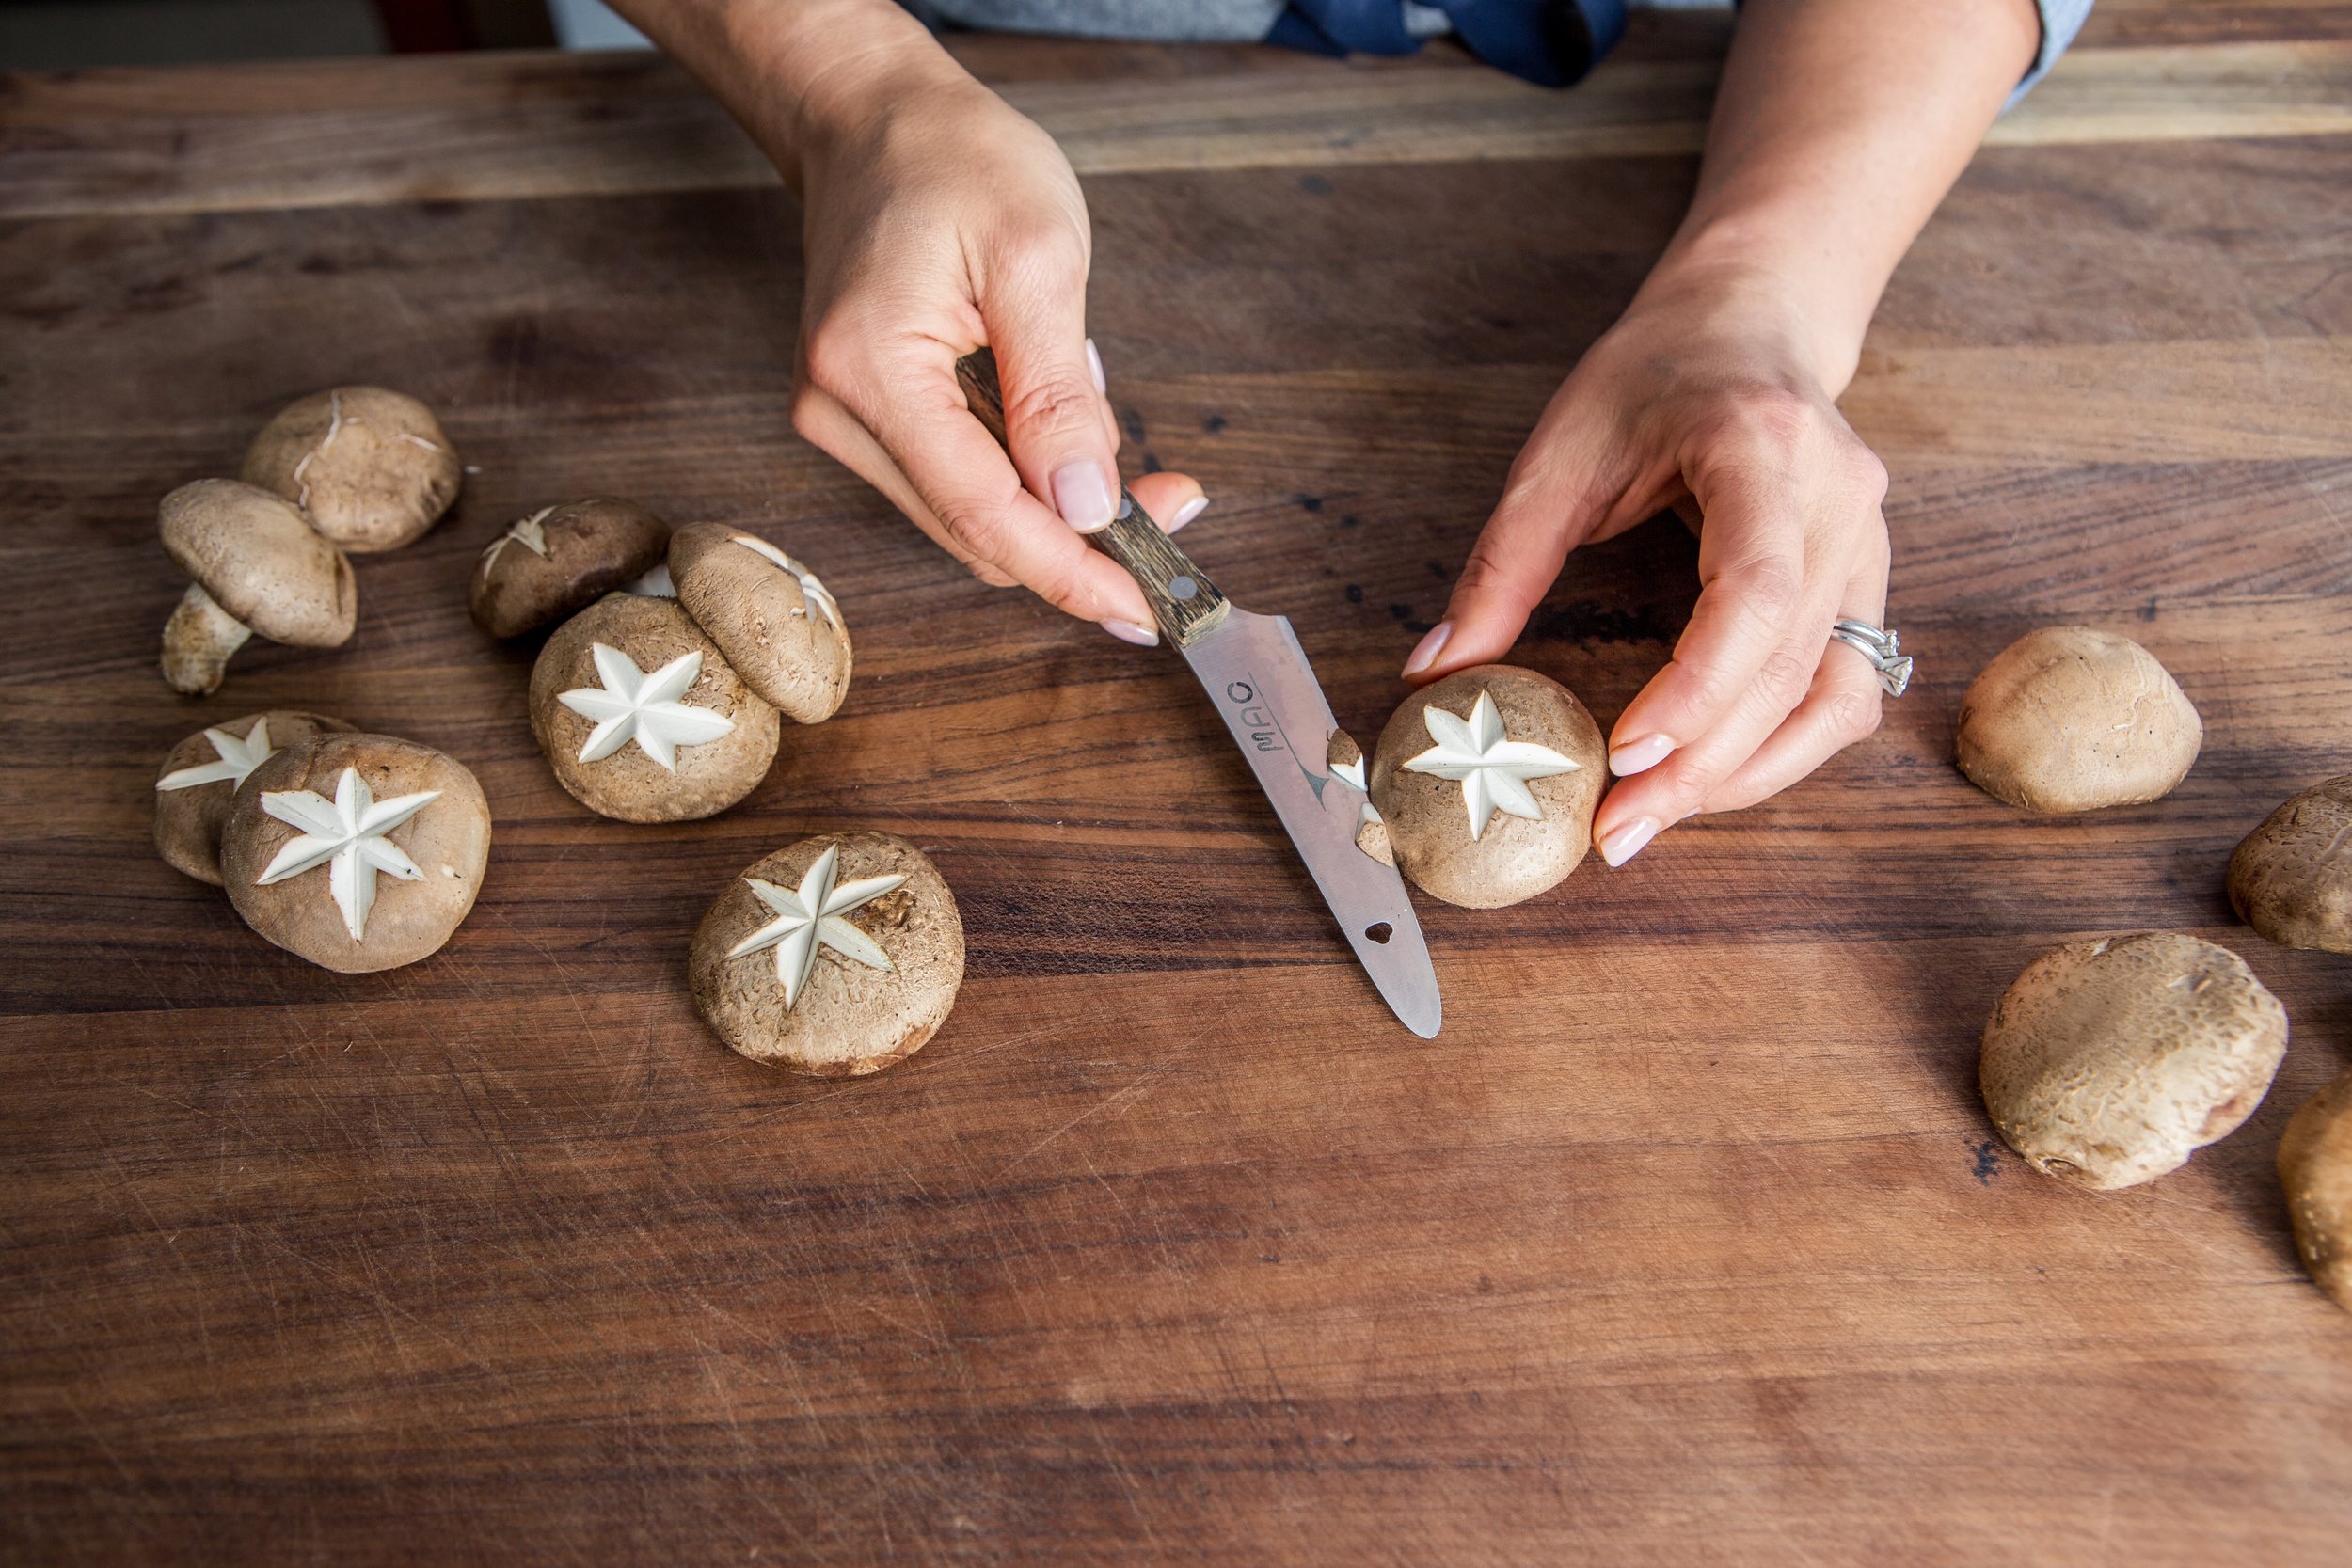
- 1 large fresh shiitake mushroom, stemmed
- 1 small garlic clove
- 1 tbsp fresh parsley
- 1 tsp kosher salt
- 1⁄2 tsp freshly ground black pepper
- 1 package wonton wrappers, about 12 ounces, or round gyoza or potsticker wrappers
- Vegetable oil, for frying
Instructions
- Make the sweet-and-sour sauce. In a small saucepan, whisk together the chicken broth and cornstarch to make a slurry. Add the remaining sauce ingredients and whisk until smooth.
- Place the saucepan over medium-low heat and bring the sauce to a simmer. Cook, whisking, until the sugar dissolves and the sauce is slightly thickened, about 10 minutes.
- Make the wontons. In a food processor, combine the pork, shrimp, egg, water chestnuts, scallions, ginger, mushroom, garlic, parsley, salt and pepper. Pulse until well combined and a meatball-like texture is formed. If you do not have a food processor, finely chop the ingredients and mix to combine.
- Assemble the wontons. Fill a small bowl with water and line a large airtight container with wax or parchment paper.
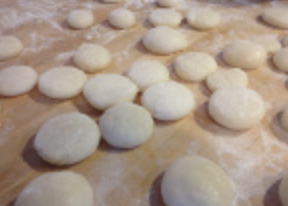
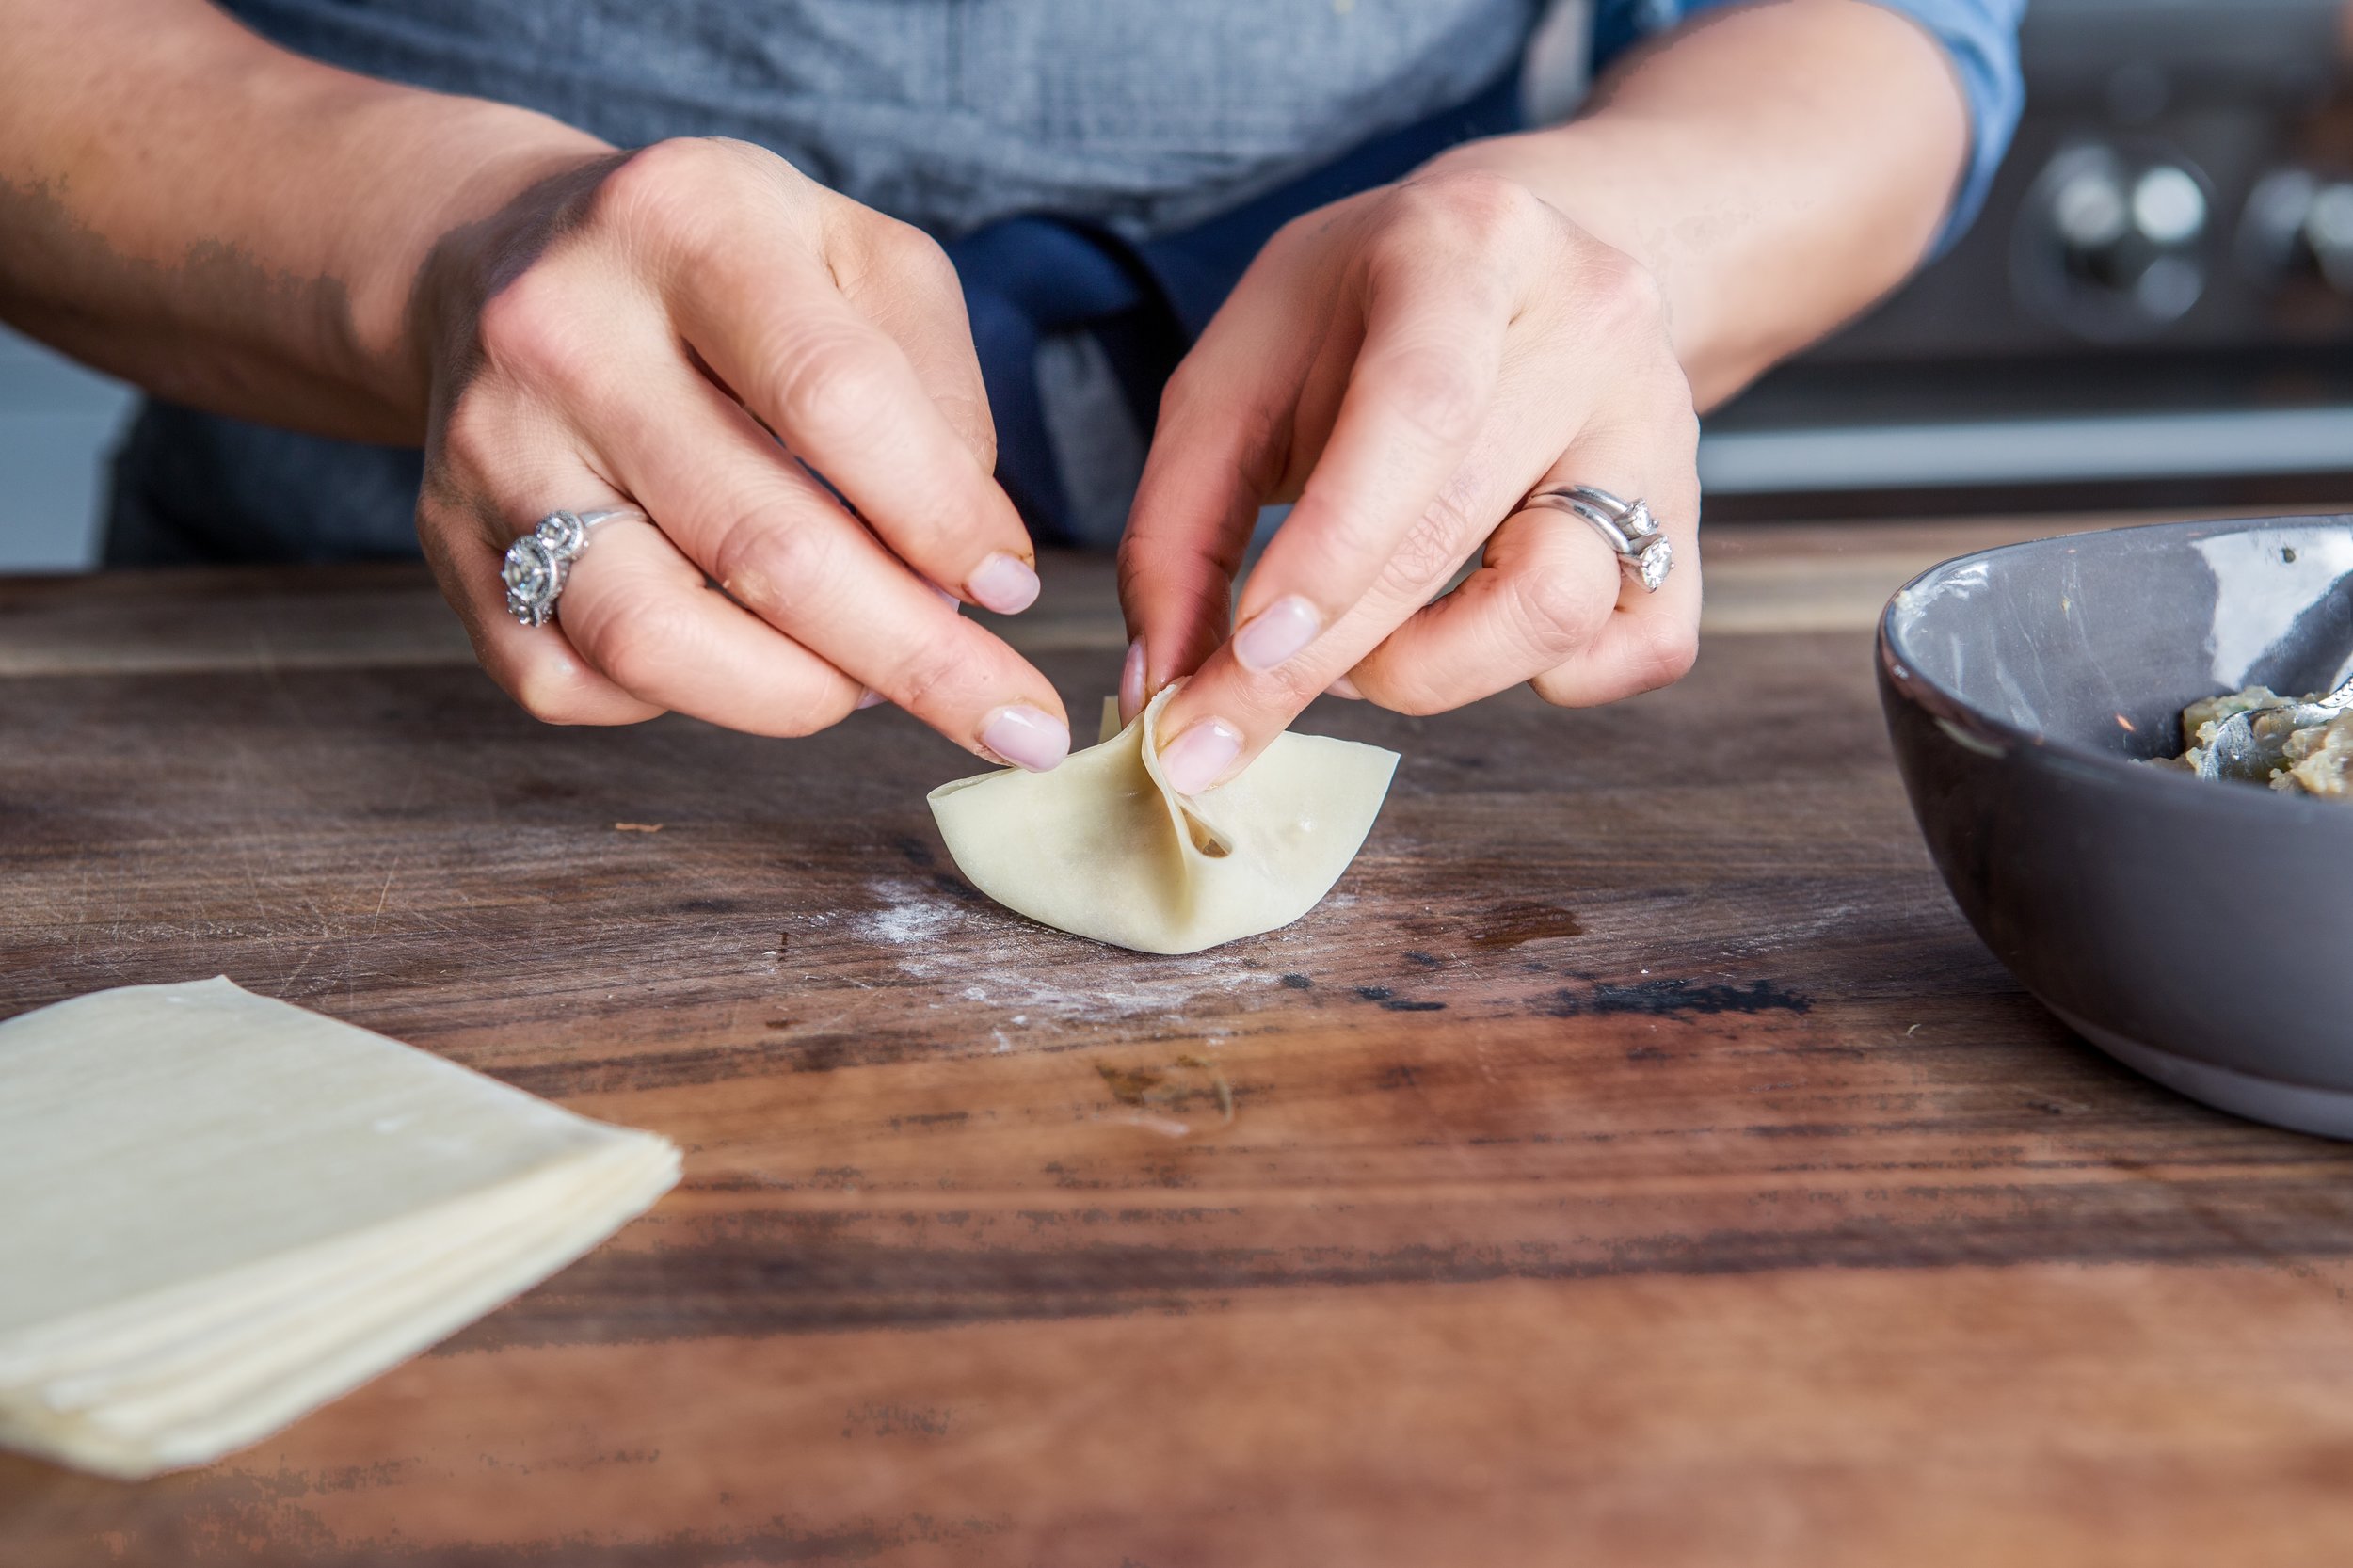
- Working with 1 wonton wrapper at a time, place a rounded teaspoon of filling in the center of the wrapper. Be careful not to overstuff the wonton wrappers or they will be difficult to seal.
- Wet your finger in the bowl of water and moisten the wrapper around the filling. Fold the bottom half of the wrapper up and away from you so the corners of the square are offset. Gently press the wonton wrapper together around the filling to seal. (If you are making these wontons for a hot pot, see Hot Tip.)
- Transfer to the airtight container and repeat with the remaining filling and wonton wrappers, separating each layer of prepared wontons with wax or parchment paper.
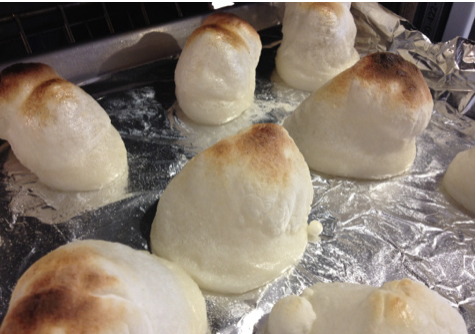
- Fill a large saucepan or a deep-fryer with 11⁄2 inches (3.5 cm) of vegetable oil and heat over medium-high heat to 350°F (175°C). Line a rimmed baking sheet with paper towels. When the oil is hot, test the temperature by adding a small piece of wonton wrapper to the oil — it should fry up quickly when hot.
- Working in small batches, carefully add the wontons to the hot oil. They should not be touching. Fry for about 5 minutes, until puffed, crispy and lightly browned. Using a slotted spoon, transfer the fried wontons to the paper towel–lined baking sheet to drain. Repeat with the remaining wontons.
- Serve while hot with the sweet-and-sour sauce for dipping.
- These wontons can be made ahead and frozen for up to 1 month. You can also refrigerate them overnight and fry them the next day, but don’t refrigerate them for longer than that.
- If preparing these wontons to use in a hot pot, place 1 rounded tablespoon of filling in the center of a wonton square.
- Moisten the outside of the square with water and pinch up the opposite edges to make a square purse with sealed edges.
- Add wontons to boiling broth and reduce the heat to low, cover the pot and simmer for 10 minutes.
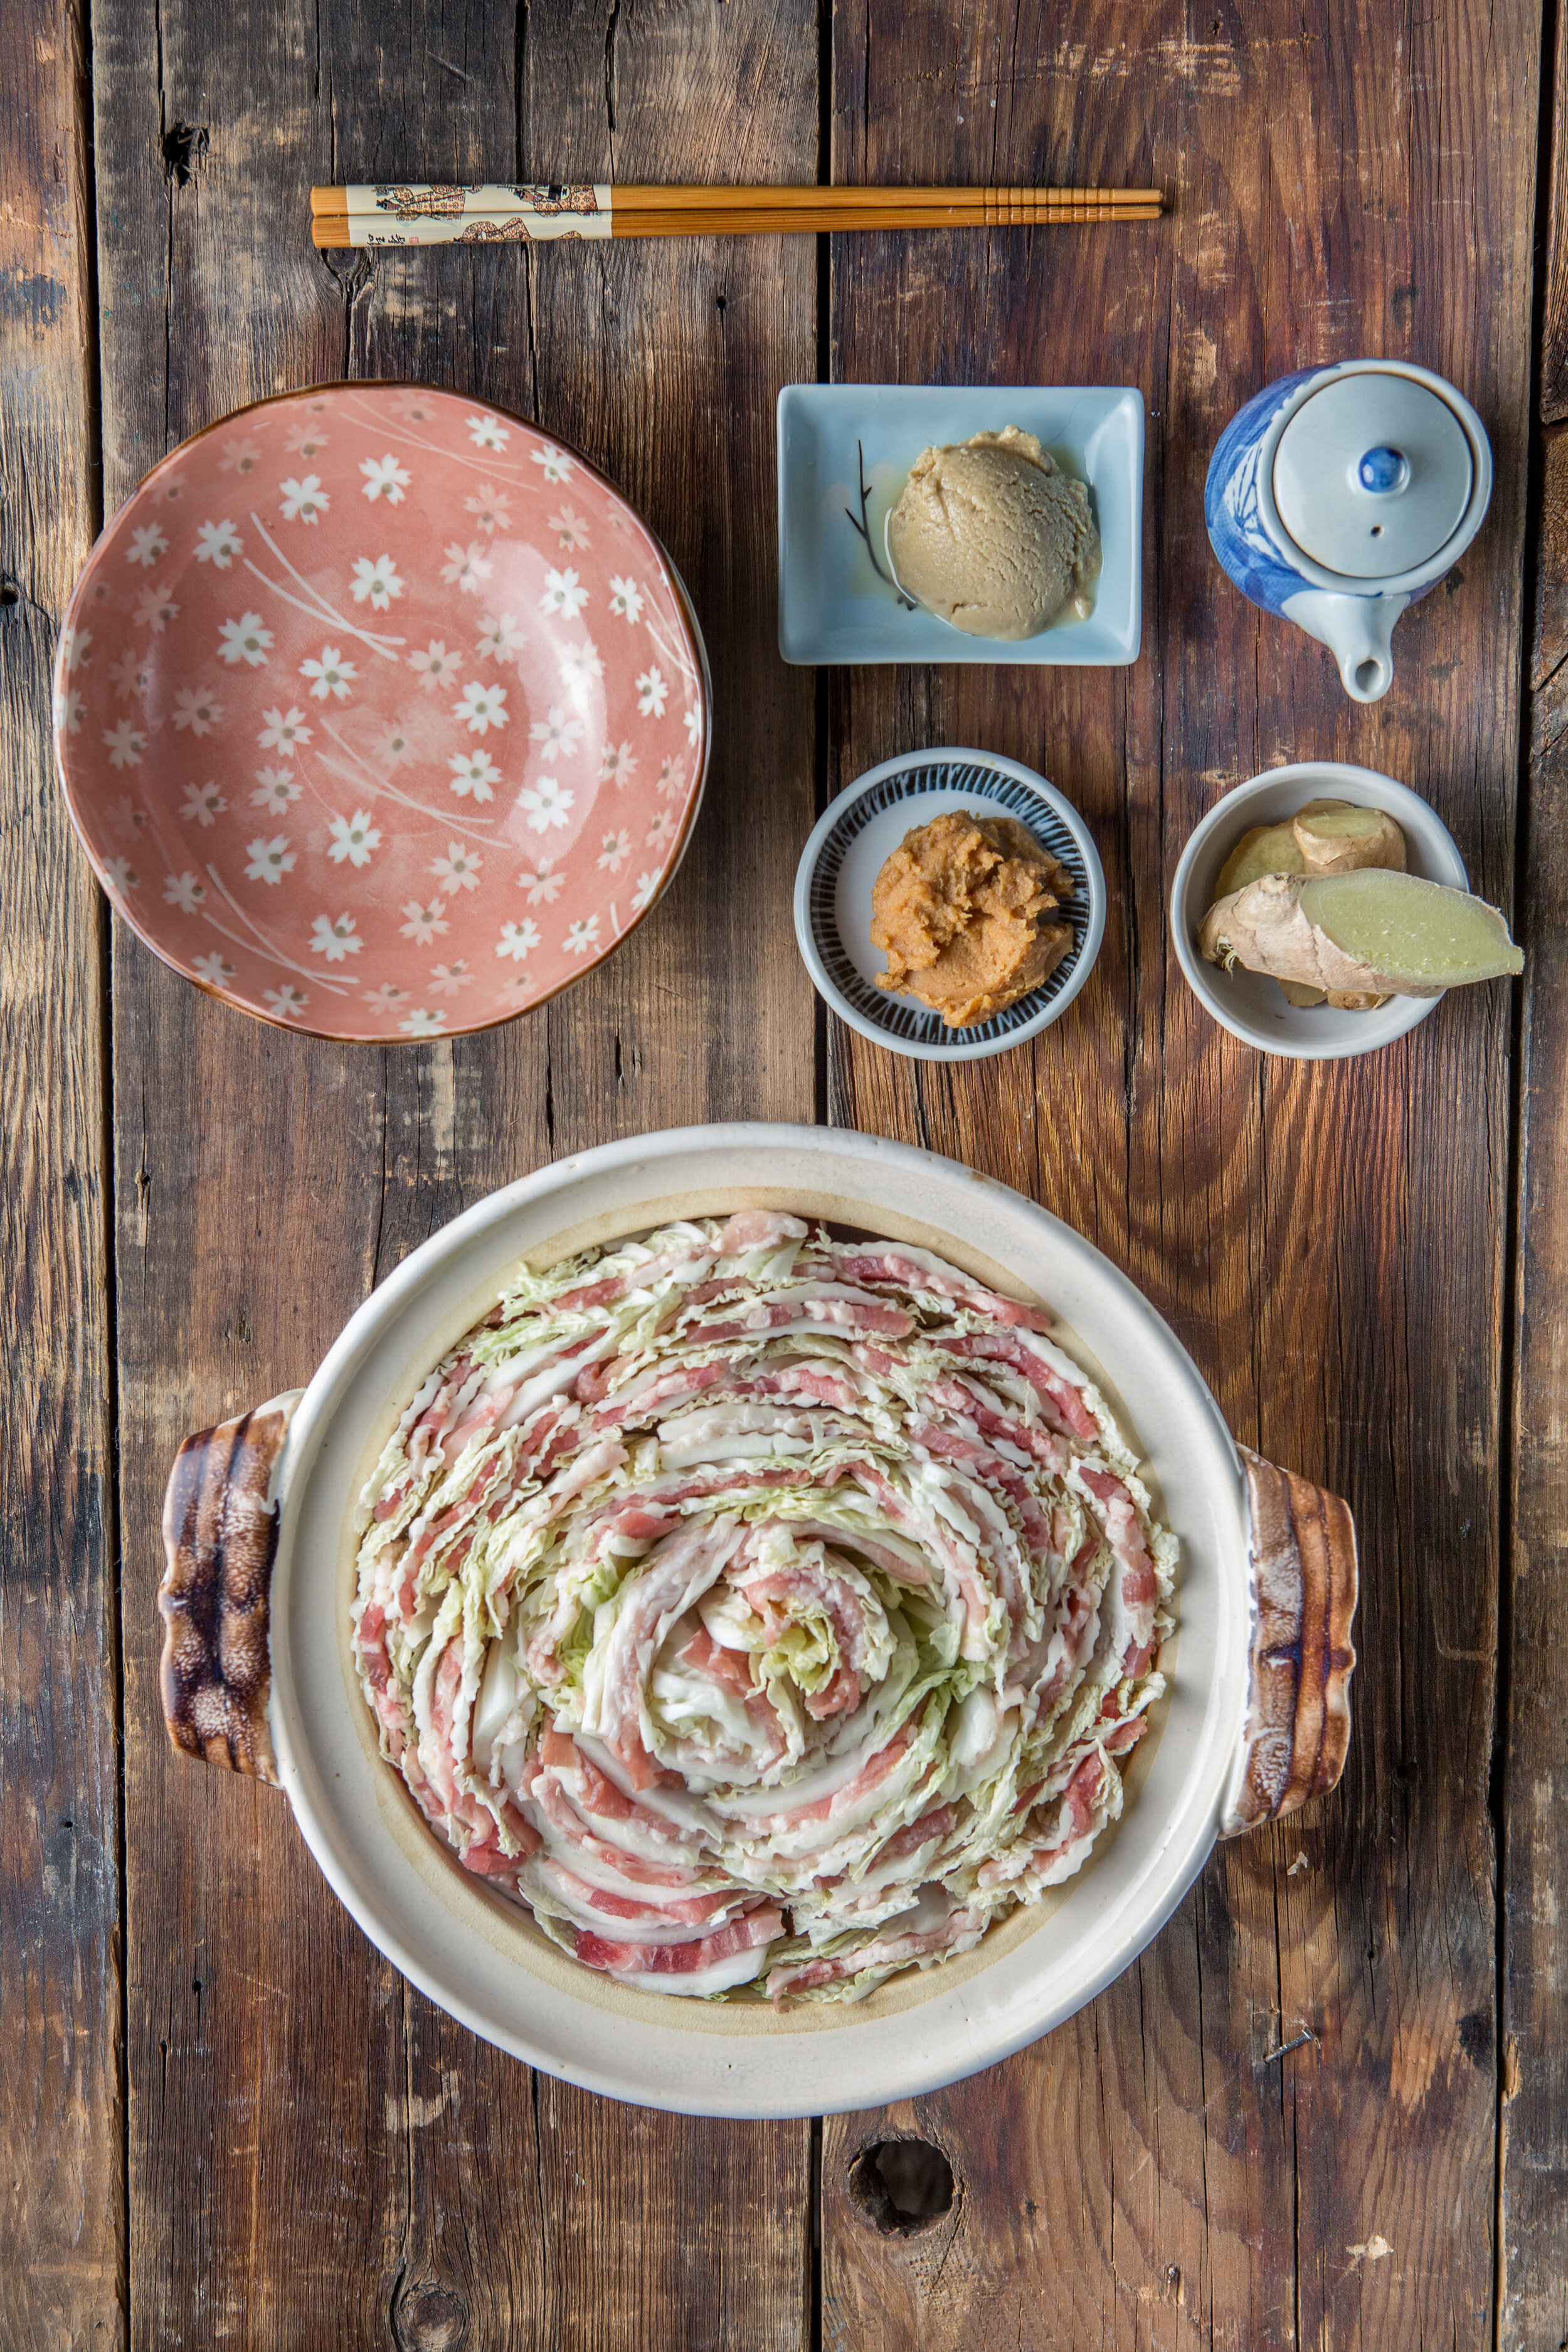
NOTE If you are preparing these wontons to use in a hot pot, place a rounded tablespoon of the filling in the center of a wonton square. Moisten the outside of the square with water, then pinch up the opposite edges to make a square purse with sealed edges.