Easy Peasy Knife Skillzzz

To have knife skillzzz, you need a good knife. The one I’m using here is an 8” Miyabi birchwood chef’s knife.

IMG_5344_Facetune_29-01-2019-11-56-25.JPG

How to make an oblique cut:

  1. Peel the carrots and cut off the stems.

  2. Hold each carrot on a cutting surface with your non-dominant hand and hold the knife with your dominant hand at a 45-degrree angle.

  3. Cutting about 1-inch (2.5 cm) slices on the diagonal, roll the carrot a quarter turn toward you after each cut. Repeat until the carrot is completely cut. The cuts should be angled towards each other.

IMG_5343_Facetune_29-01-2019-11-57-10.JPG

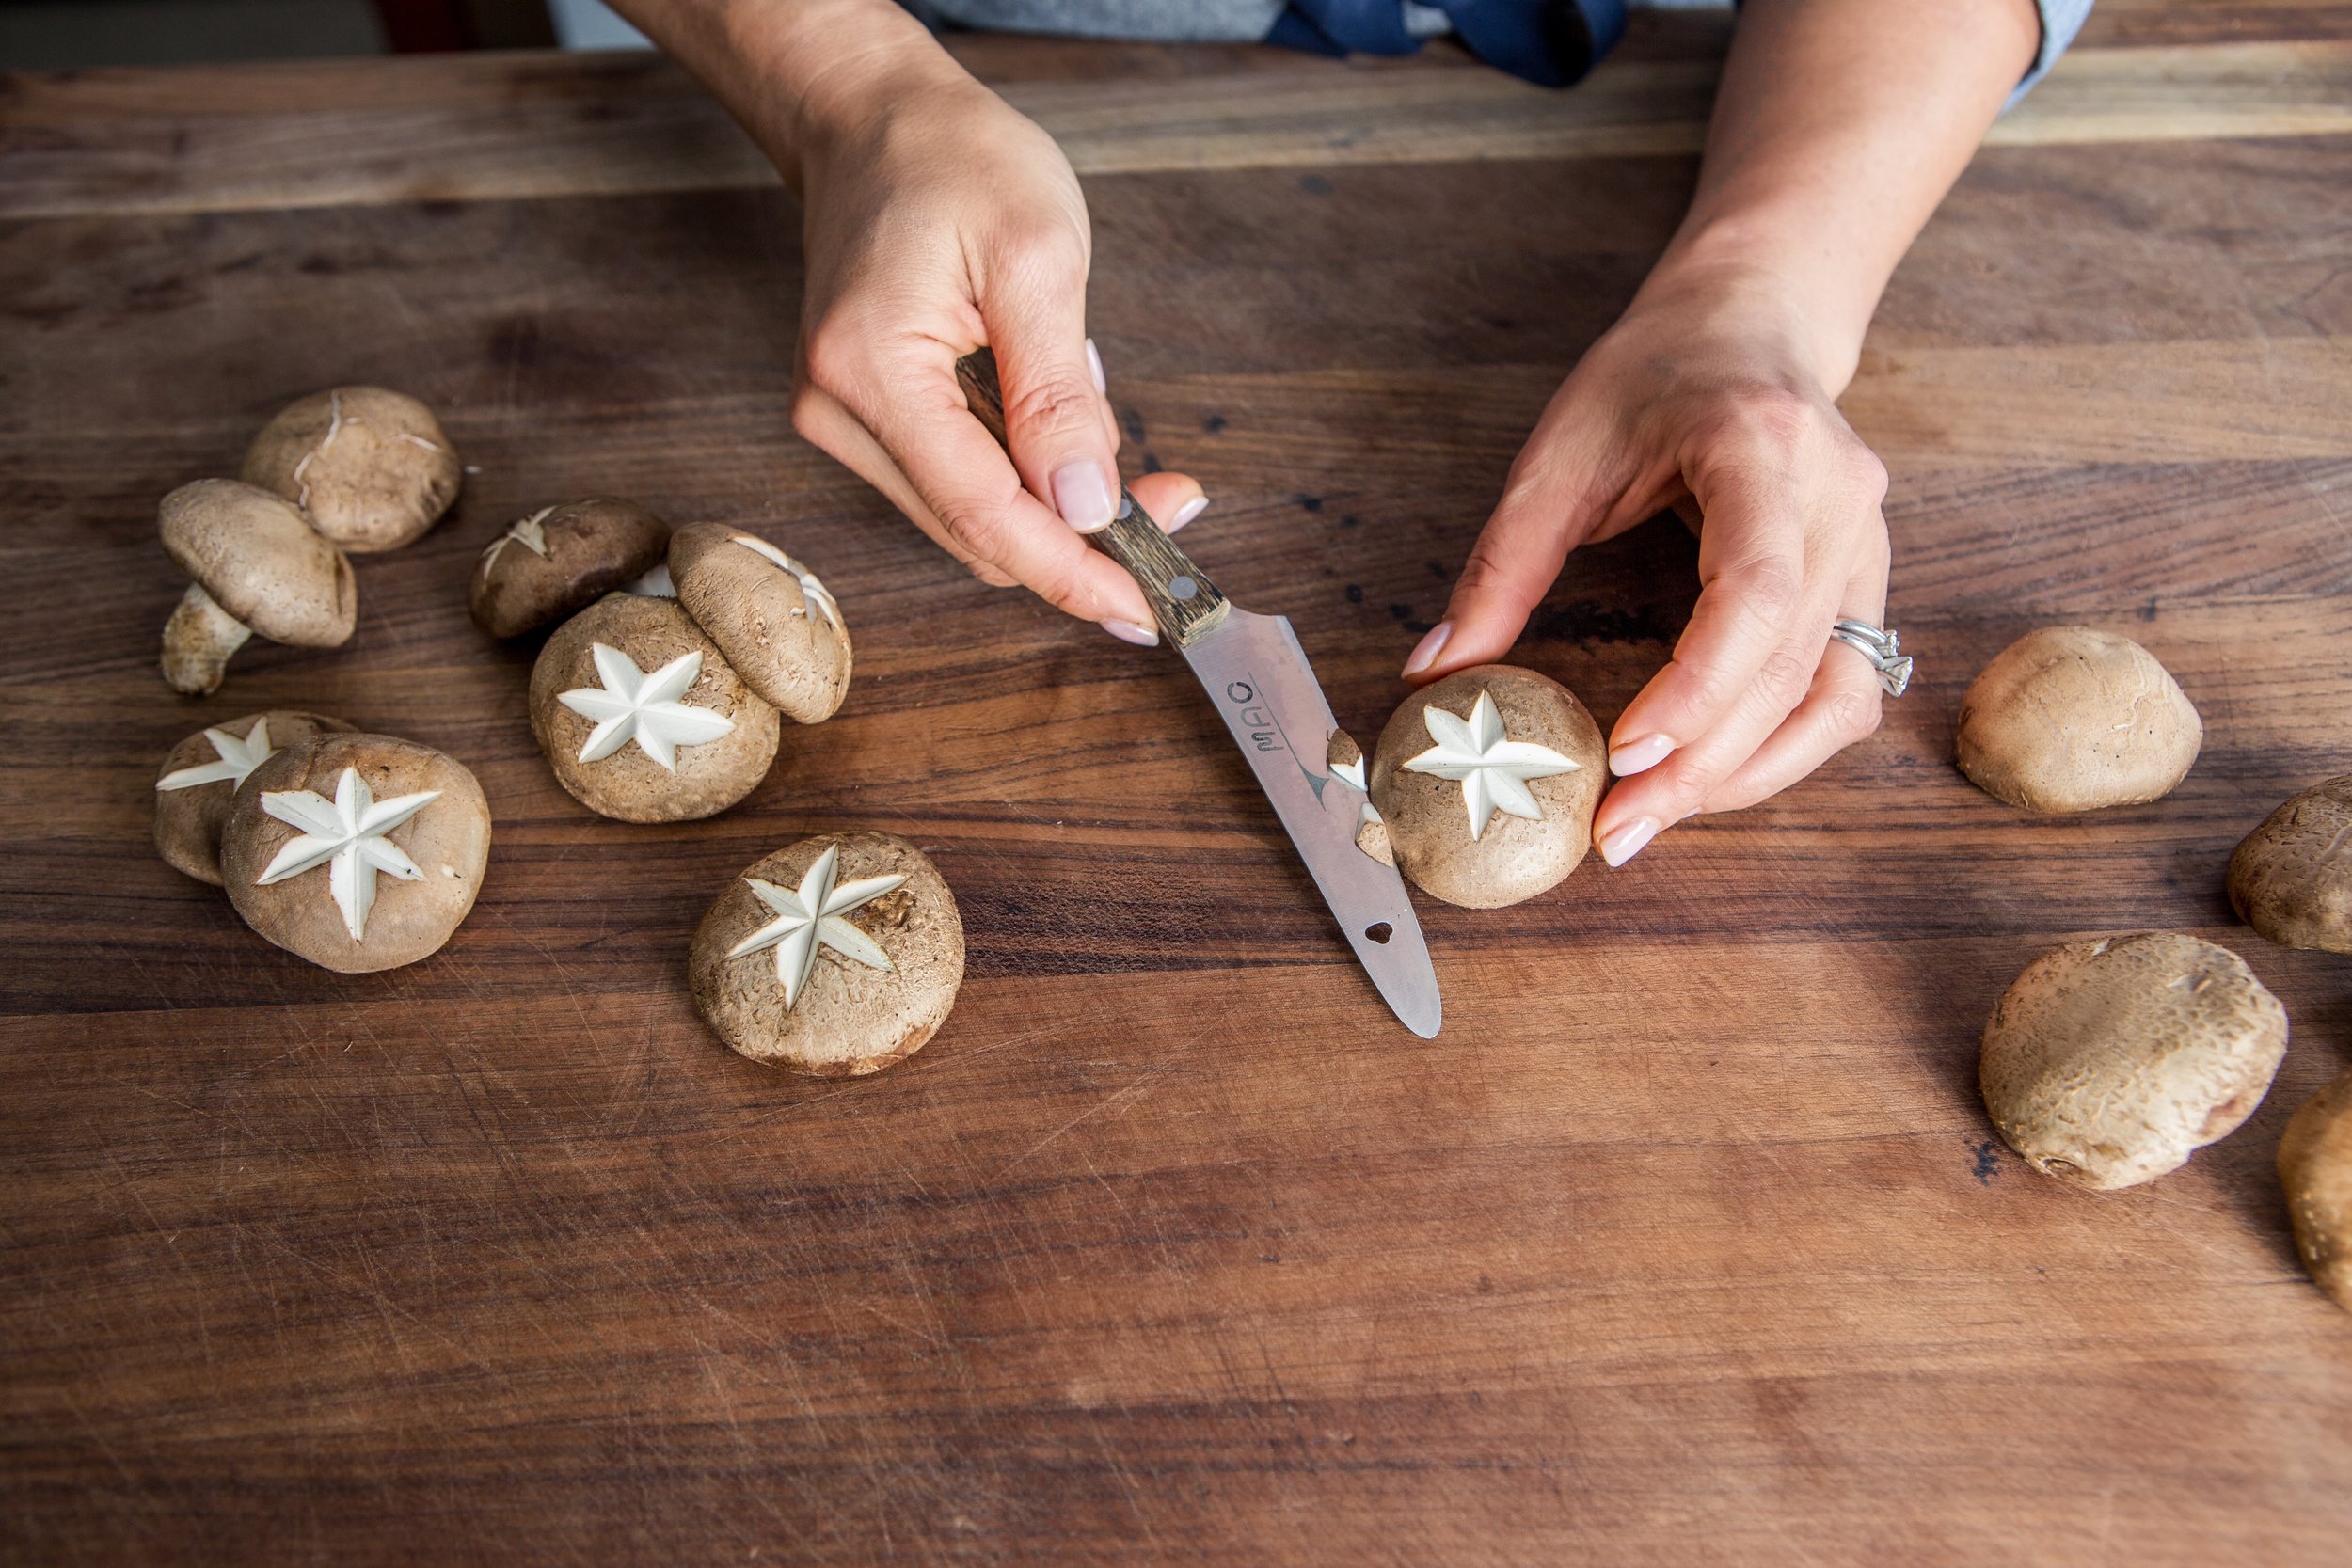
How to make a shiitake mushroom star cut:

  1. Wash, rinse and de-stem your mushrooms.

  2. Hold a mushroom with the cap-side up in the palm of your non-dominant hand.

  3. Using a small paring knife, make a beveled cut straight down the middle, removing the portion of which you’ve cut out so it reveals the white flesh.

  4. Repeat on the diagonal twice so that you have a star shape with 6 points as shown in the image.


My Mom's Best Apple Pie

What can I say, I’m a little biased but I have tasted a few apple pies in my day and I think my mom’s is hand’s down the best. I remember growing up seeing her test out different types of crust with butter vs. lard, making sure not to over mix the batter, adding an ice cube to the batter to keep it cold, rolling out the dough in a frenzy before it got warm. It has taken over 40 years to perfect (a small hint to my age) but I think it’s at its best right about now.

She makes her apple pie for Thanksgiving and that’s it. I like it that way because I get to look forward to it every year and I know it’s going to be pretty special. I like it heated a la mode but it’s also great a bit chilled for breakfast. #mymomspieisbetterthanyours

Ingredients:

8-10 large pippin, granny-smith or gala apples - peeled, cored, and sliced 1/4 inch thin (depending on size of pie pan)

3/4 cup sugar

3/4 cup brown sugar

2 heaping tbsp AP flour

1 tsp cinnamon

1 tsp nutmeg

1 pinch salt

Directions:

  1. Prepare apples before making the crust by mixing apples with ingredients in a large bowl. Set aside.

Fabulous Crust:

1 1/4 cup AP flour plus 1/4 cup AP flour

1 tsp salt

1 tbsp sugar

3/4 cup butter (Irish Butter preferred)

1/4 cup butter sliced in small pieces

1 egg beaten

1/4 cup sugar

Directions:

  1. Preheat the oven to 450 degrees.

  2. Sift together 1 1/4 cup flour, salt and sugar in a medium-sized bowl.

  3. Cut in 3/4 butter. Leave in large pea-sized chunks.

  4. In a separate small bowl, mix 3 tablespoons ice-water with 1/4 cup flour to make a paste (this is the secret to the crust).

  5. Combine the ice-water mixture with the cut-in butter mixture to form a ball in the medium-sized bowl. Mix with a fork, do not use your hands.

  6. Mix as little as possible. Add a sprinkle of ice-water if the dough is not binding.

  7. Divide the ball into 2 parts for upper and lower crust and wrap in saran wrap. Place in refrigerator for 30 minutes minimum to chill.

  8. On a well floured board, roll one of the crusts out into a long oval and fold over into thirds to make the crust flaky. Repeat. Work quickly and handle as little as possible. Keep the other crust in the refrigerator until ready to use. Roll out in a large circle for the bottom crust to fit your pie pan with enough to go over the edges by 1/2 inch. Place in a large pie pan.

  9. Sprinkle the bottom crust with flour. Do not prick the crust.

  10. Heap in the apples and press down lightly to compact the apples.

  11. Add butter slices on top evenly.

  12. Roll out the top crust the same as the bottom crust by rolling out into a long oval and folding over to make the crust flaky. Repeat. Work quickly and handle as little as possible.

  13. Roll out into a large circle. Cut in vents.

  14. Roll the top onto the rolling pin to place on top of the apples.

  15. Trim around the raggedy edges with a scissors so dough hangs over 1/2 inch from rim of pie plate. Roll the edges under to seal the crusts together and flute the edges.

  16. Brush top of crust with egg wash and sprinkle lightly with sugar.

  17. Place in 450 degrees oven for 10 minutes, then reduce the oven temperature to 350 degrees for 50 minutes.


Blue Apron Kahn Family Pork and Miso Ramen

ORDER YOUR BLUE APRON BY NOON ON MAY 31ST TO GET OUR KAHN FAMILY PORK AND MISO RAMEN! Send me an email at epjoishii@gmail.com and I'll send you a free voucher to try! If you get a chance to order it for the week of June 5th, we hope you enjoy it!

This past August we entered the Blue Apron Kids Cooking Camp Contest and WON a trip for our whole family to go to NYC and help the Blue Apron team create a recipe! We had so much fun, week after week, following the rules of the contest and submitting our posts on Instagram. Here are some of our favorite posts:

WE HAD TO MAKE HOME MADE WHIPPED CREAM AND HOLD IT OVER OUR HEAD!

WE HAD TO MAKE HOME MADE WHIPPED CREAM AND HOLD IT OVER OUR HEAD!

WE HAD TO TALK ABOUT OUR FAVORITE SUMMERTIME INGREDIENT AND HOW WE USE IT.

WE HAD TO TALK ABOUT OUR FAVORITE SUMMERTIME INGREDIENT AND HOW WE USE IT.

WE HAD TO TALK ABOUT WHAT OUR FAMILY DOES TO HELP OUT WITH MEALS.

WE HAD TO TALK ABOUT WHAT OUR FAMILY DOES TO HELP OUT WITH MEALS.

WE HAD TO CORE LETTUCE, DE-STEM KALE, PEEL A CARROT AND SOME GARLIC.

WE HAD TO CORE LETTUCE, DE-STEM KALE, PEEL A CARROT AND SOME GARLIC.

WE HAD TO PLANT SOME PEA SHOOTS AND WATCH THEM GROW!

WE HAD TO PLANT SOME PEA SHOOTS AND WATCH THEM GROW!

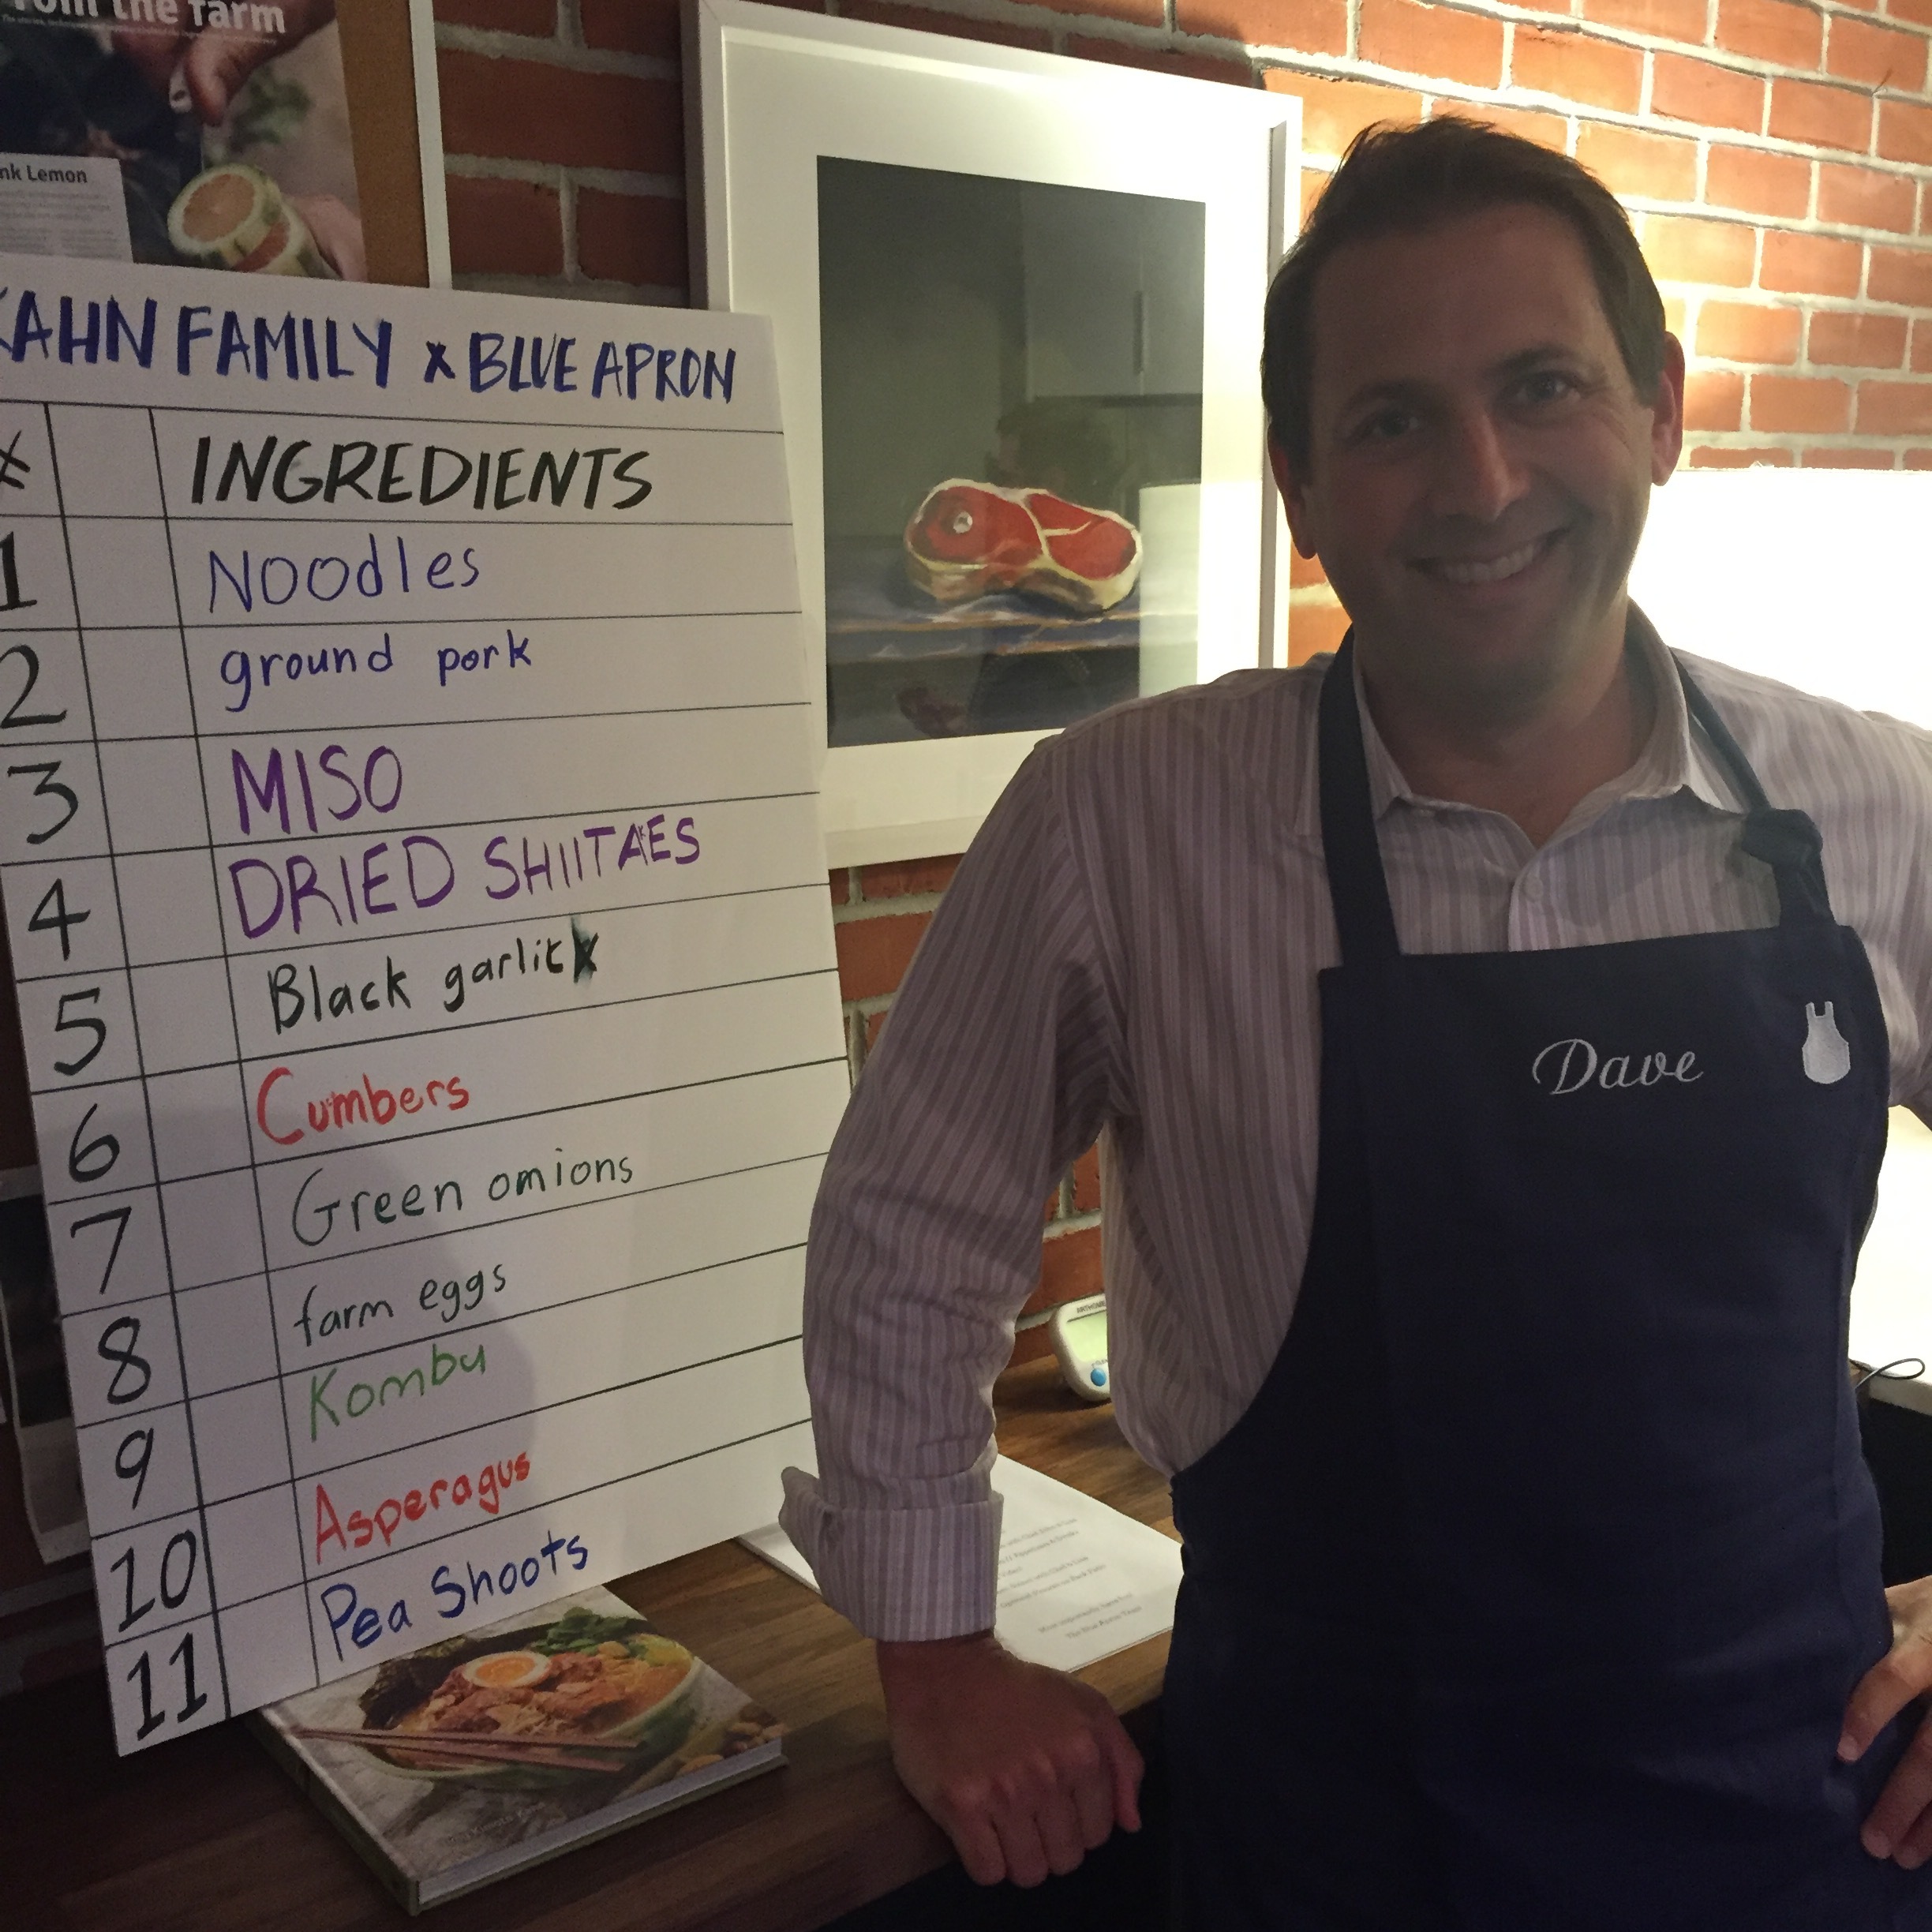
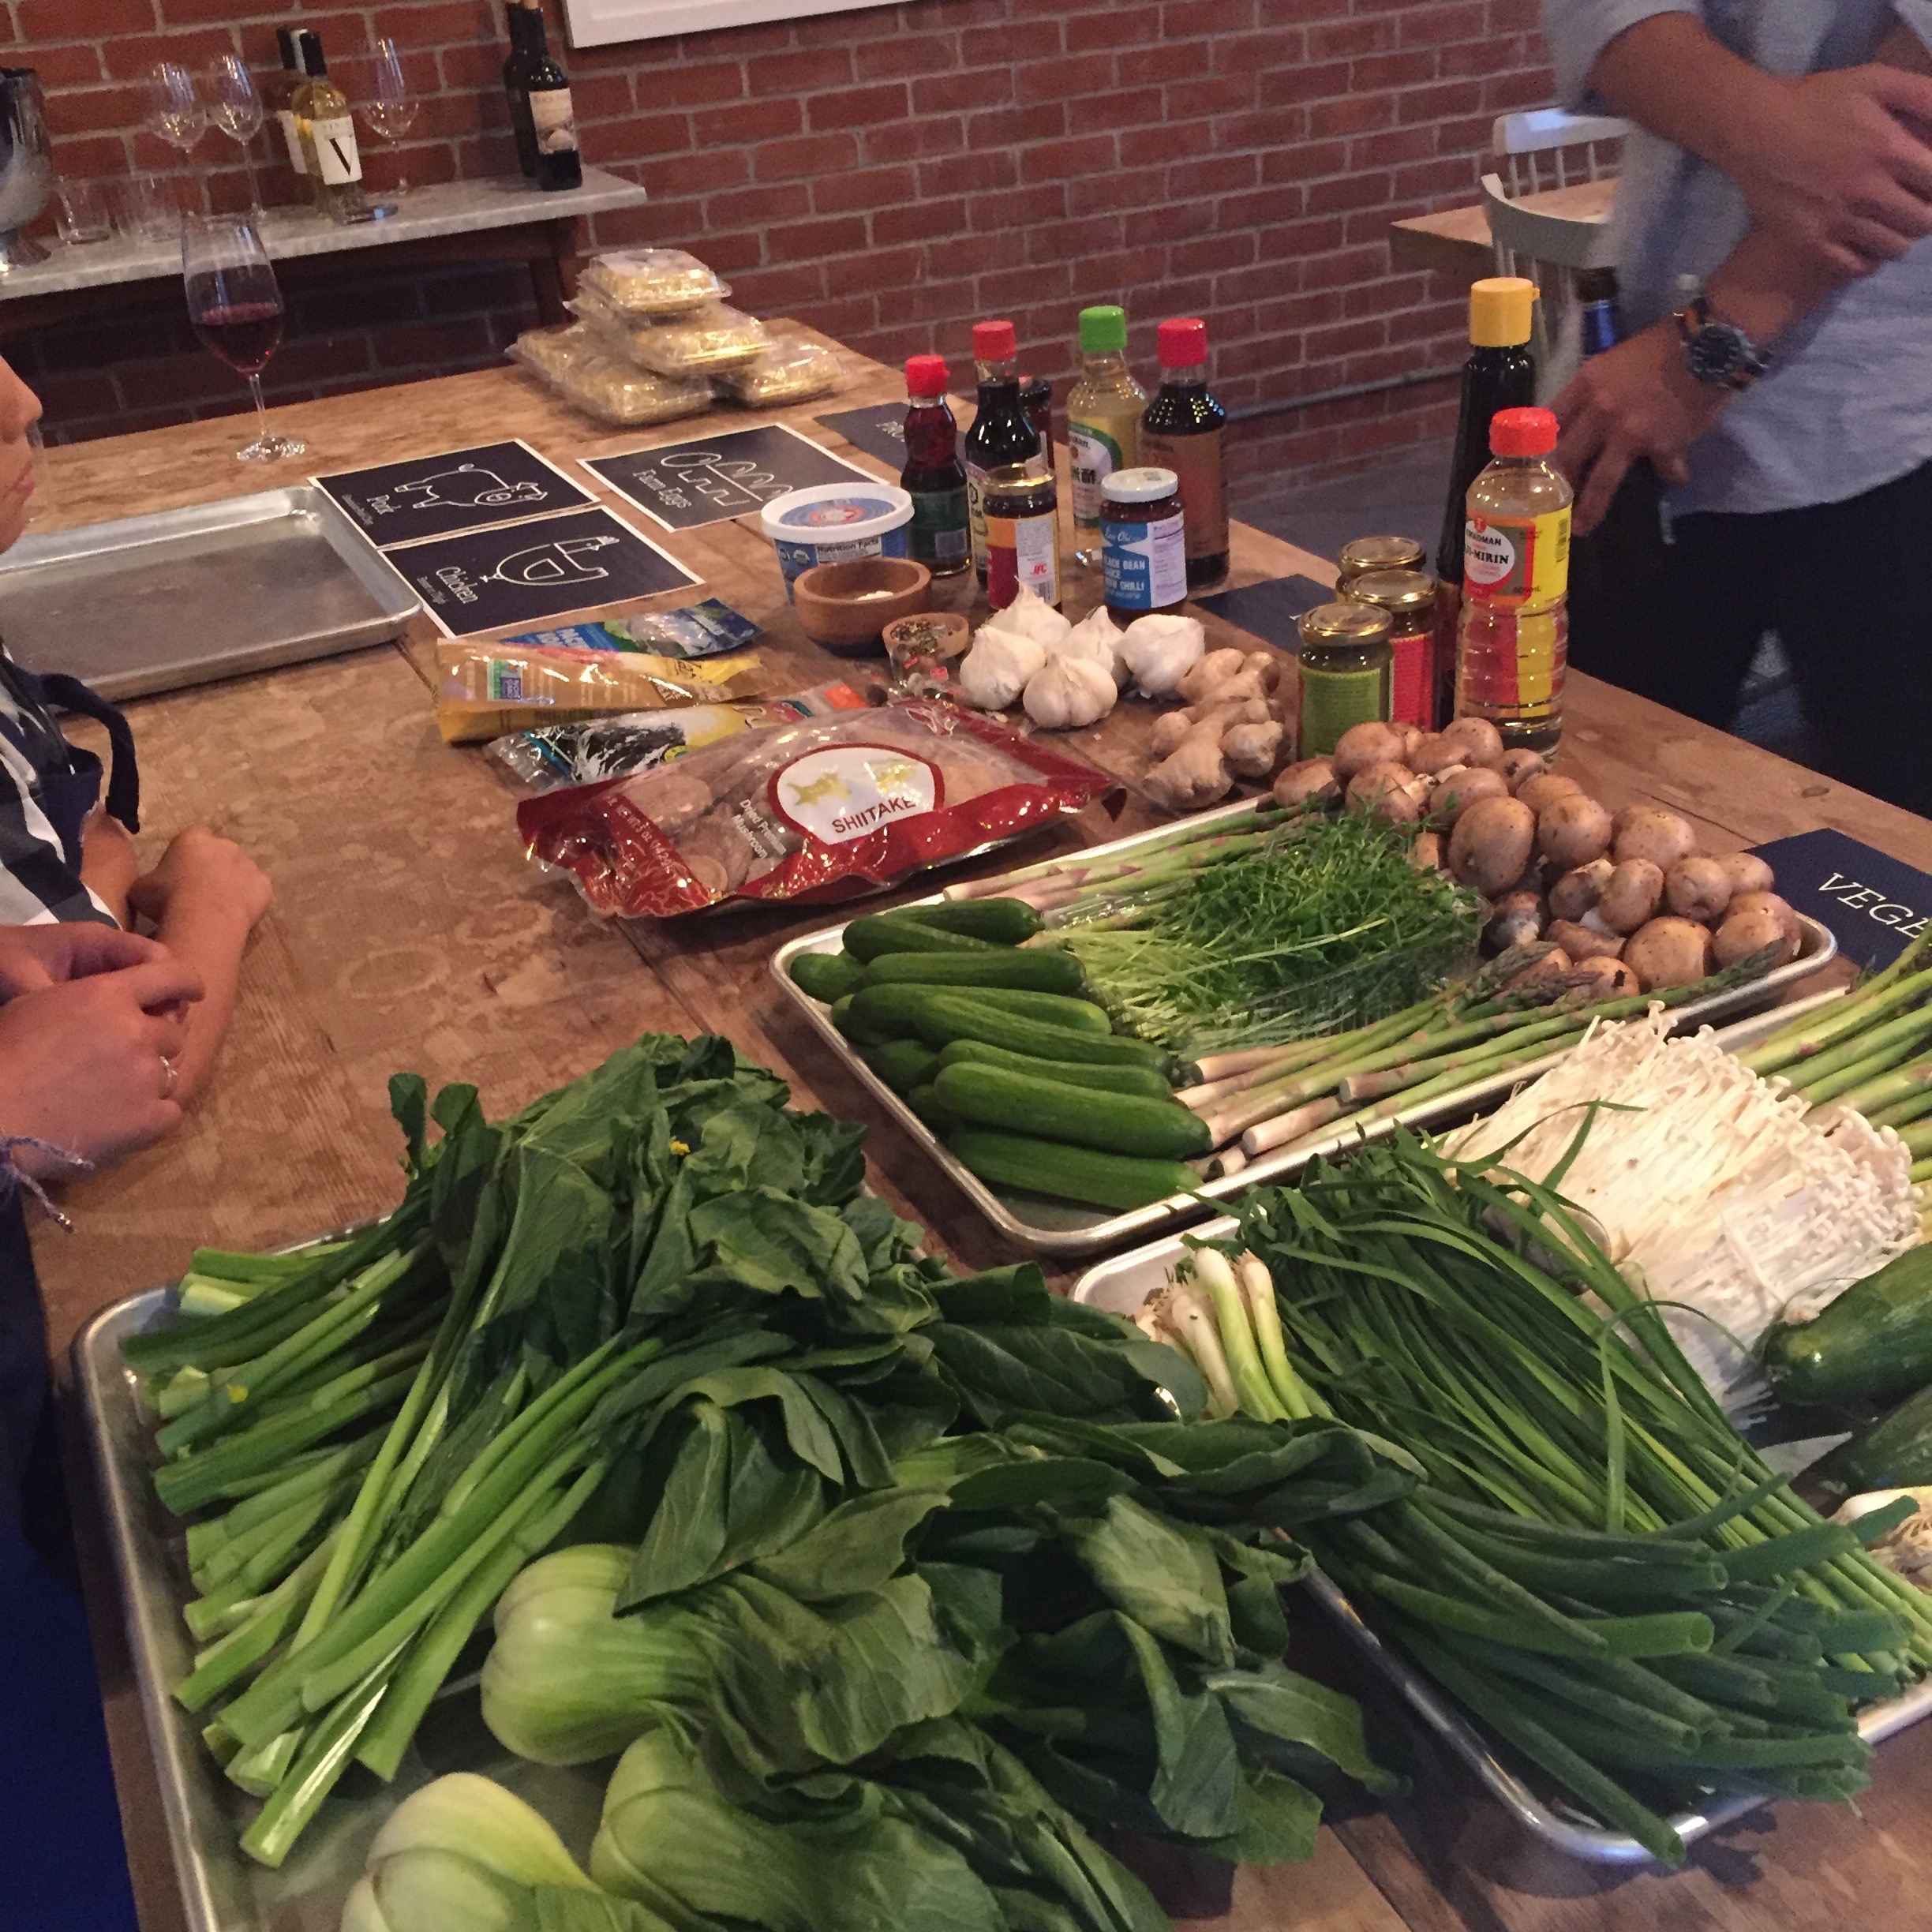
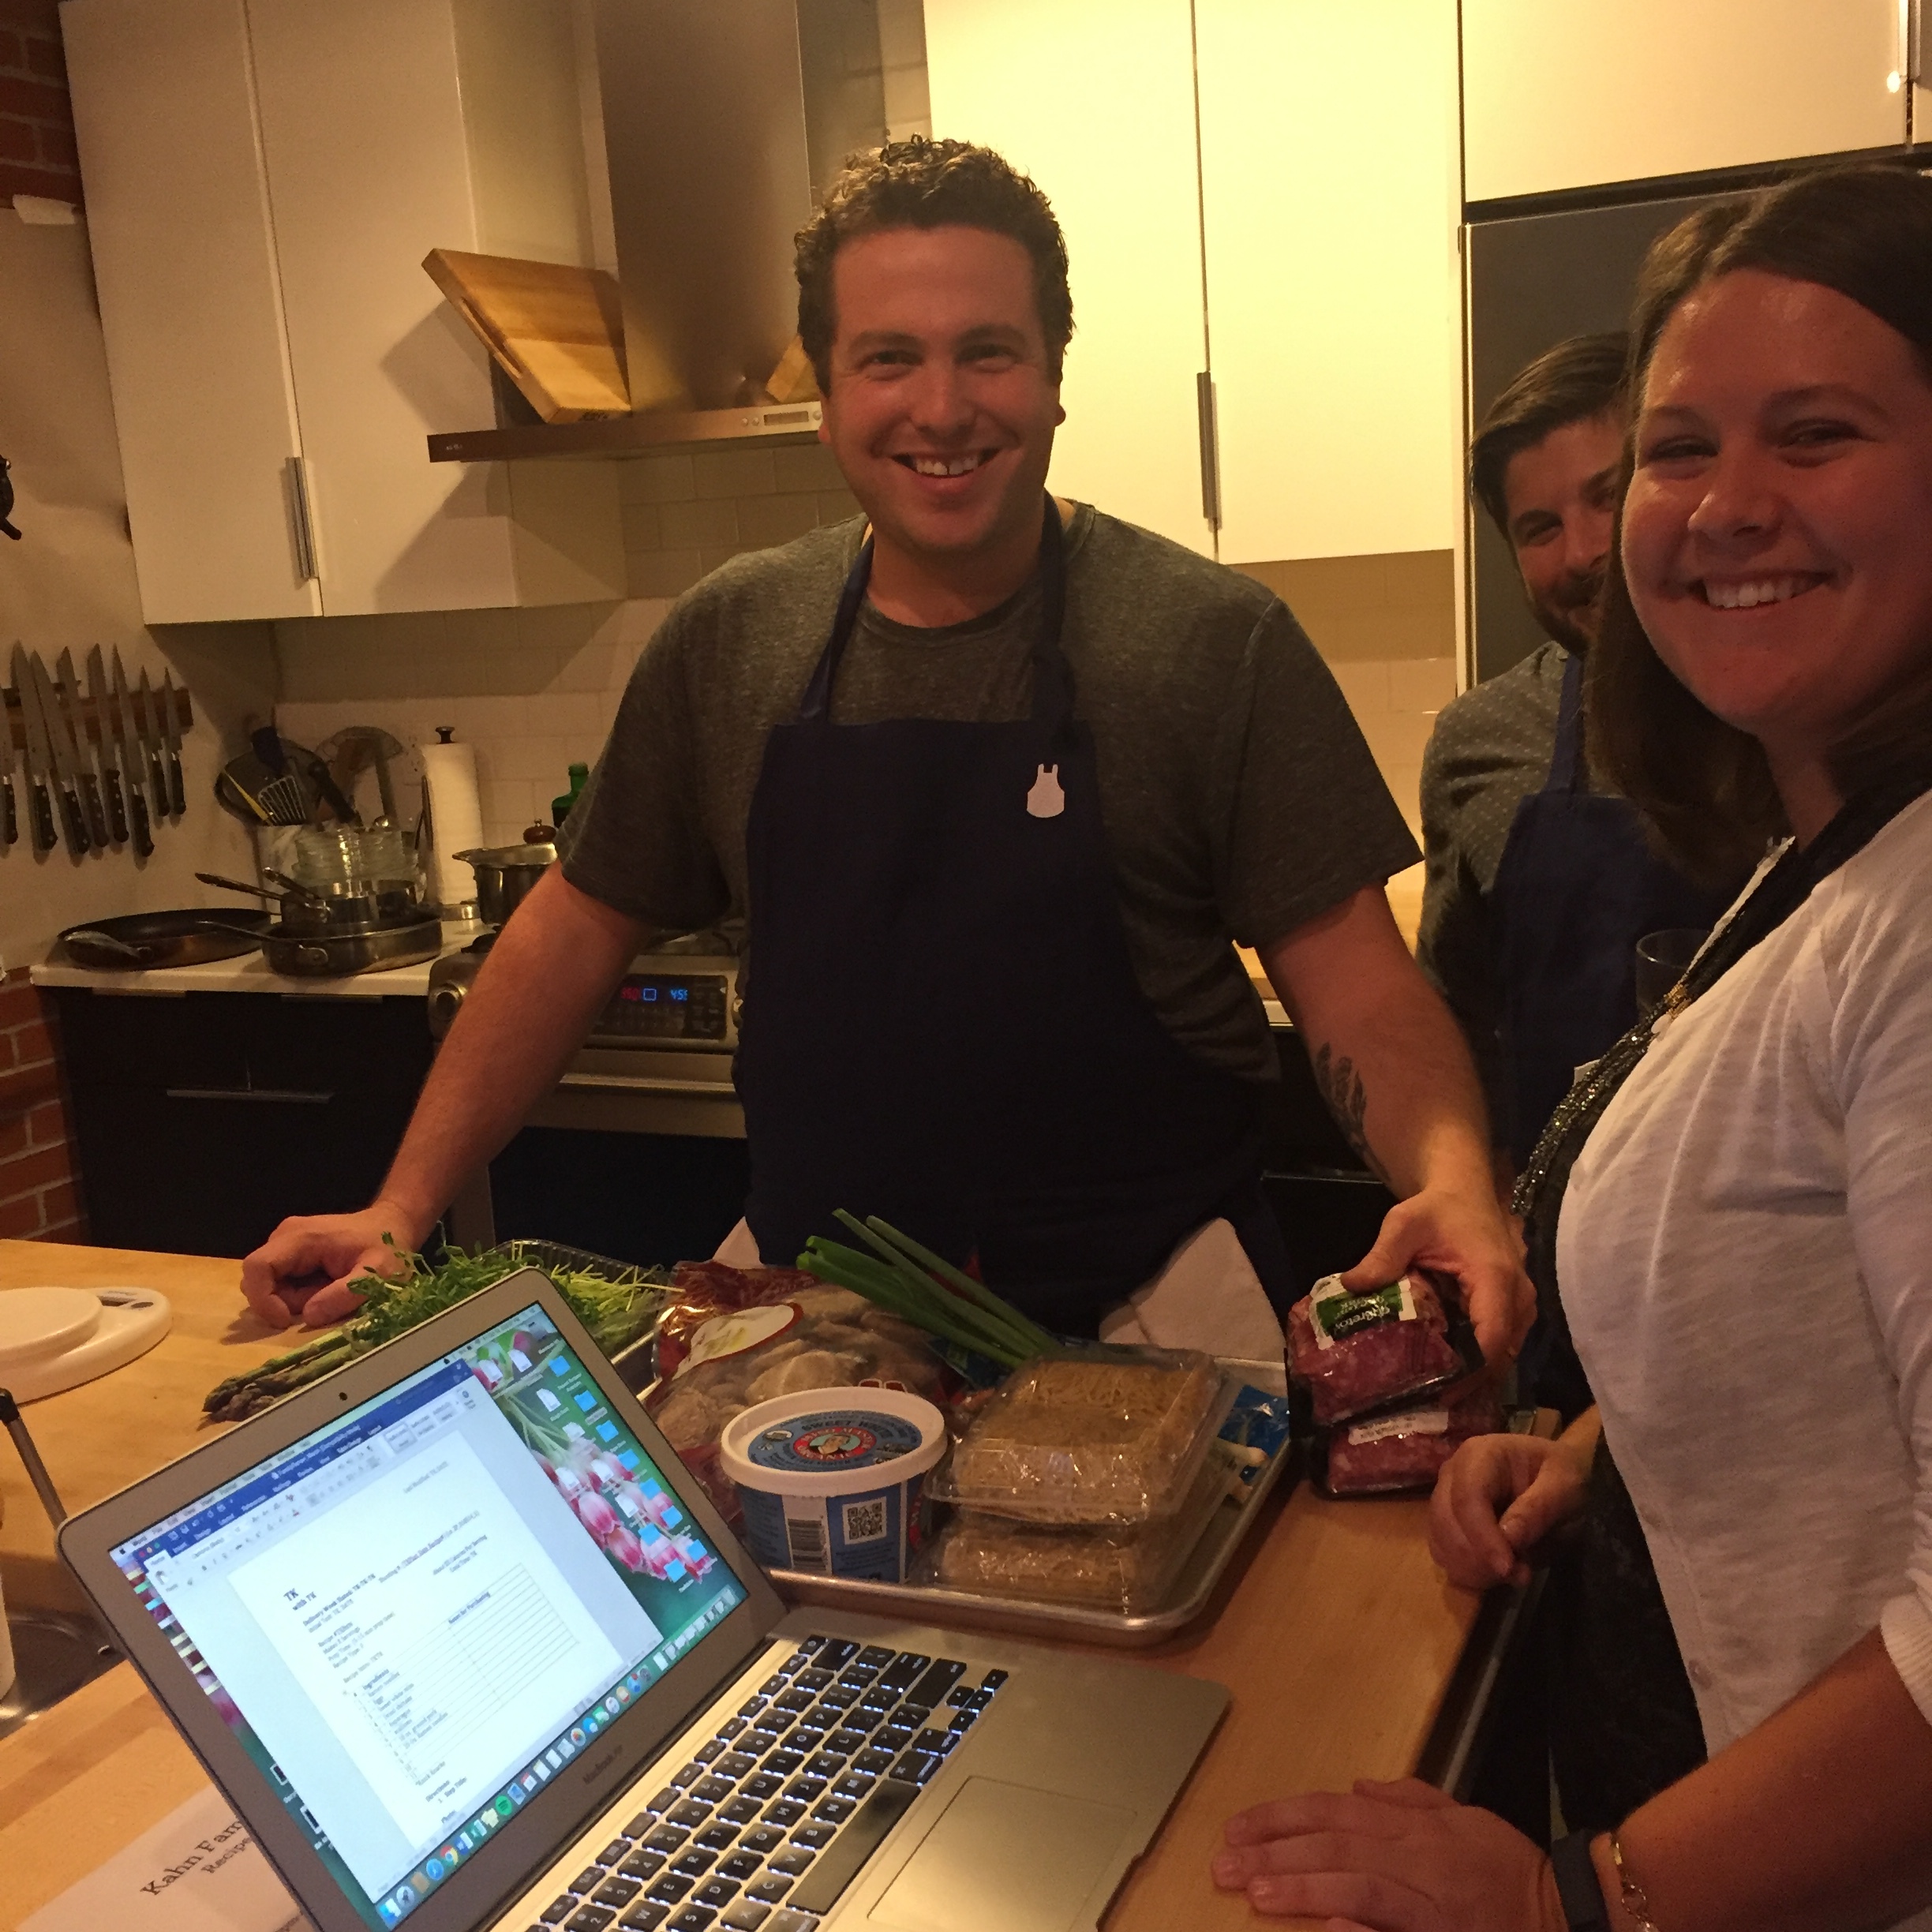
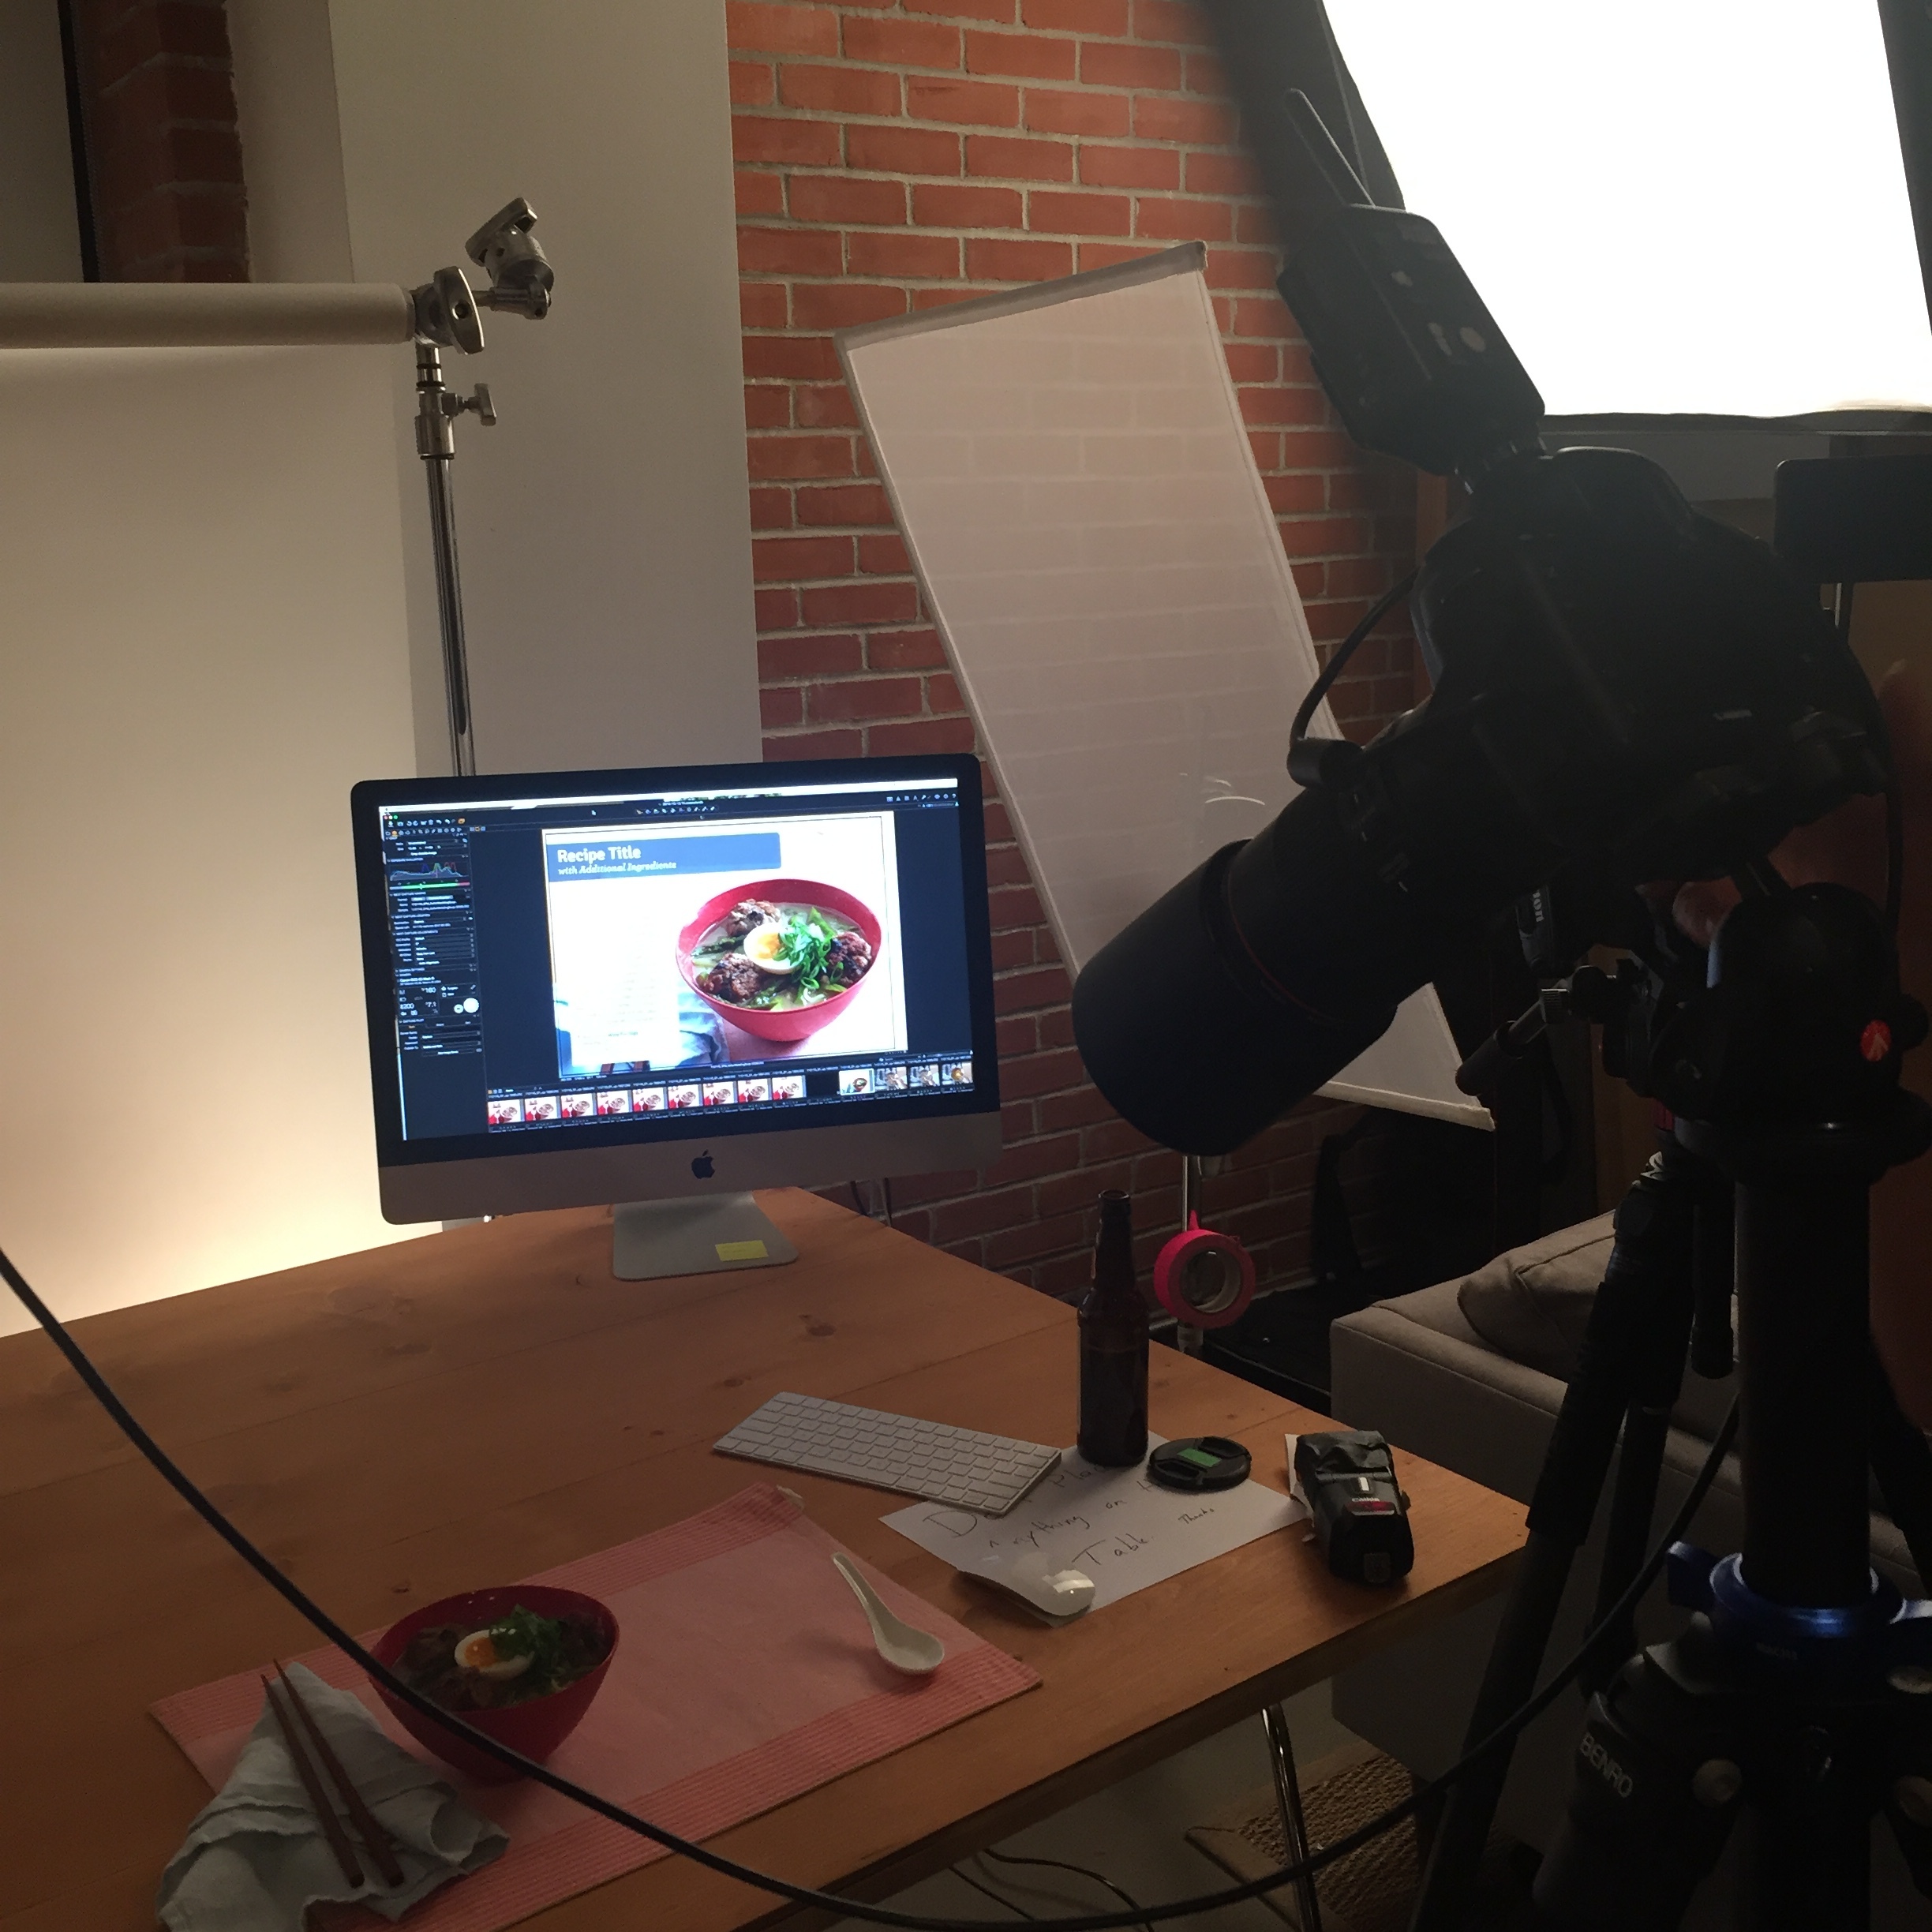
When we got the email from Blue Apron telling us we won, we were beyond thrilled. They arranged to fly us to NYC, put us up in a hotel and take us to their secret Blue Apron test kitchen where we would create a recipe with them. We had such a fun time seeing where they keep all of their many spices and ingredients, learning about their recipe creation process (how they are limited to 10 ingredients and 10 steps or less) and watching the photographer take pictures of the final recipe.

We had decided ahead of time that we would work on a ramen recipe. What was most challenging was the limitation of ingredients and steps. I really feel like the final result is one that gives depth and flavor in a short amount of time. I also had a new respect for Blue Apron and the recipes it sends me, knowing that they always have to follow the parameters of 10 ingredients or less and only 10 steps or less. Given those limitations, don't expect the best ramen you've ever had - but this is pretty darn good. Here's the description right from Blue Apron...

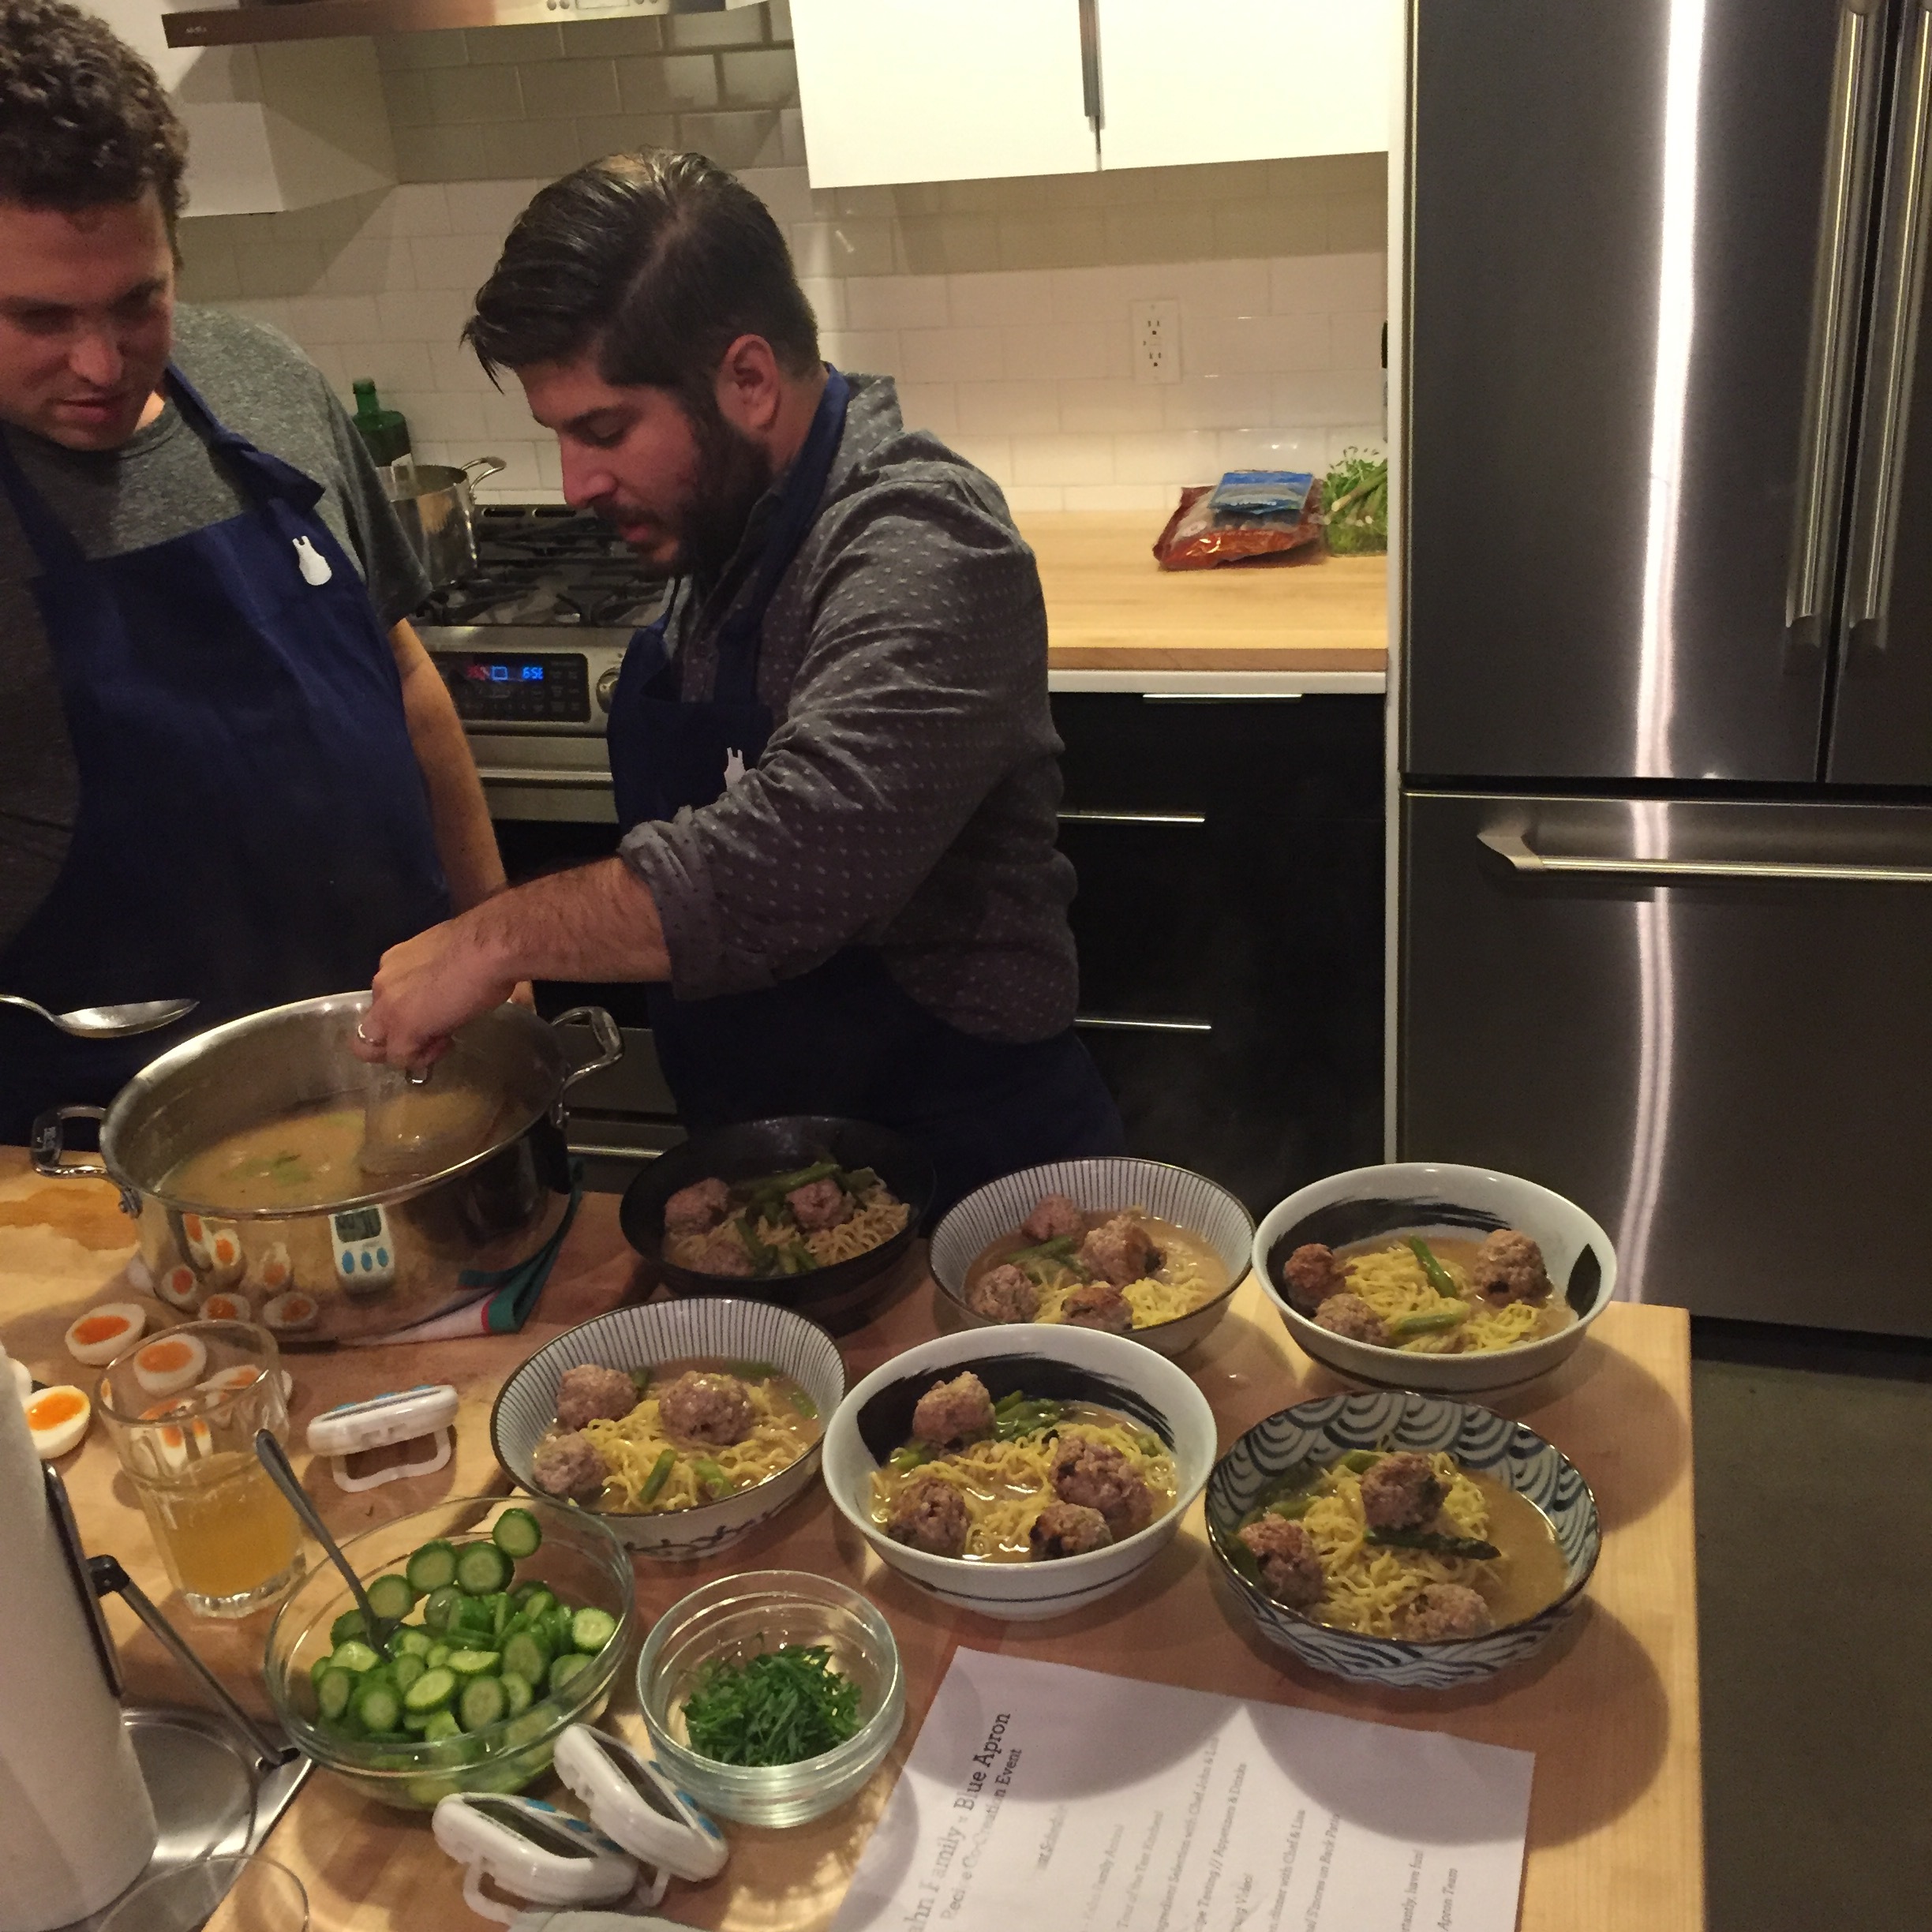
This summery take on ramen was developed in collaboration with the Kahn family of San Francisco, Calif., winners of the 2016 Blue Apron Kids Cooking Camp. A satisfying, earthy broth gets its savory flavor from three ingredients: miso paste, dried shiitakes, and kombu—a type of dried seaweed with a delicately briny flavor. It's the perfect base for fresh, springy ramen noodles topped with seasonal asparagus, cooked to retain its tender bite. Sweet-tart marinated cucumber, served on the side, adds a refreshing crunch to the dish.

Scroll through to see the epic day with had creating Pork and Miso Ramen with the Blue Apron team!

Shio Ramen Soup Base

This recipe starts off with the same components as my Miso Ramen Soup Base but I’ve added fresh and dried shitake mushrooms to give it added depth. It also incorporates the nice fatty flavor of bacon fat.  I experimented with different types of salt for this recipe to see which came through the best. I chose fleur de sel because I liked the earthiness that it added without it being overwhelmingly salty and it helps keep the taste of the soup lingering on the palate.  You can make your own original recipe with any special salt you have on hand.

Shio Ramen Soup Base

Serves: up to 12 servings

Prep time: 45 minutes for making Shio Base, 15 minutes for making broth plus time required to make Ramen Noodles (optional) and topping

Shio Base Ingredients:

1 medium carrot, peeled and chopped

½ onion, peeled, large dice

3 green onions, white part only, chopped

½ apple, peeled, seeded, and chopped  

1 celery stalk, large dice

3 cloves garlic,

5 fresh shiitake mushrooms

1/2 cup bacon fat*

1 tablespoon sesame oil

3 teaspoons dashi granules (Japanese stock)

2 tablespoons fleur de sel

Broth ingredients:

Unsalted butter ( 2 tbsp per serving)

low sodium chicken or vegetable stock (2 cups per serving)

Mirin (Japanese rice wine) (2 tbsp per serving)

1 large rectangular piece of kombu (about 10” length) – cut into large squares (1 square per serving)

dried shiitake mushrooms, crumbled (2 mushrooms per serving)

salt as the miso base is very salty.

These components need to be made ahead of time:

Ramen Noodles – See recipe for Homemade Ramen Noodles

Chashu and Marinated Half-Cooked Egg - See Chashu and Marinated-Half Cooked Egg recipe

Recommended Toppings:

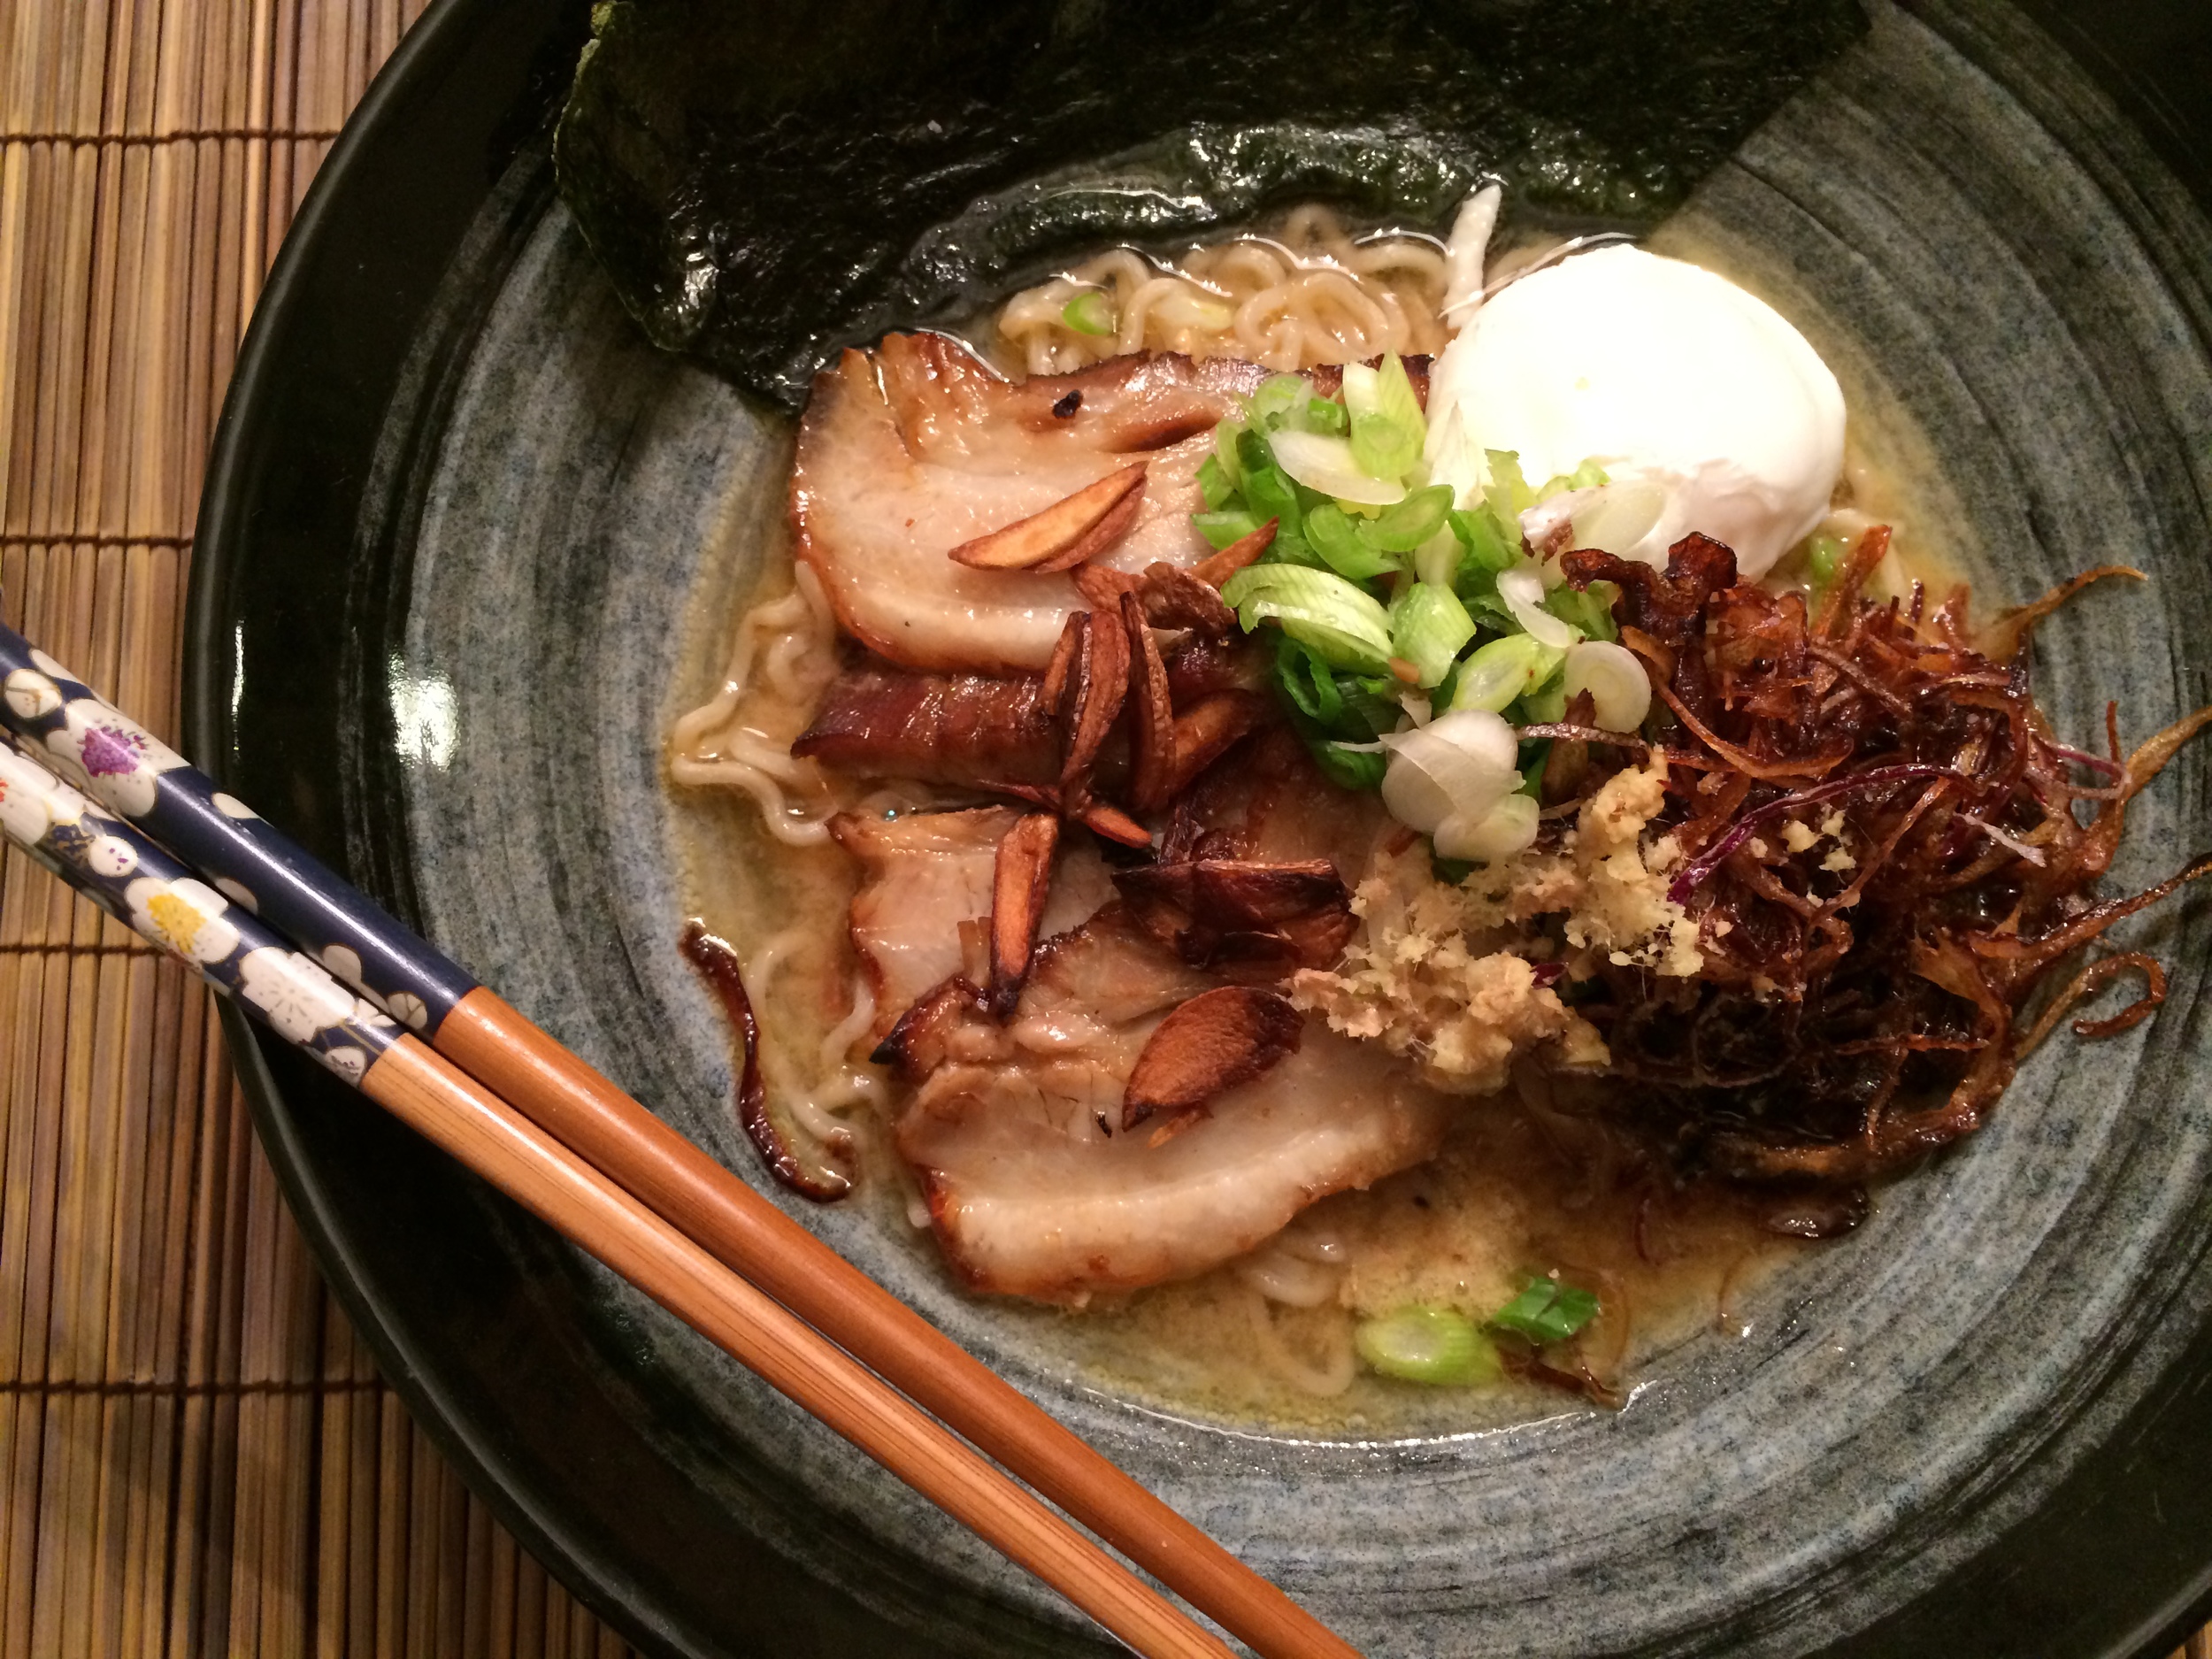
negi or green onions, fresh spinach, chashu (pork belly), marinated half-cooked egg, garnish with nori (seaweed) square(s).

*  you can omit the bacon fat if you don’t have any but we wouldn’t recommend it. Next time  

   you are cooking bacon in the morning, simply save your fat in a container and refrigerate it! 

Directions:

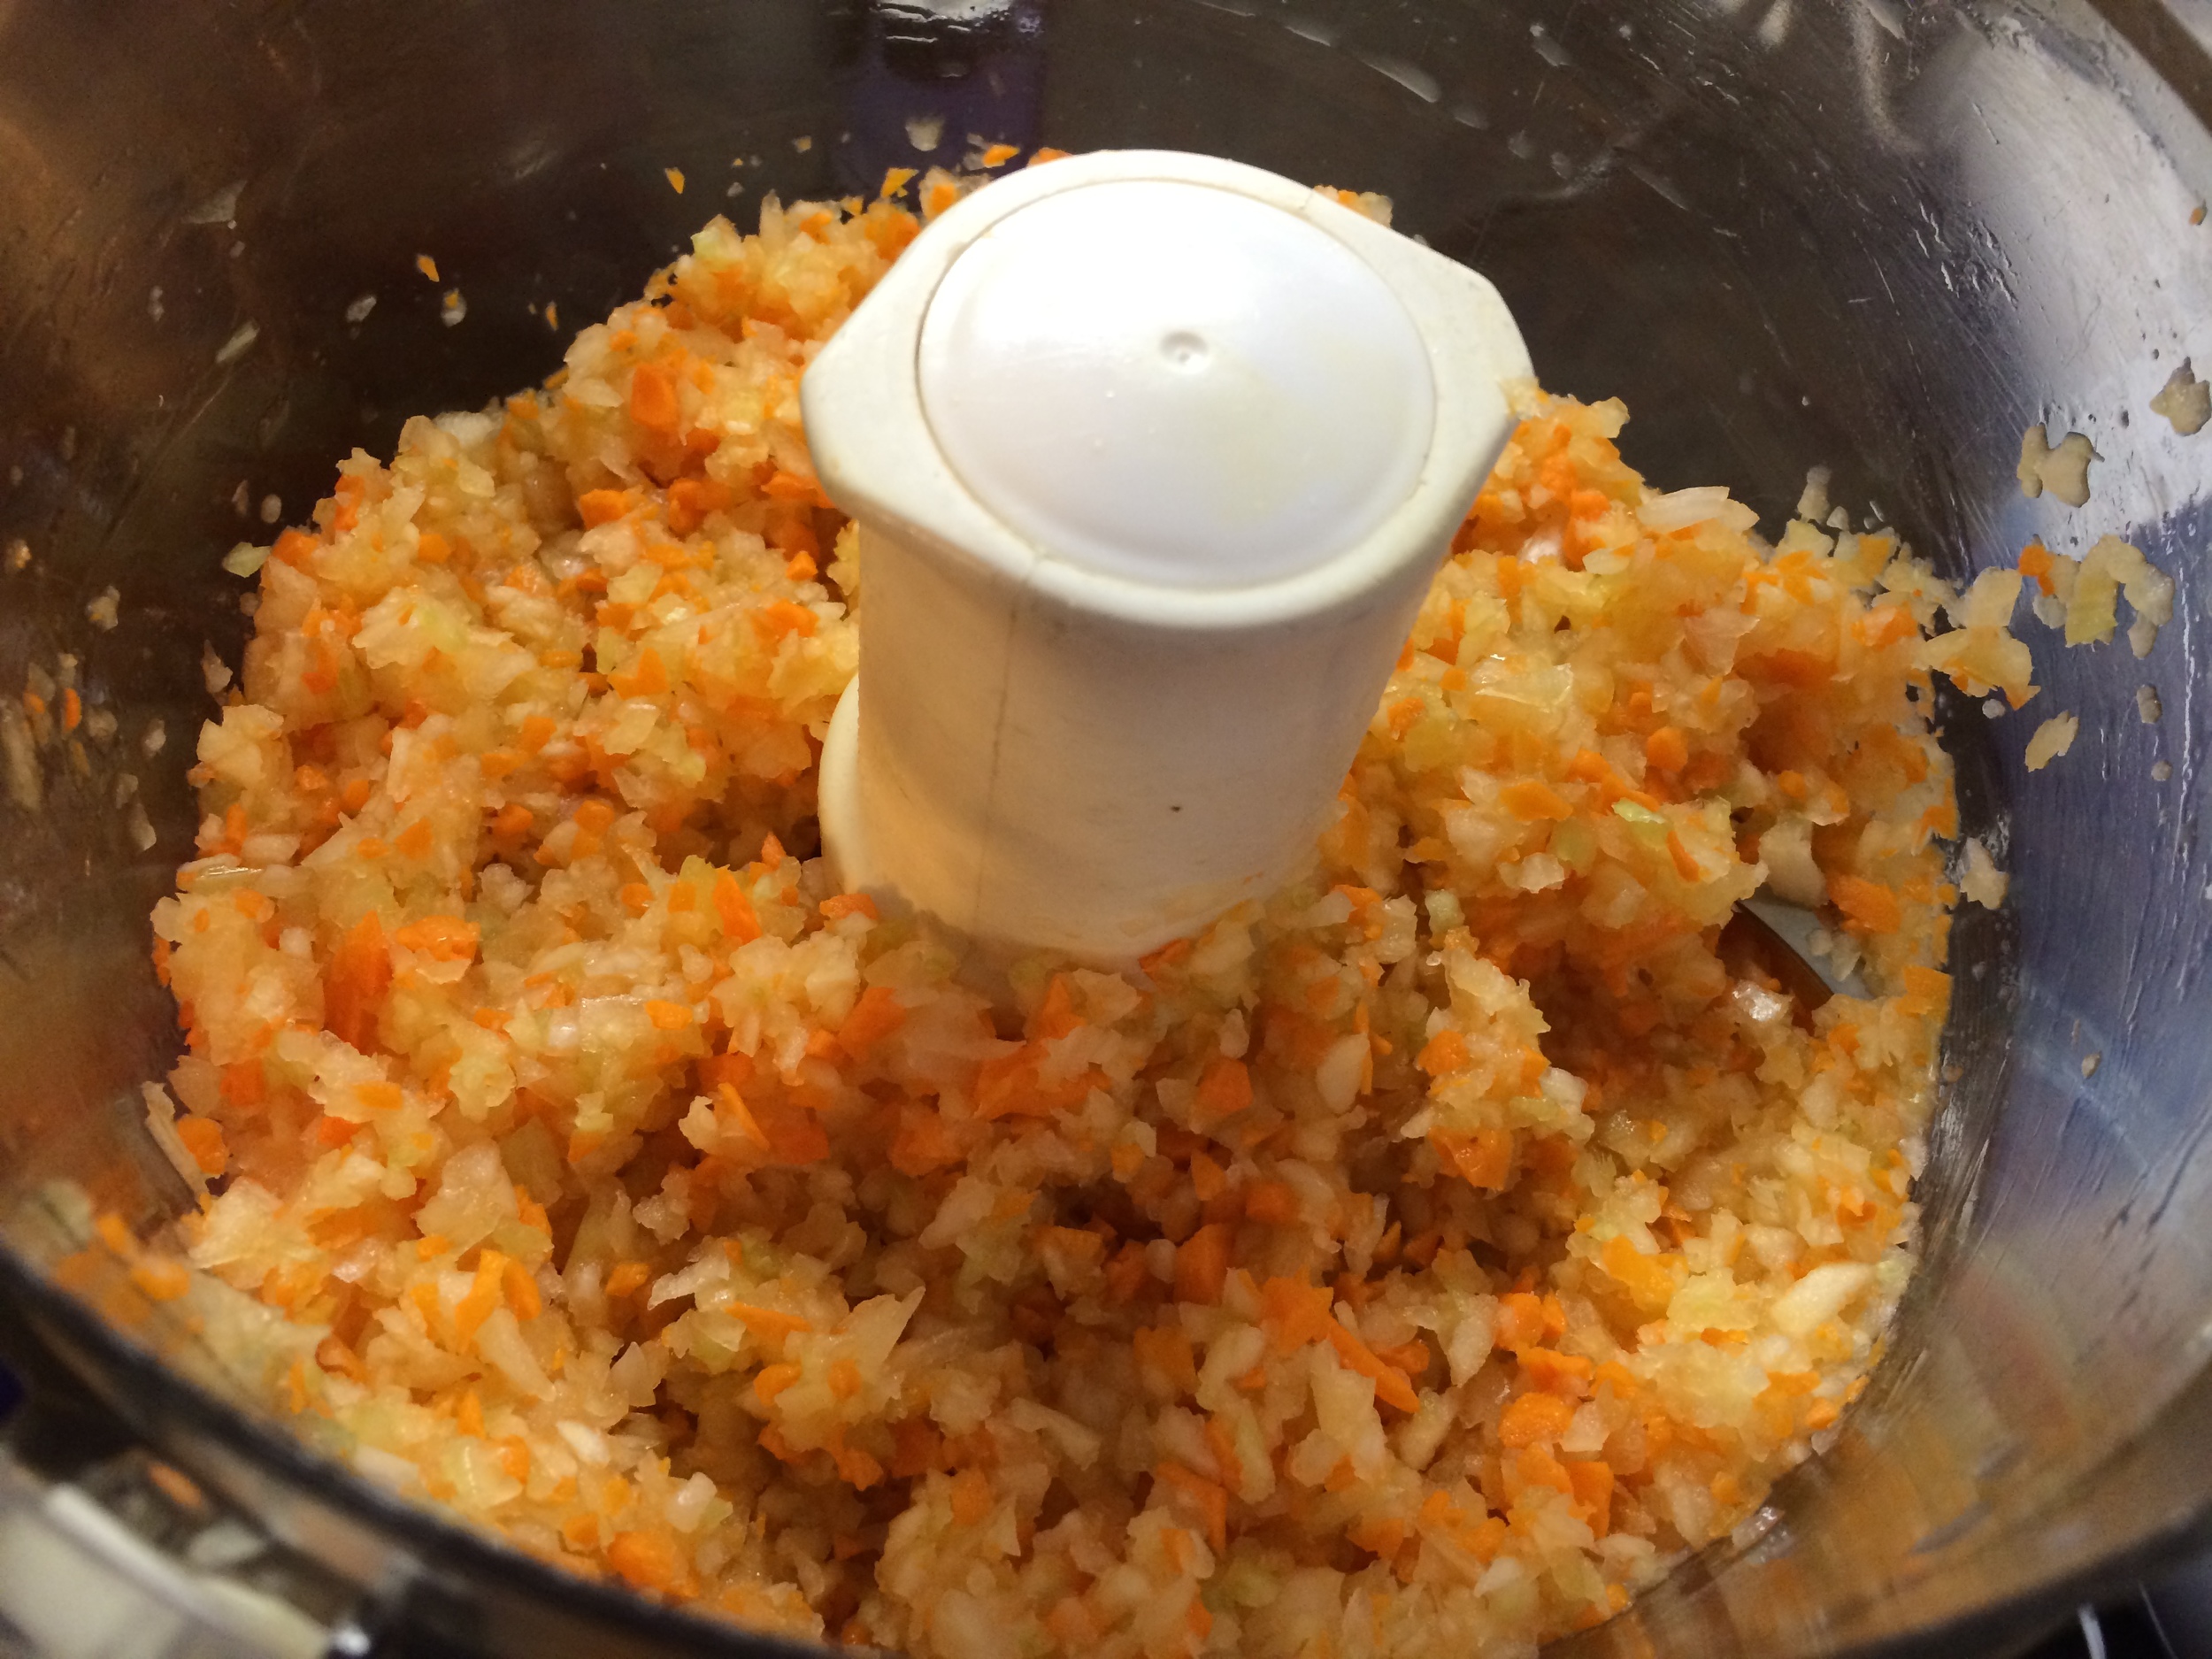
1.  In a food processor combine the carrot, onion, green onion, apple, celery, garlic and fresh shiitake mushrooms and process until very finely chopped, almost like a paste. It's better to use a food processor, but if you don't have one, finely chop these ingredients by hand.

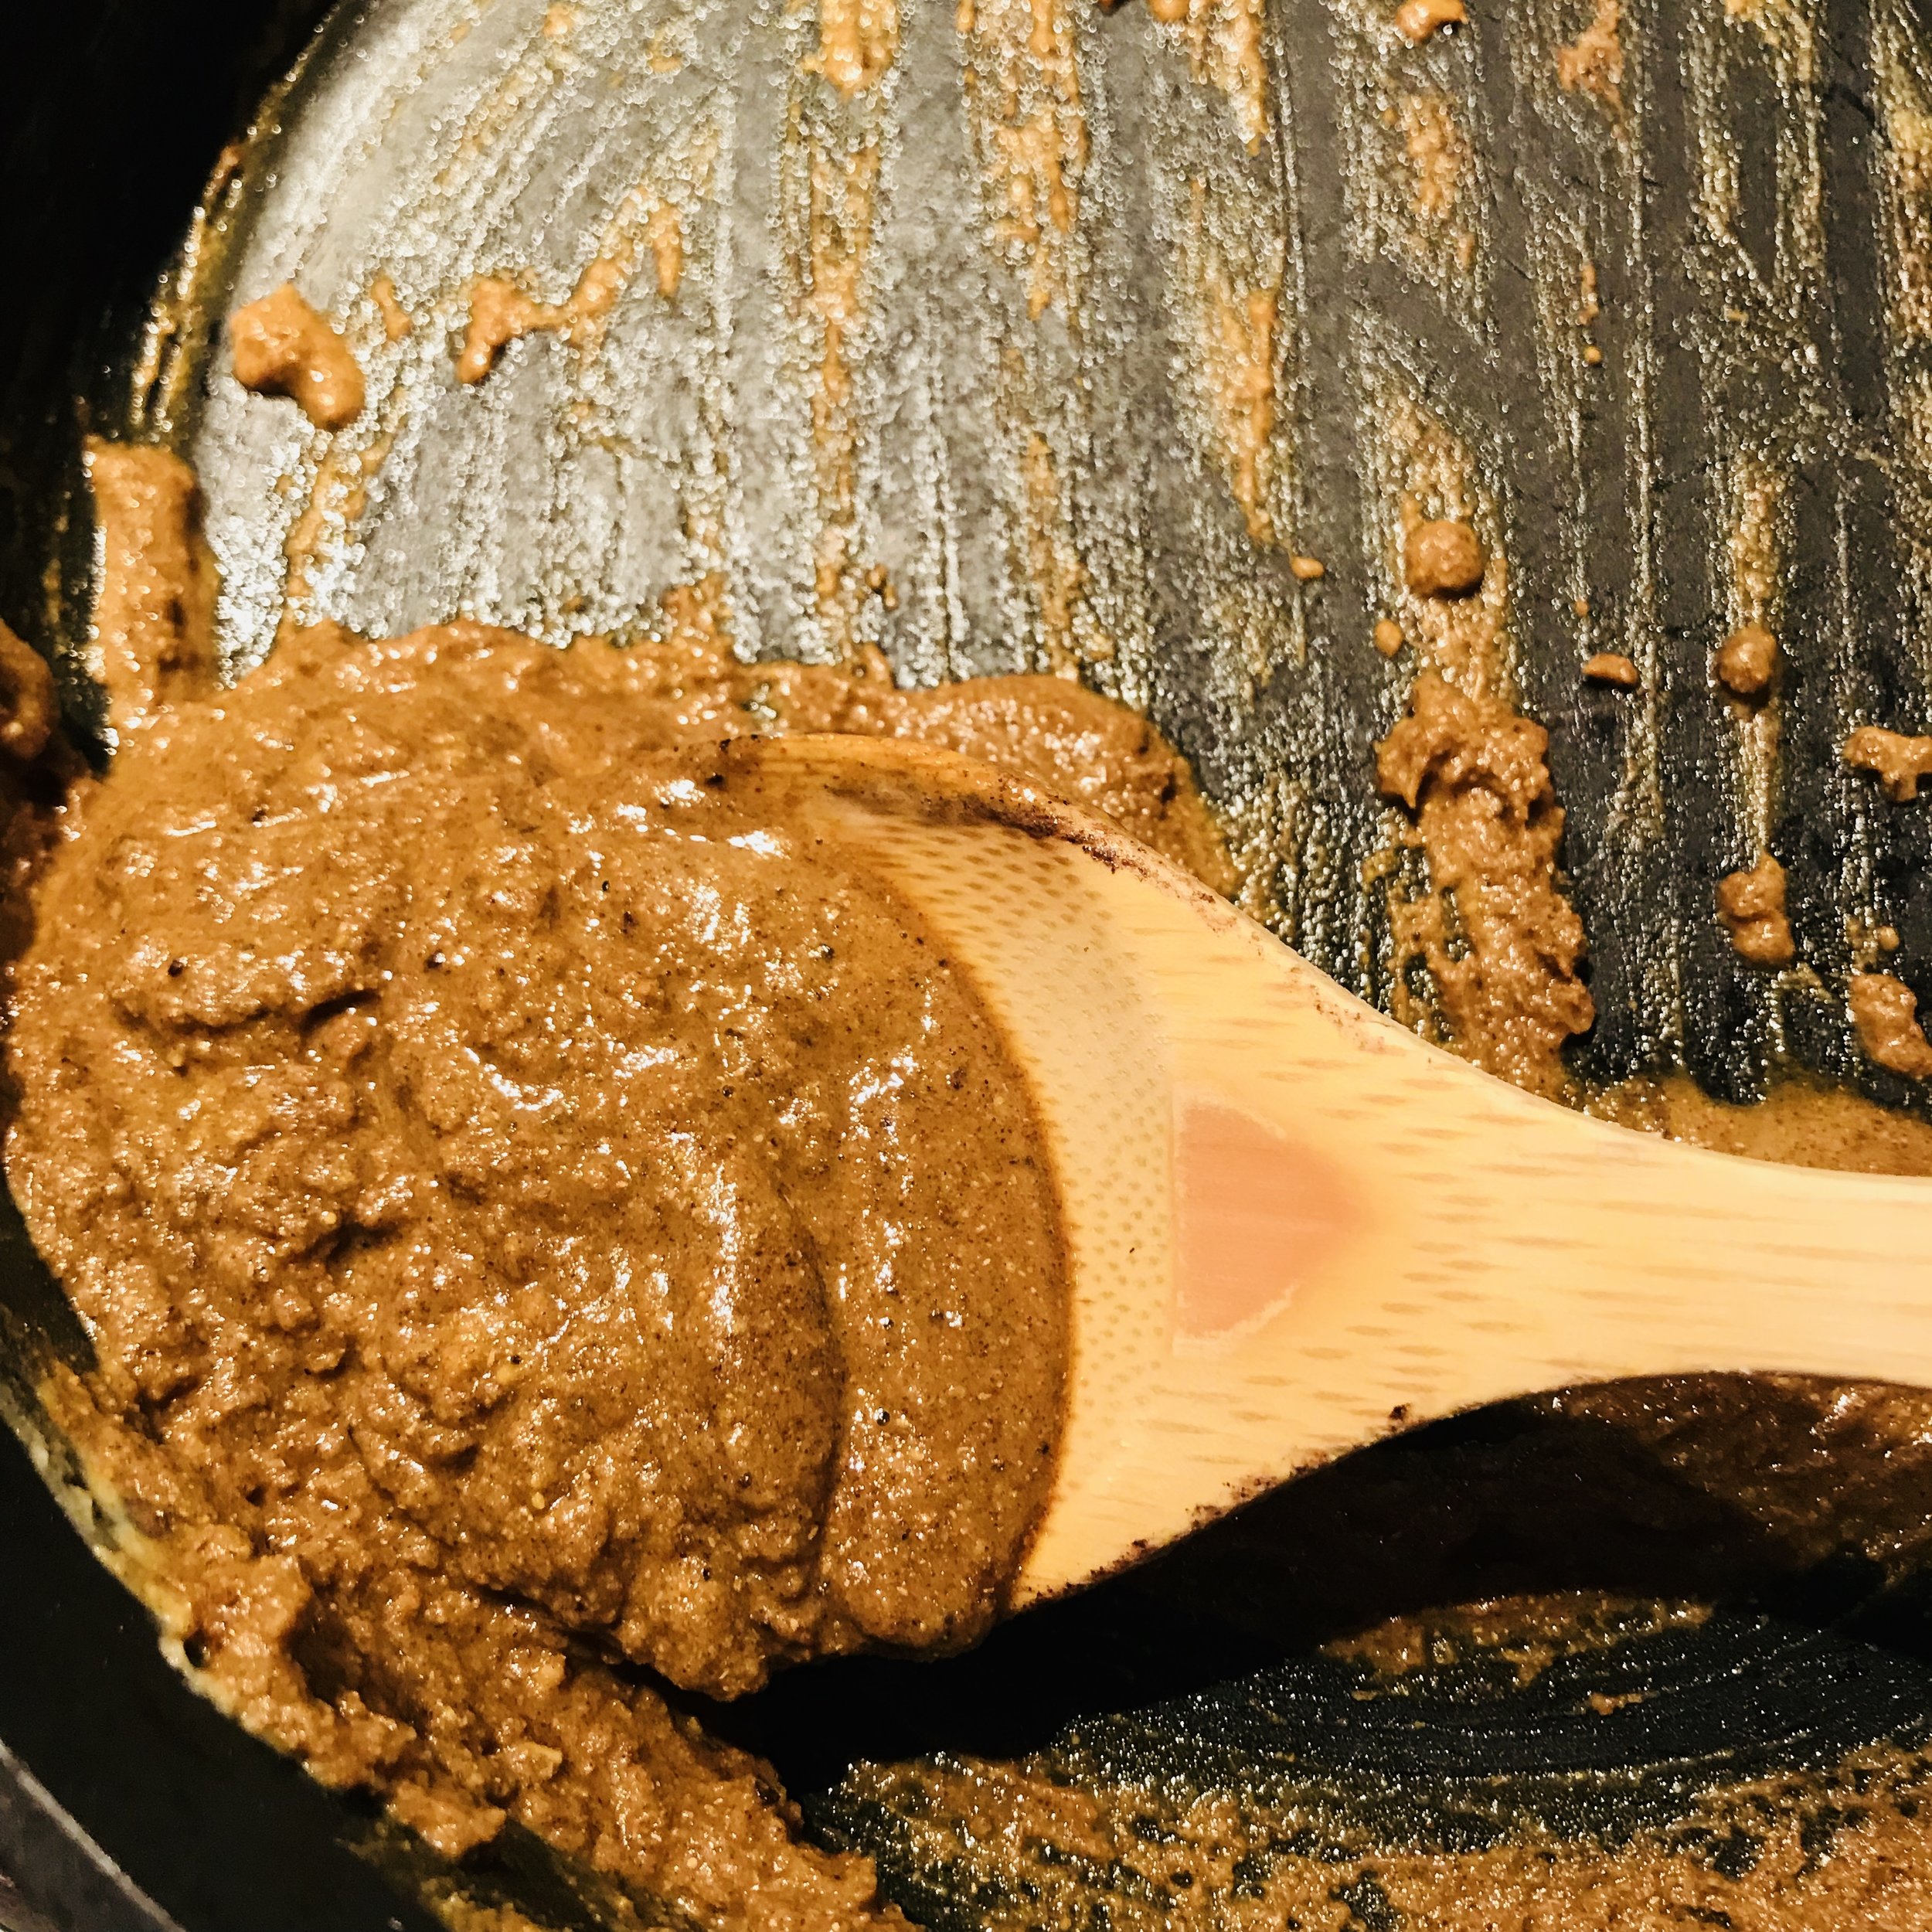
2.  In a medium size pot, warm the bacon fat and sesame oil over medium high heat. Add the finely chopped vegetables and cook, stirring occasionally, until onions are translucent and apple is tender, 10 to 12 minutes.  Add the dashi and fleur de sel and mix well.

3.  Start making your broth by adding butter to a large saucepan and heat over medium high heat.  Once the butter starts to brown and smells nutty, add the stock, mirin, kombu and crumbled dried shiitake mushrooms.  Bring to a boil reduce to simmer, and cook for for at least 15 minutes, then remove solids with a sieve.

4. While the broth is simmering, place a pot of water to boil for your noodles.

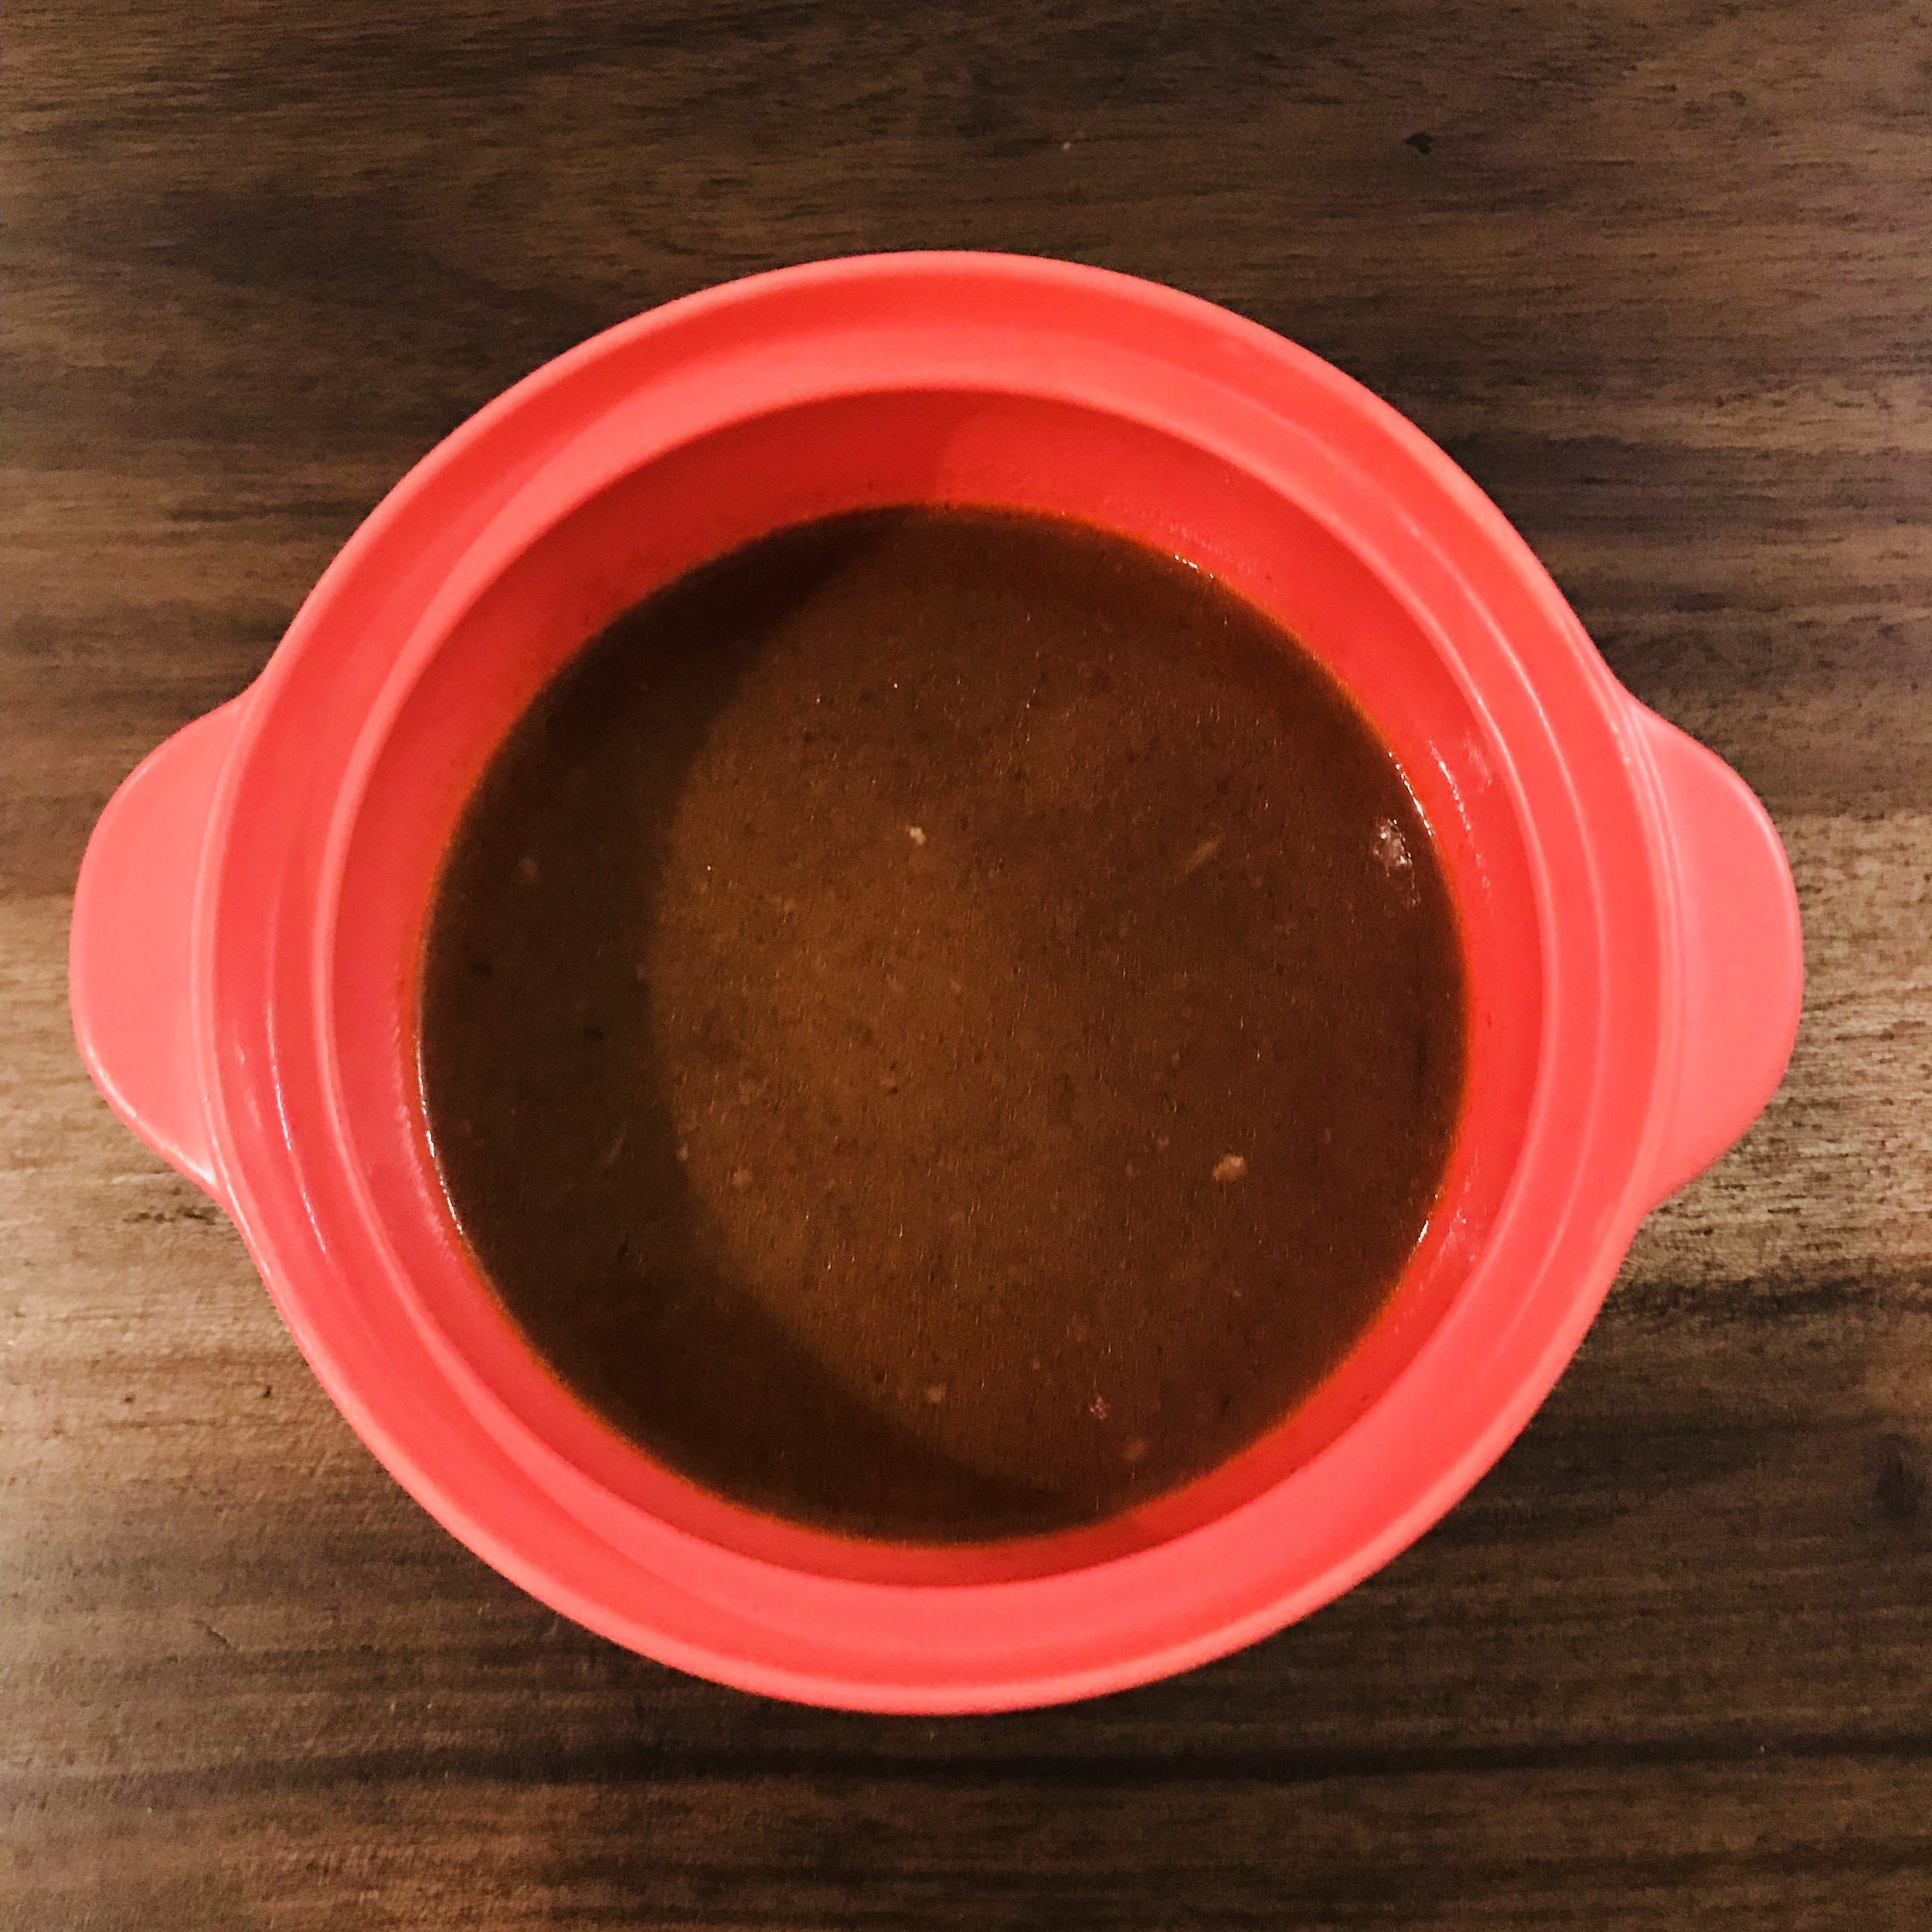
5. Add the Shio Base to the broth (depending on the number of people you are serving, it's 3 tablespoons Shio Base to every 1 cup of broth). Lower heat and let simmer until it's ready to serve. Use about 2 cups soup per serving. Right before serving, crank the heat back up to boil.

6.  When the noodles are cooked, drain well and separate out into serving bowls. Pour two cups of your soup over each bowl of noodles and add your desired toppings.

kakuniramen_photo_1.JPG


Source: http://www.easypeasyjapanesey.com/blogeasy...

Ramen Tour of Tokyo

Ramen Tour of Tokyo

Want to try the real deal in Tokyo, Japan?  My colleague Brian MacDuckston from ramenadventures chaperoned us to these six ramenya’s.  I’d highly recommend them for a nice well-rounded tour to experience the different types of ramen available in Tokyo. 

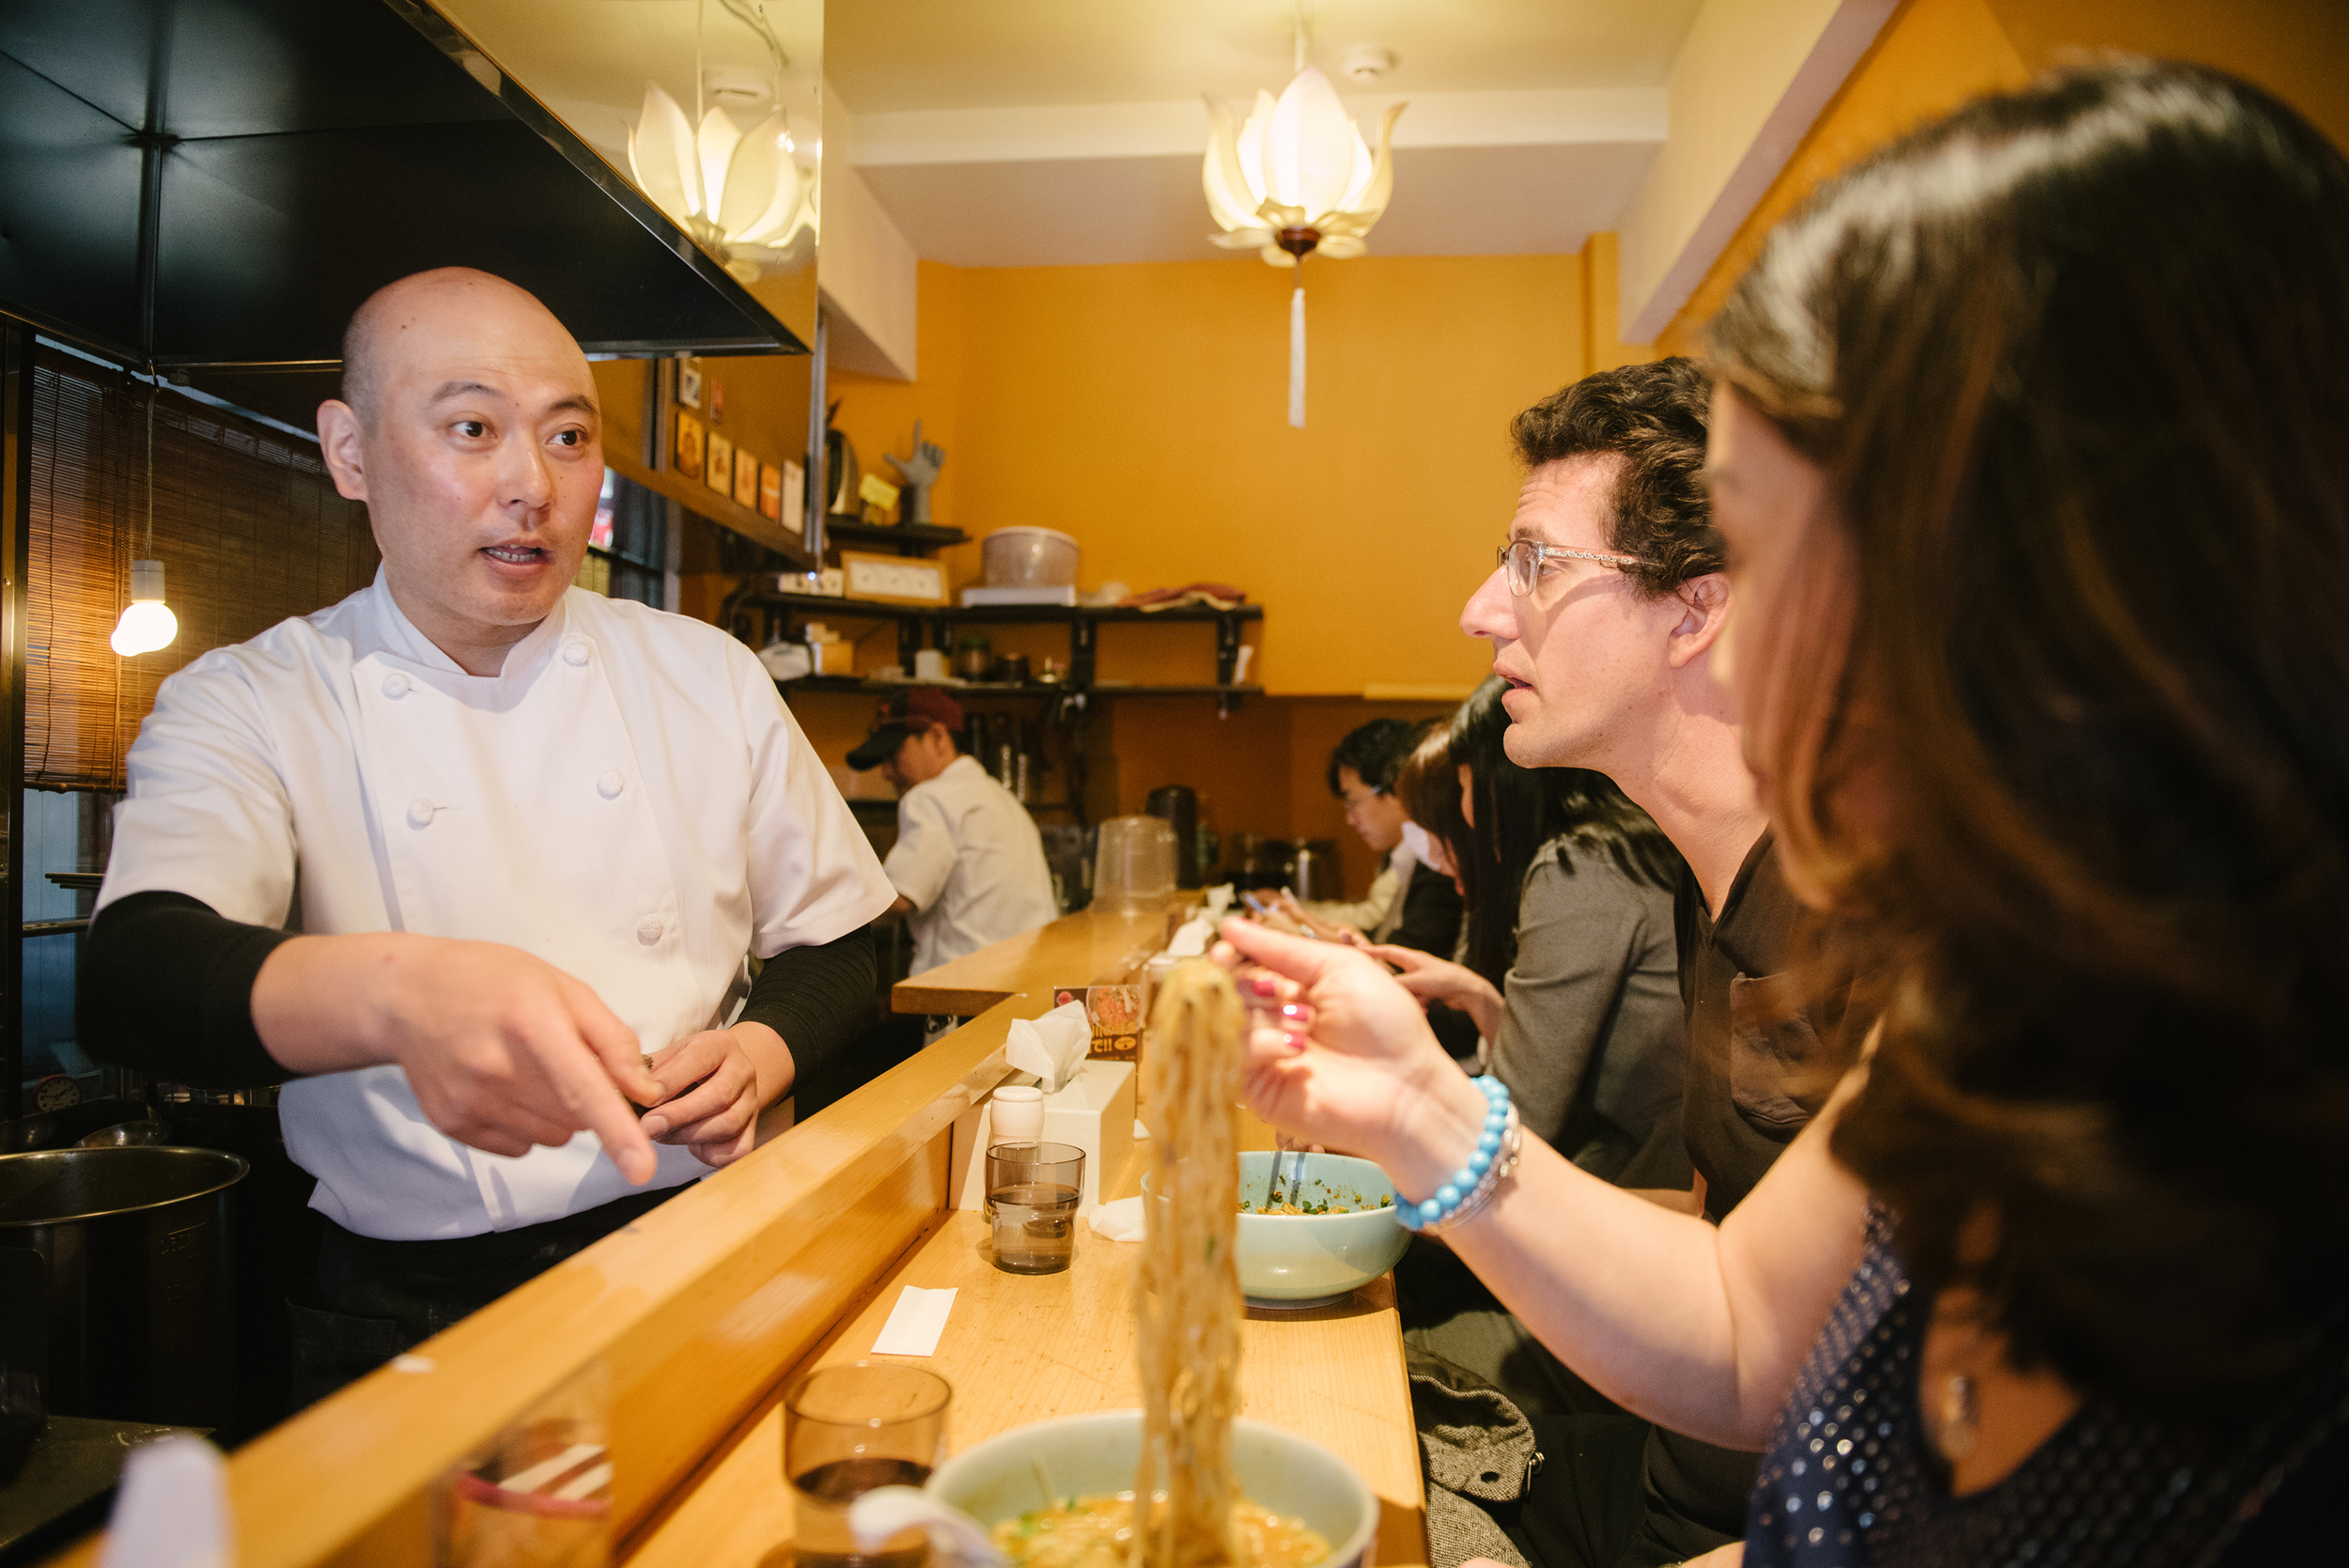
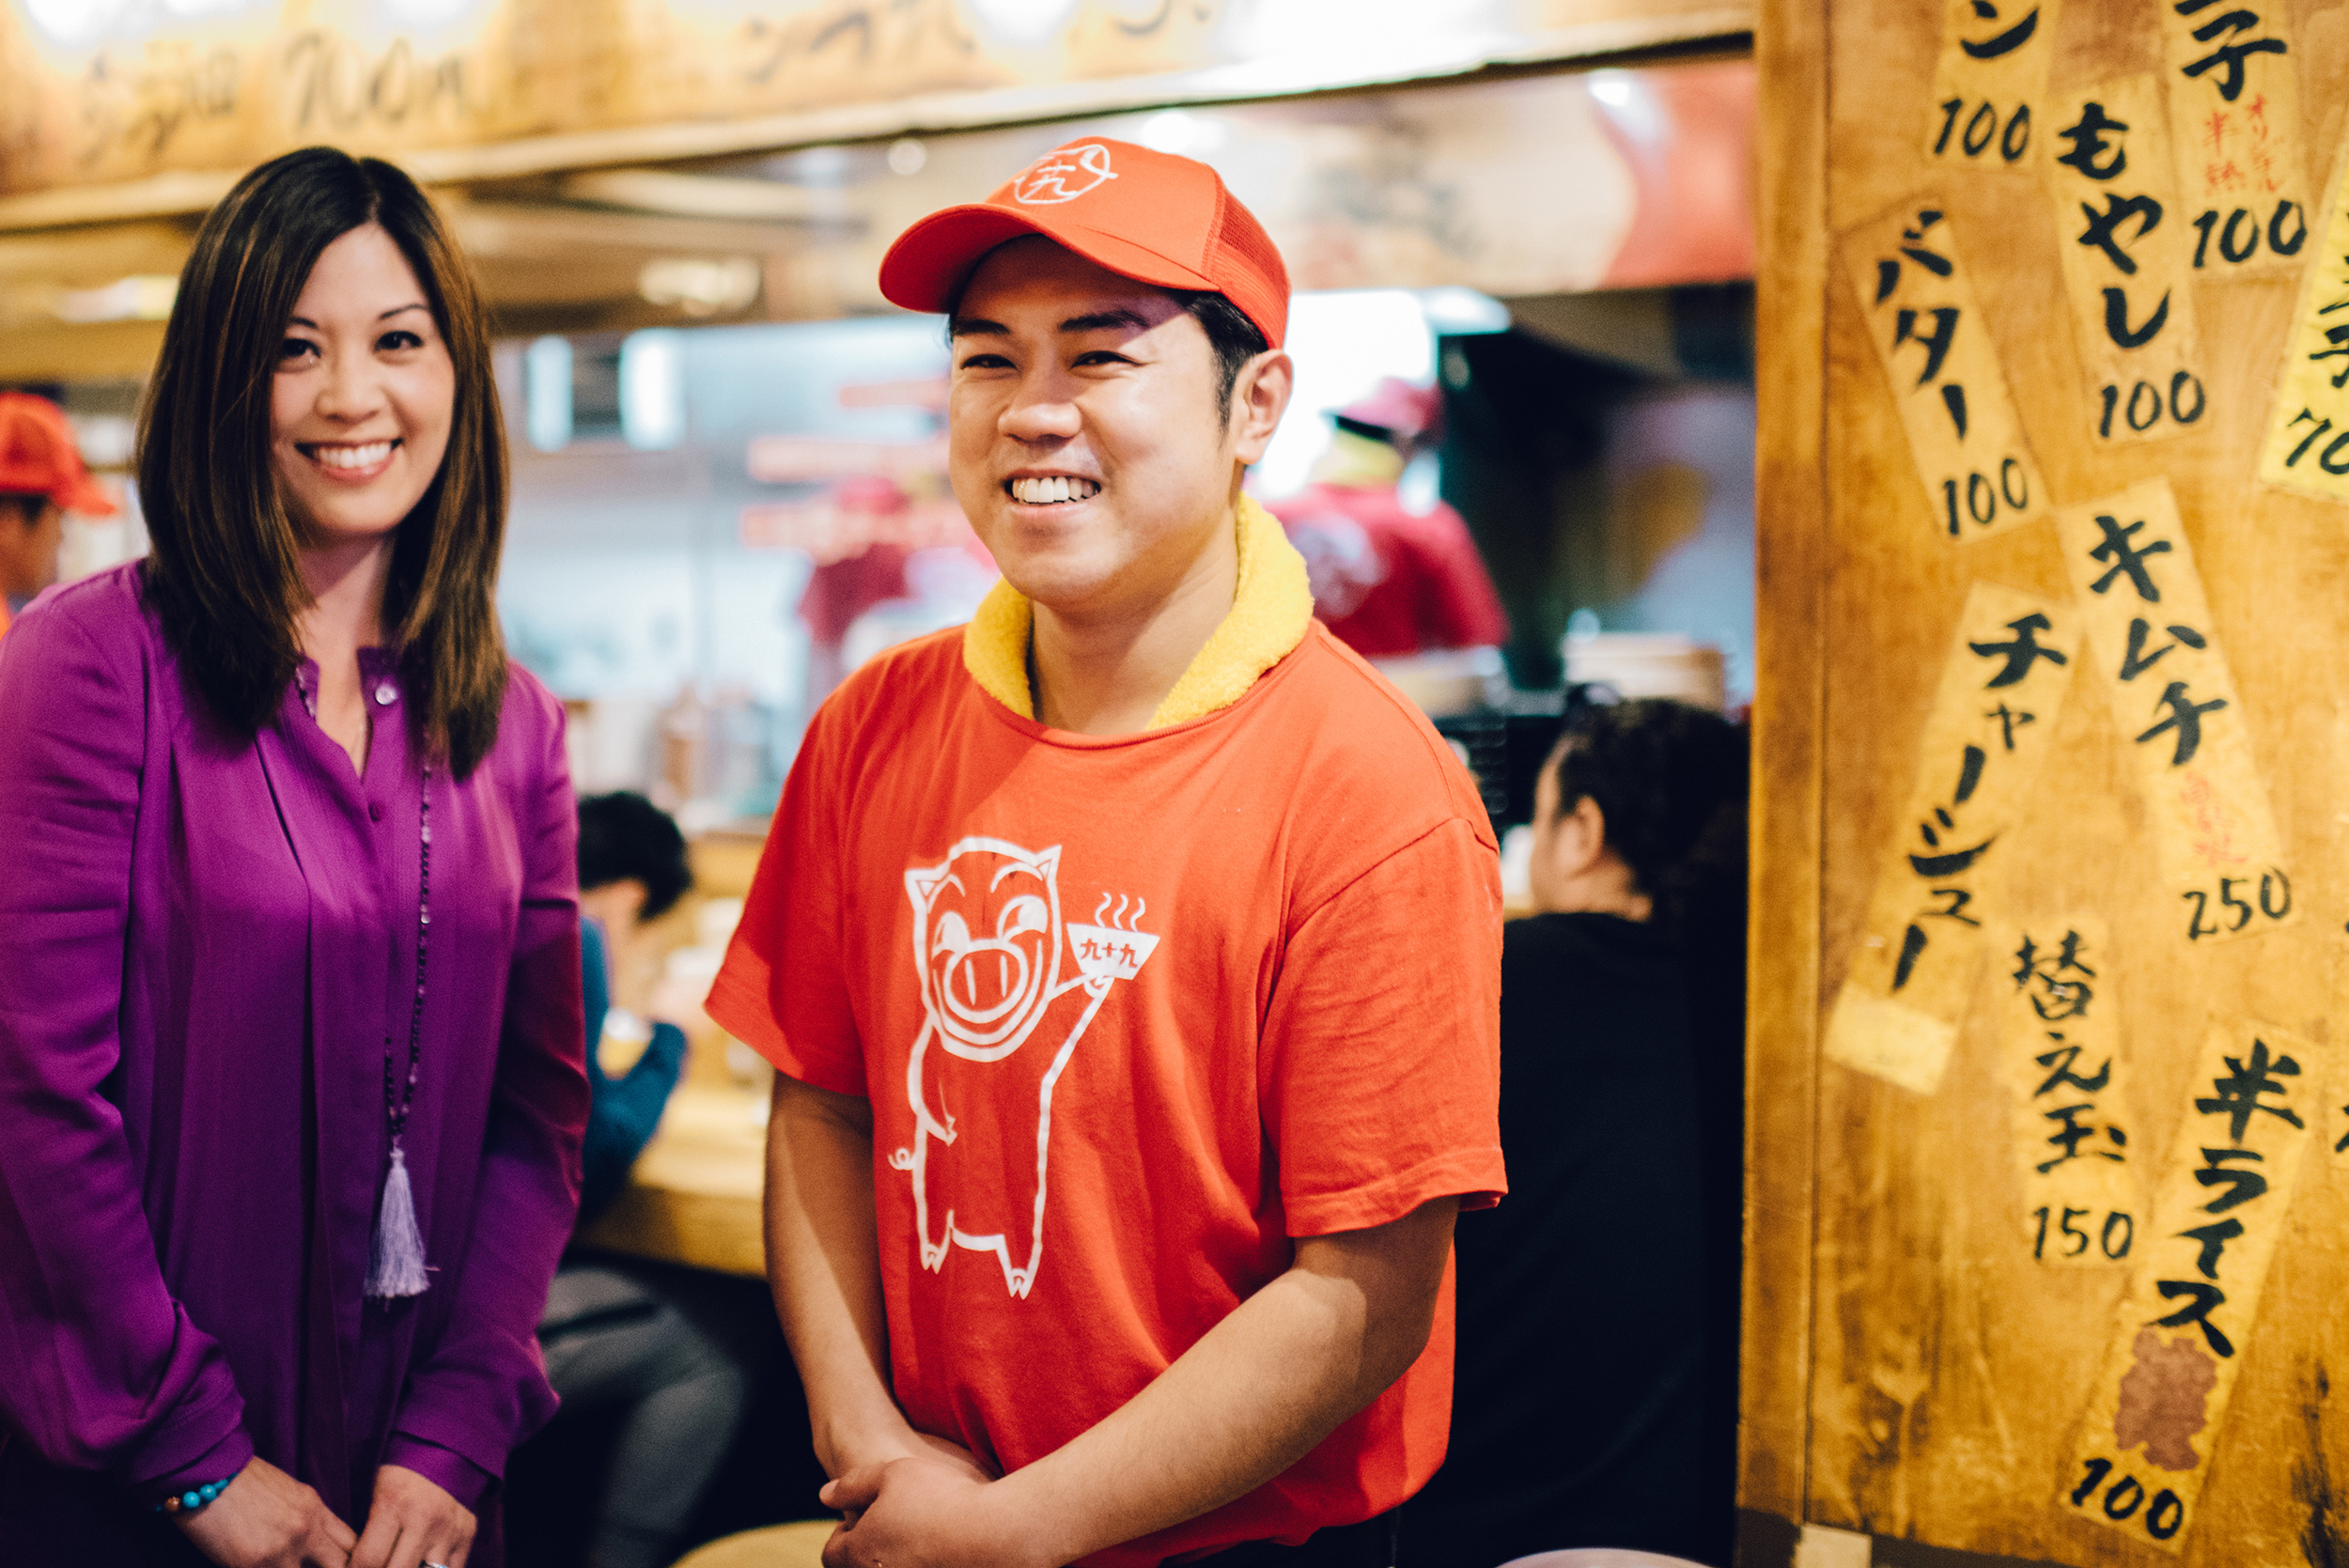
Most Tokyo ramenyas have very minimal seating, with seats at a bar and no waiting area. The chef is always present and is typically only accompanied by one or two apprentices, depending on the size of the shop. It’s quiet. The Japanese like to face the chef and eat without talking or socializing. It is the same at sporting or concert events in Japan, people stand side-by-side but there isn’t much interaction as they enjoy the show. It is their way of showing respect to the performer, and at a ramenya, to the master and his expertise. 

Customers respect the line and wait without complaining, no looking at their phones or talking too much. They place their order and pay at a small ticket machine at the front of the shop, make a line outside and sometimes line up along the wall in the back of the restaurant as their turn draws closer. When a seat opens up, they are prompted. You sit down quickly, hand over your ticket, and wait for your ramen. Within minutes, the bowl is presented on a raised bar in front of you. They dig into their ramen, and finish within 15 minutes. With a polite “gochisosama”, they exit and the next person sits. This efficient system keeps the line moving quickly. 

Some ramenyas are set up in more of a restaurant style with a waiter, a menu, and proper drink service. You are welcome to stay longer at these establishments but my advice is to show respect and do as others do. Eat, enjoy and get out. You can talk later.  

1.    Japanese Soba Noodles Tsuta, Master Onishi-san

東京都豊島区巣鴨1-14-1

Tokyo, Toshima-ku, Sugamo 1-14-1

Closest station: Sugamo

Open 11:00-16:00

Closed Tuesdays and Wednesdays

Don't let the name confuse you.  "Soba" translates to noodles, so this is a ramen shop, not the traditional "soba" noodles you are thinking of. This was our first ramen stop in Tokyo and probably the most formal of all of the ramenya’s we went to.  It had a long line at 11AM, it was the first time we used the ticket machine to place an order, and everyone was quiet as a mouse, except for the slurping of course.  We were advised by Brian to only take pictures of the ramen but to do this very quickly.  Our bowls were placed on the raised bar and it was as if we were paying homage by reaching for it with both hands and placing it in front of us to consume. My traveling partner and photographer for the trip, Andi and I each shared the Shoyu and Shio varieties and thought they were divine.  The soup wasn’t too heavy so we were able to finish them both, the egg filled with liquid gold and just enough negi (green onion) and chashu. The Shio version had a delicious green pesto type topping that I think was made with anoriko, a powdered seaweed.

2. LaShowHan, Master Okada-san

東京都千代田区神田錦町 1-4-8

Tokyo, Chioda-ku, Kanda Nishikicho 1-4-8

Closest station: Ogawamachi

Open 11:00-15:00, 17:30-20:00

Saturdays 11:00-14:00, 17:30-20:00

Closed Sundays

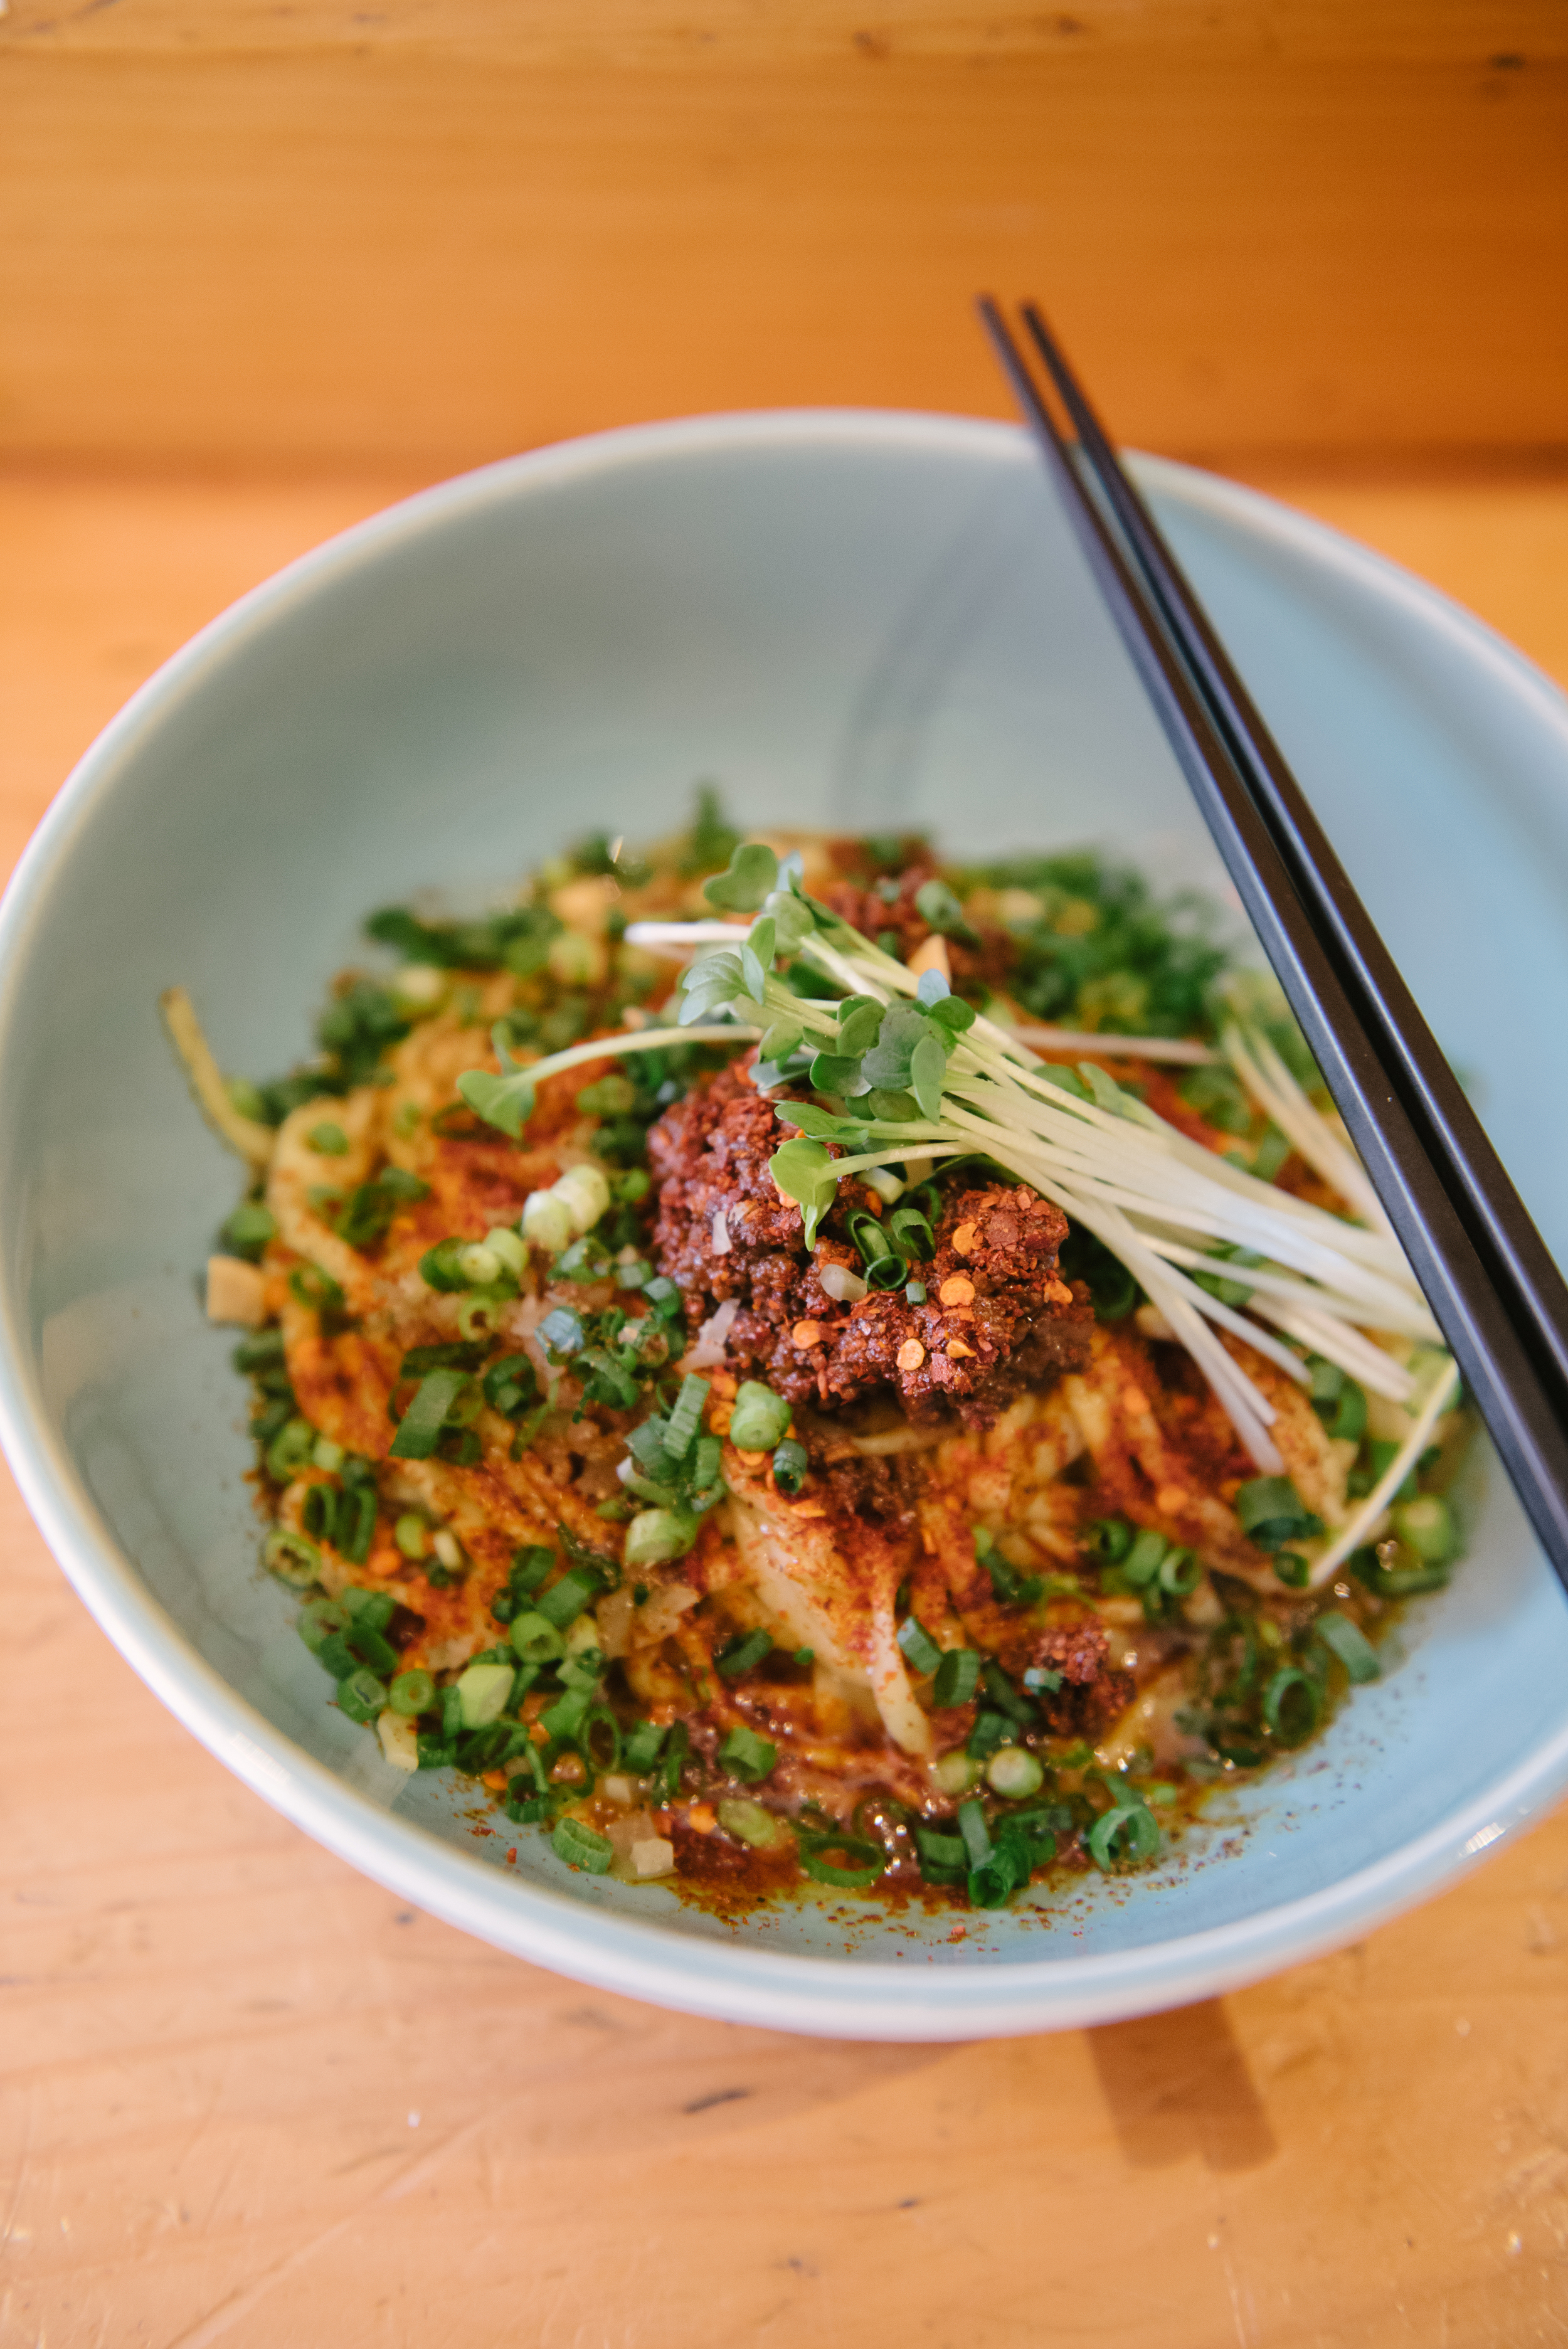
This was my first taste of tantanmen, a Japanese adaptation of a Szechwan style spicy noodle dish known as Dan Dan noodles. I don’t tend to like super spicy food, but the Premium Si Chuan Style bowl was not too overpowering and the sansho chili pepper gave it a earthy, lemon taste that just slightly numbed my tongue. I loved that it was served mazemen style (or without soup) so that the spices and the sauce were folded into every bite. I was just as fond of the owner, Master Okada-san. It’s also not a strict sit, eat and get out establishment, which was refreshing! 

3. Mensho Tokyo, Master Shono-san

Address: Yubinbango112-0003 Bunkyo-ku, Tokyo Kasuga 1-15-9 1F Closest Station: Kasuga

Hours 11AM – 3PM and 5PM -11PM

Closed Tuesdays

Web: http://menya-shono.com/tokyo/access/

I ordered the Shoyu-Niboshitare Tonkotsu Ramen with a side of tender lamb.  The tonkotsu is cooked with pork and lamb bones with a lamb chashu and the most interesting prep of menma in long strips to top it off.  My favorite part was Master Shono-san’s signature spice mix of ground cinnamon, cumin, and fennel seeds that was provided in a shaker at the table. The décor and ambience are cool and casual - he has a chandelier made out of Niboshi or dried infant sardines in the front of the restaurant. He also has 5 other ramen shops in Tokyo with one US location in San Francisco

4. Fuunji, Master Miyake-san

Address: Hokuto first 2-14-3 1F, Yoyogi, Shibuya-ku, Tokyo Closest station: Shinjuku

Hours 11AM – 3PM and 5PM – 9PM

Open Monday - Saturday

I read about this place on ramenadventures.com before my trip and was so excited to taste their tsukemen, or dipping noodles with Brian himself.  Unfortunately, he had another appt to go to but he made sure we purchased the right ticket at the machine in the back and ushered us in. It was worth the wait - a complex and layered chicken-bone soup with deep fish flavors and an intensity that made every noodle laden bite satisfying. Brian would later tell me that the soup is actually a tori paitan, with chicken bones cooked in the same way you would pork bones for a similar soup. It is then added to a 2nd fish soup to give it that smoky flavor.  This was the first place we’d been to where the line continued to the back of the bar where everyone watched over the customers in anticipation as seats would free up and our line would slowly move ahead.  The master was super serious, very concentrated and intently involved in his preparation for us.  I was mesmerized.

5. Tsukomo, Master Takahashi-san

Address: Hongoku Build. 1F, 1-1-36

Hiroo, Shibuya-ku, Tokyo Closest station: Ebisu

Hours 11AM – 5AM

Open everyday

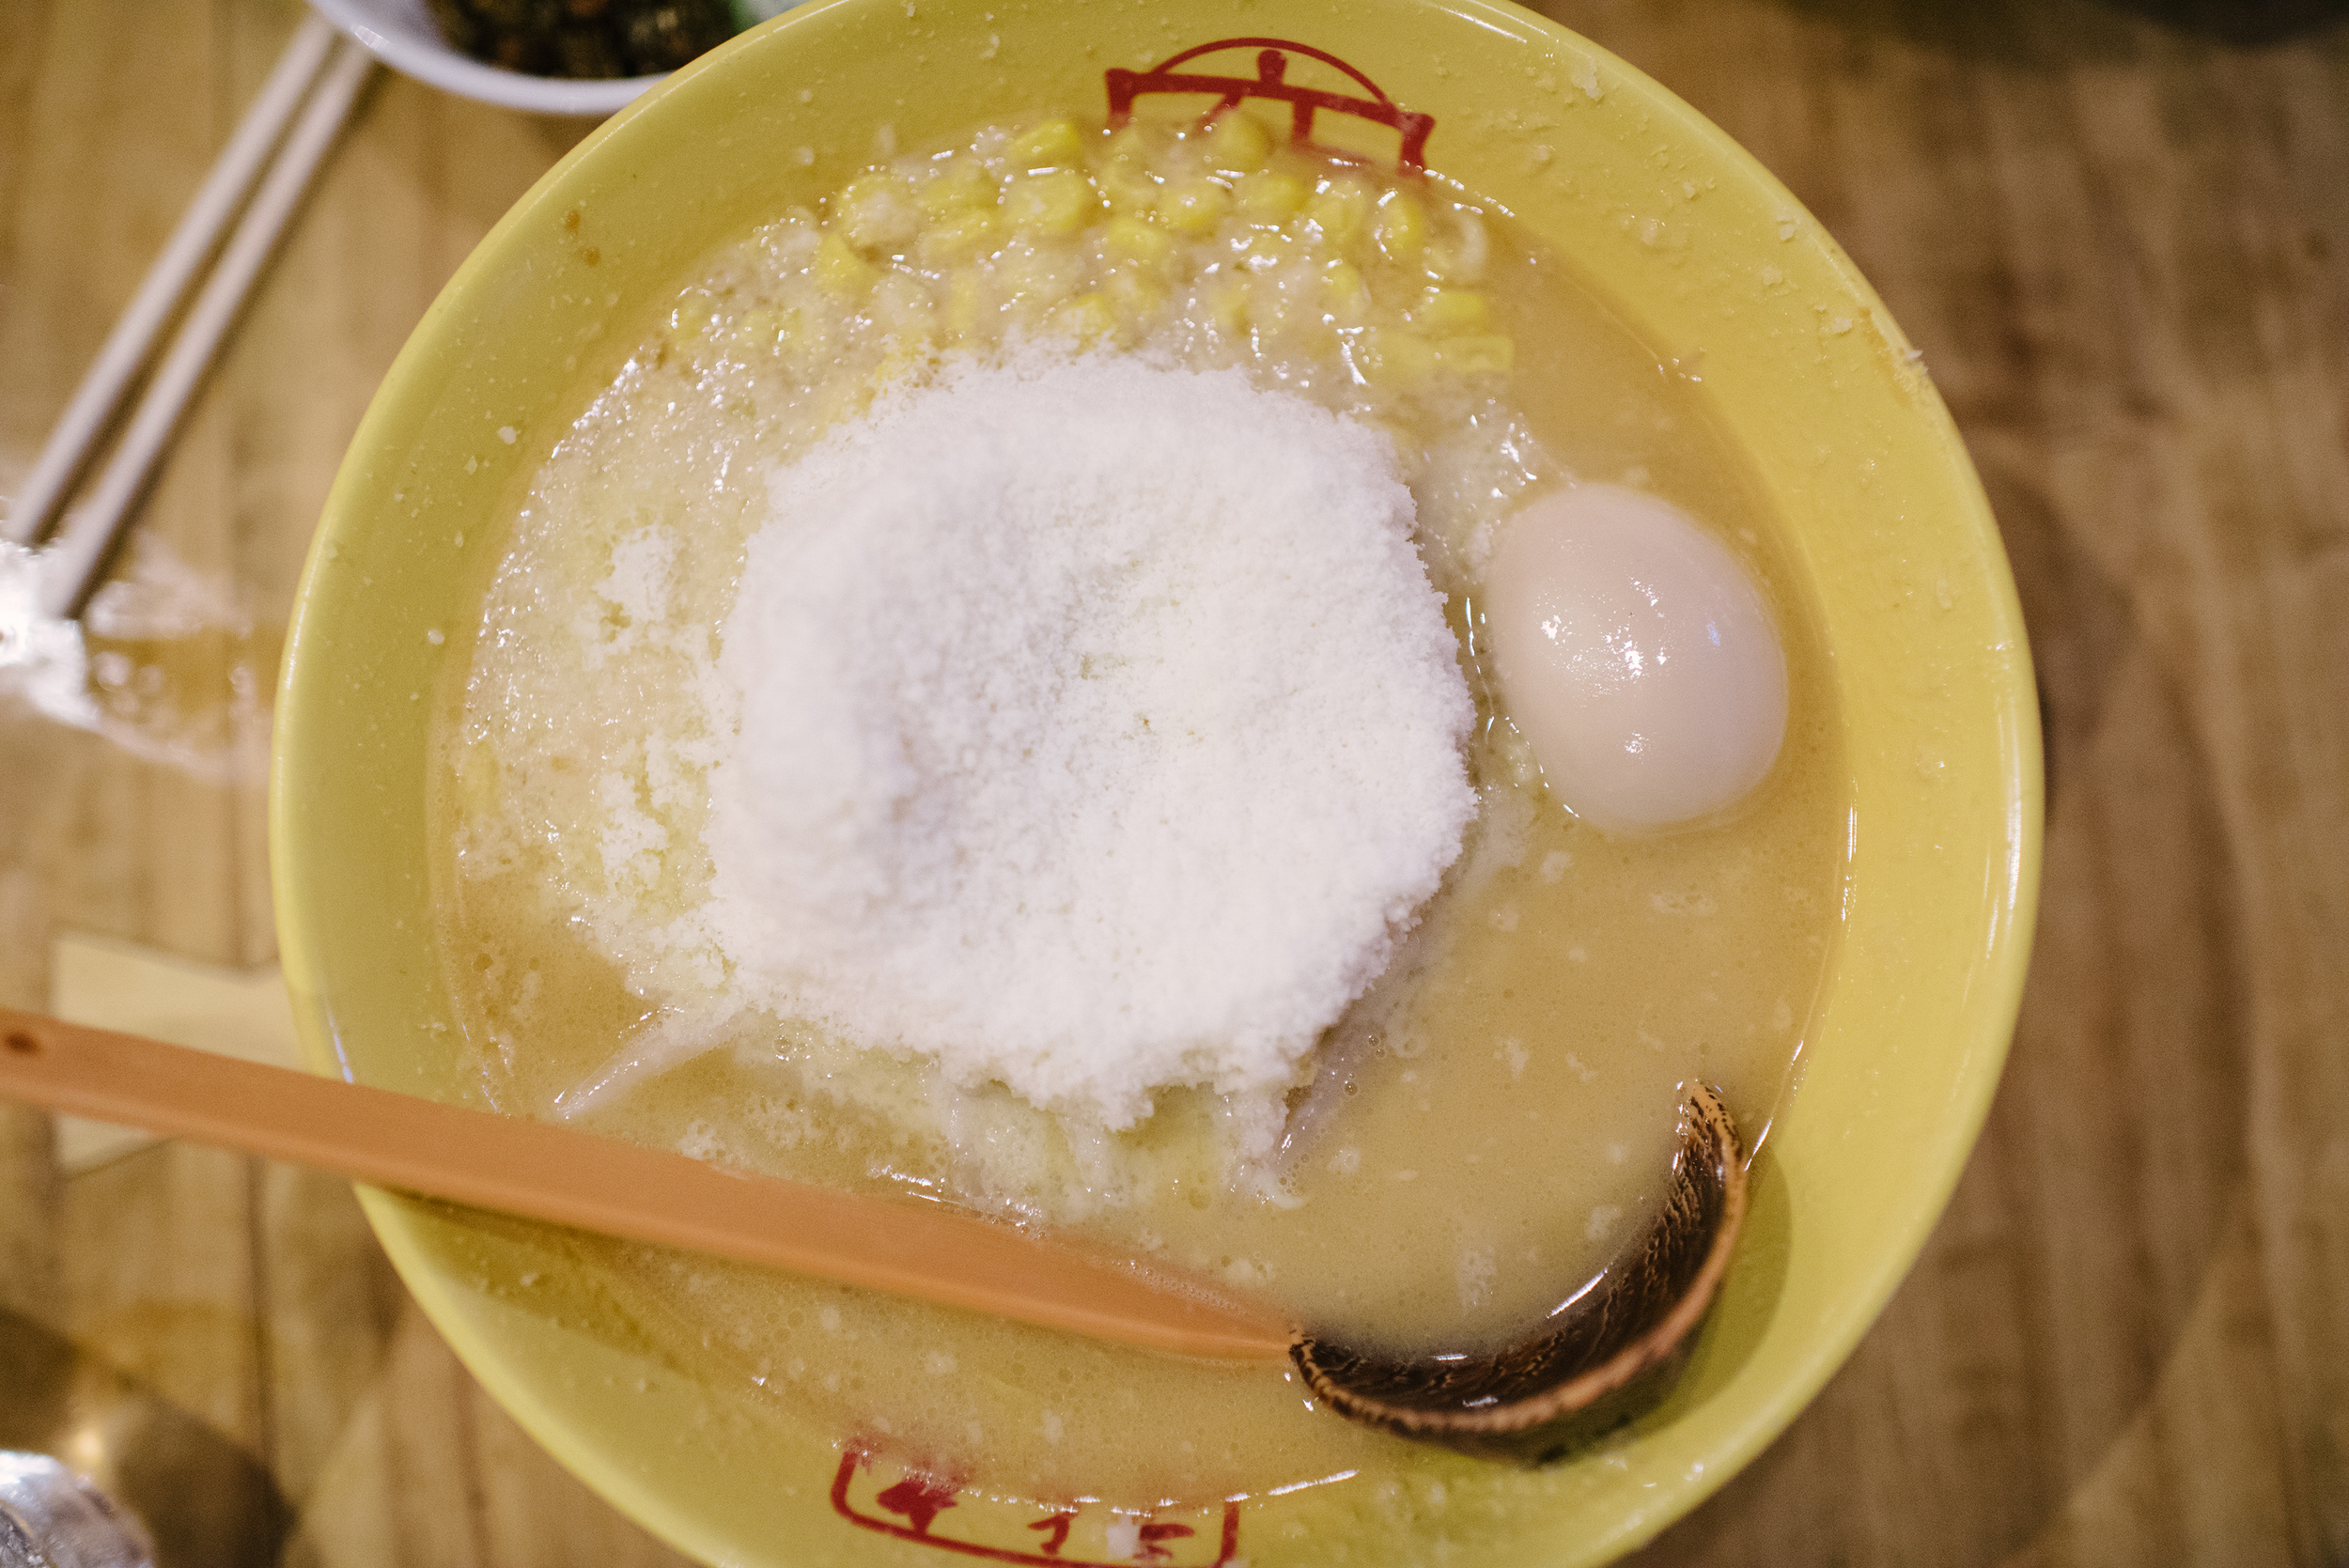
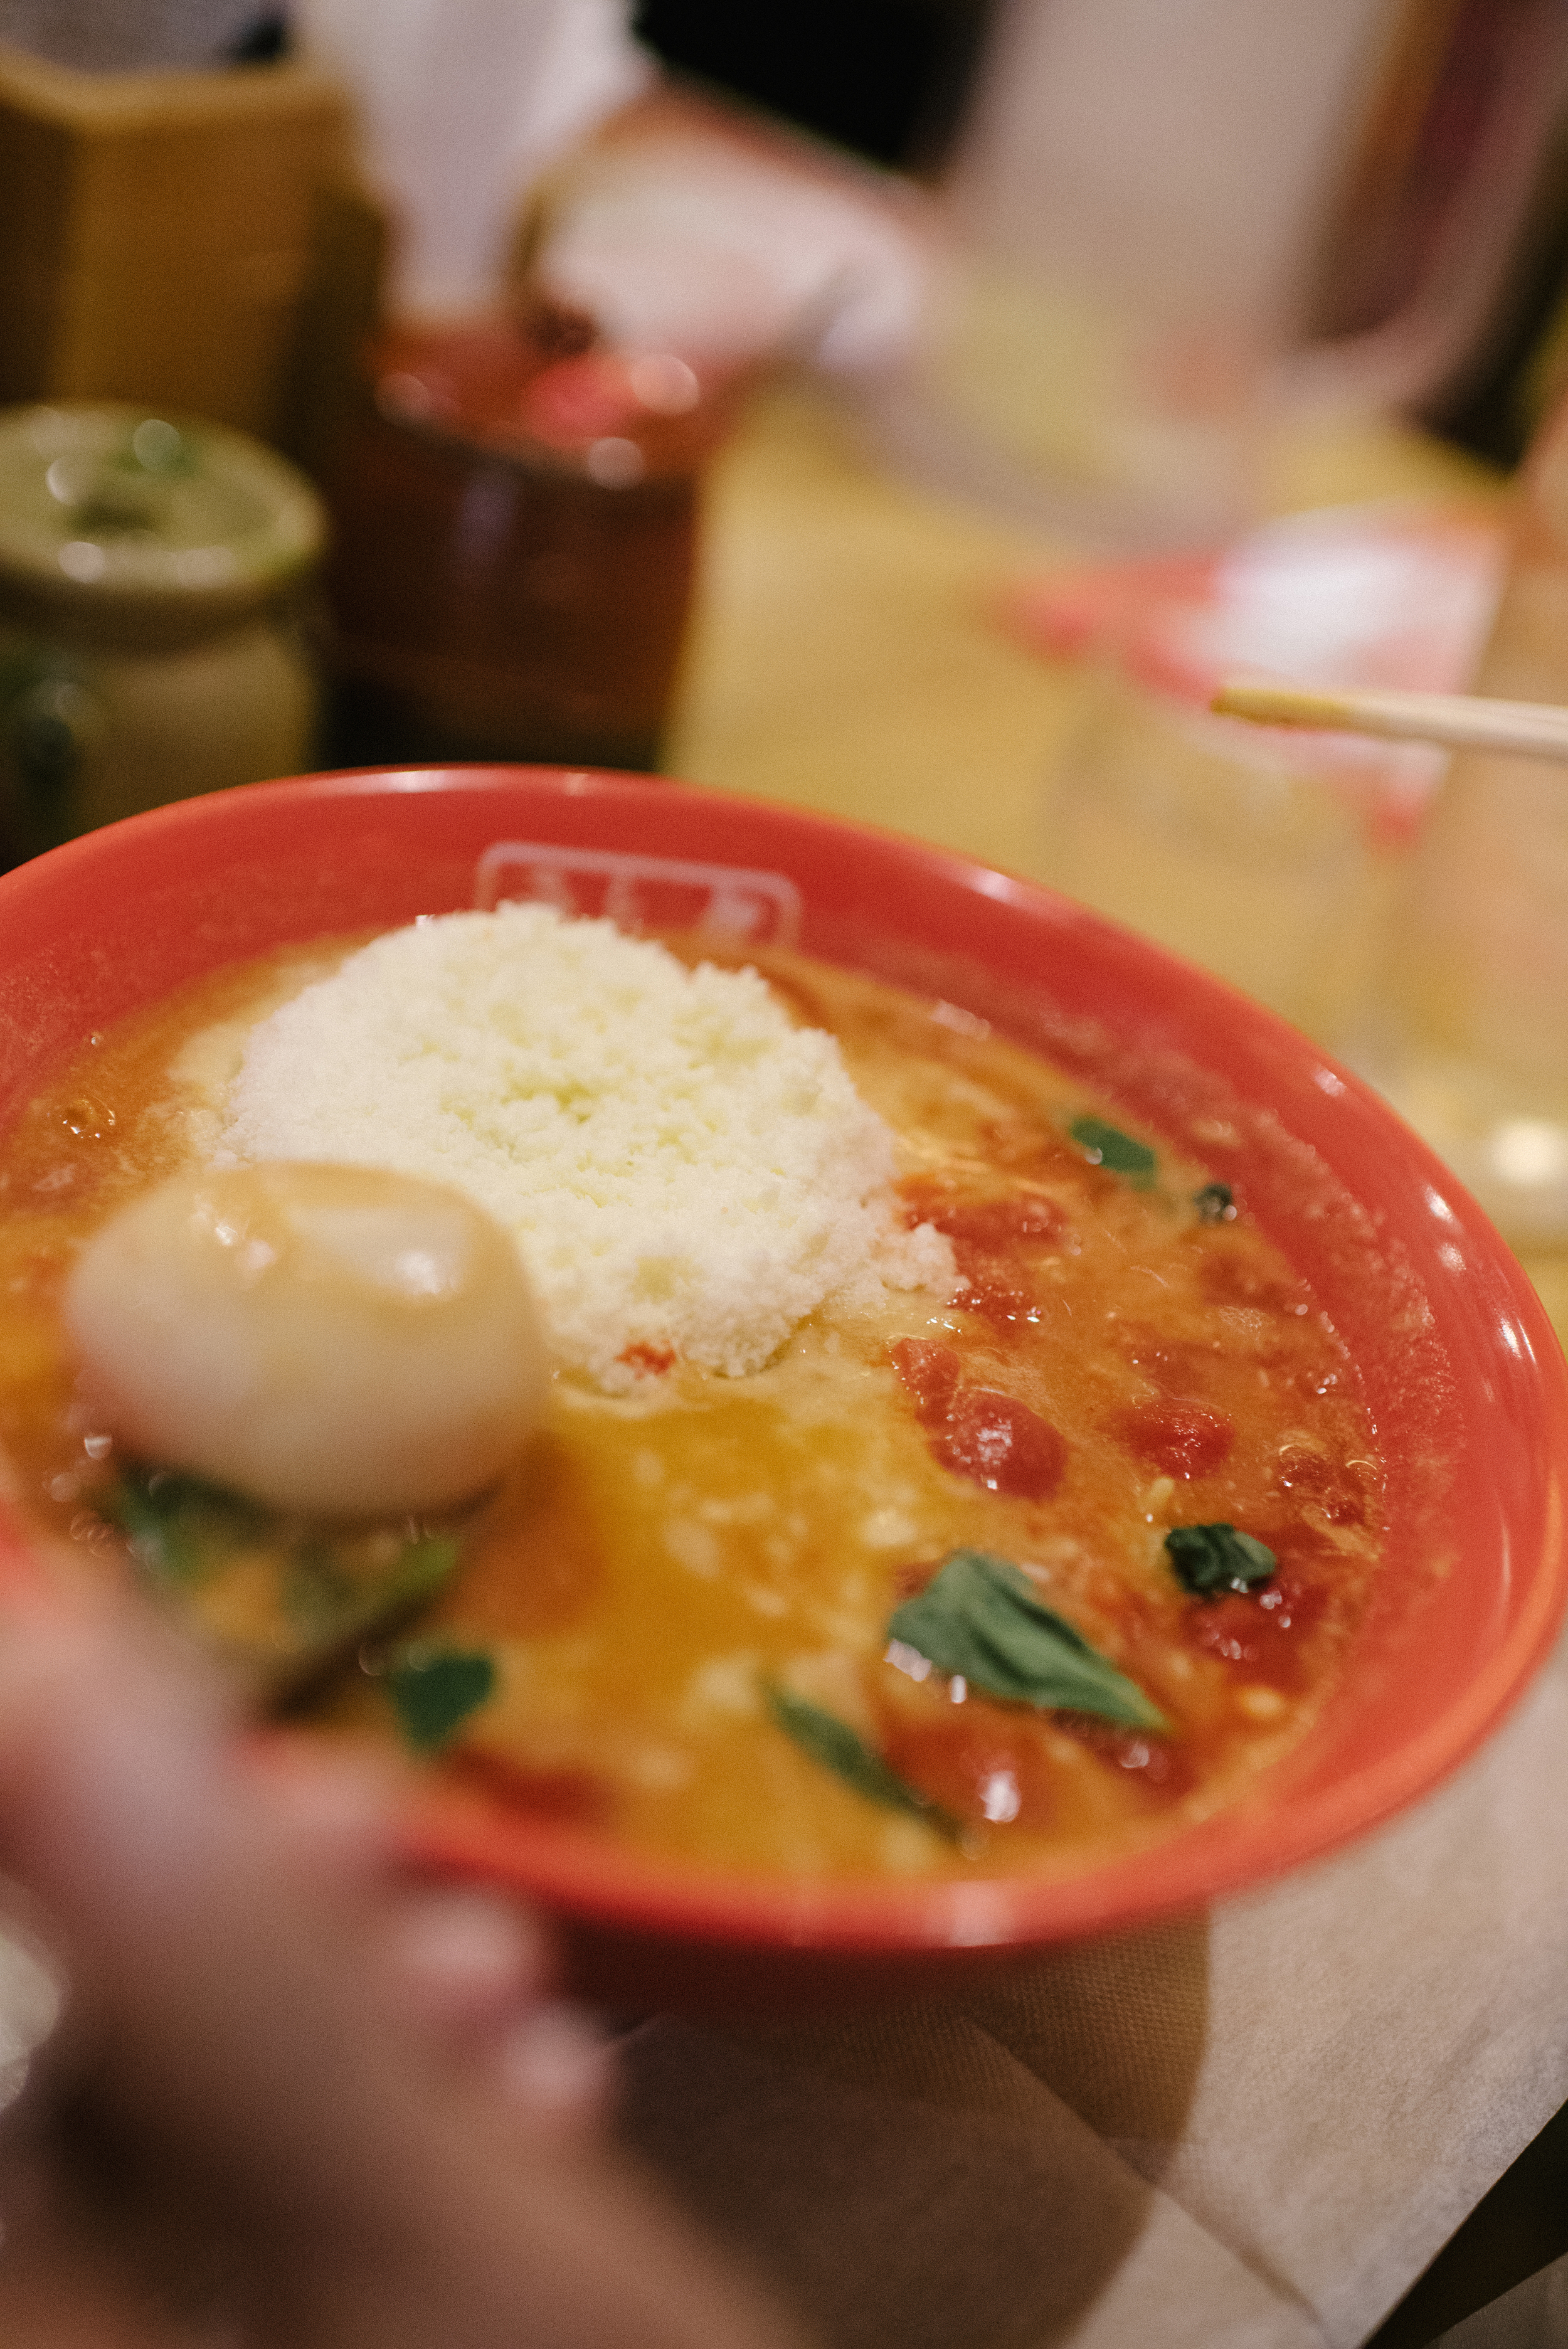
This ramenya is famous for its Cheese Miso Tonkotsu Ramen. A special type of local artisan cheese called Golden Gouda is incorporated into the soup and also piled high on top. It’s shaved to almost a powder form right at the bar so it sinks and melts into the soup to give you a rich, thick satisfying meal. You won’t be hungry an hour or five later. 

6. Usagi Shokudo, Master Mori-san

Address: Aobadai 1-30-12 Meguro-ku,Tokyo Closest station: Naka-Meguro

Open 11:30AM to 10PM

Closed Mondays

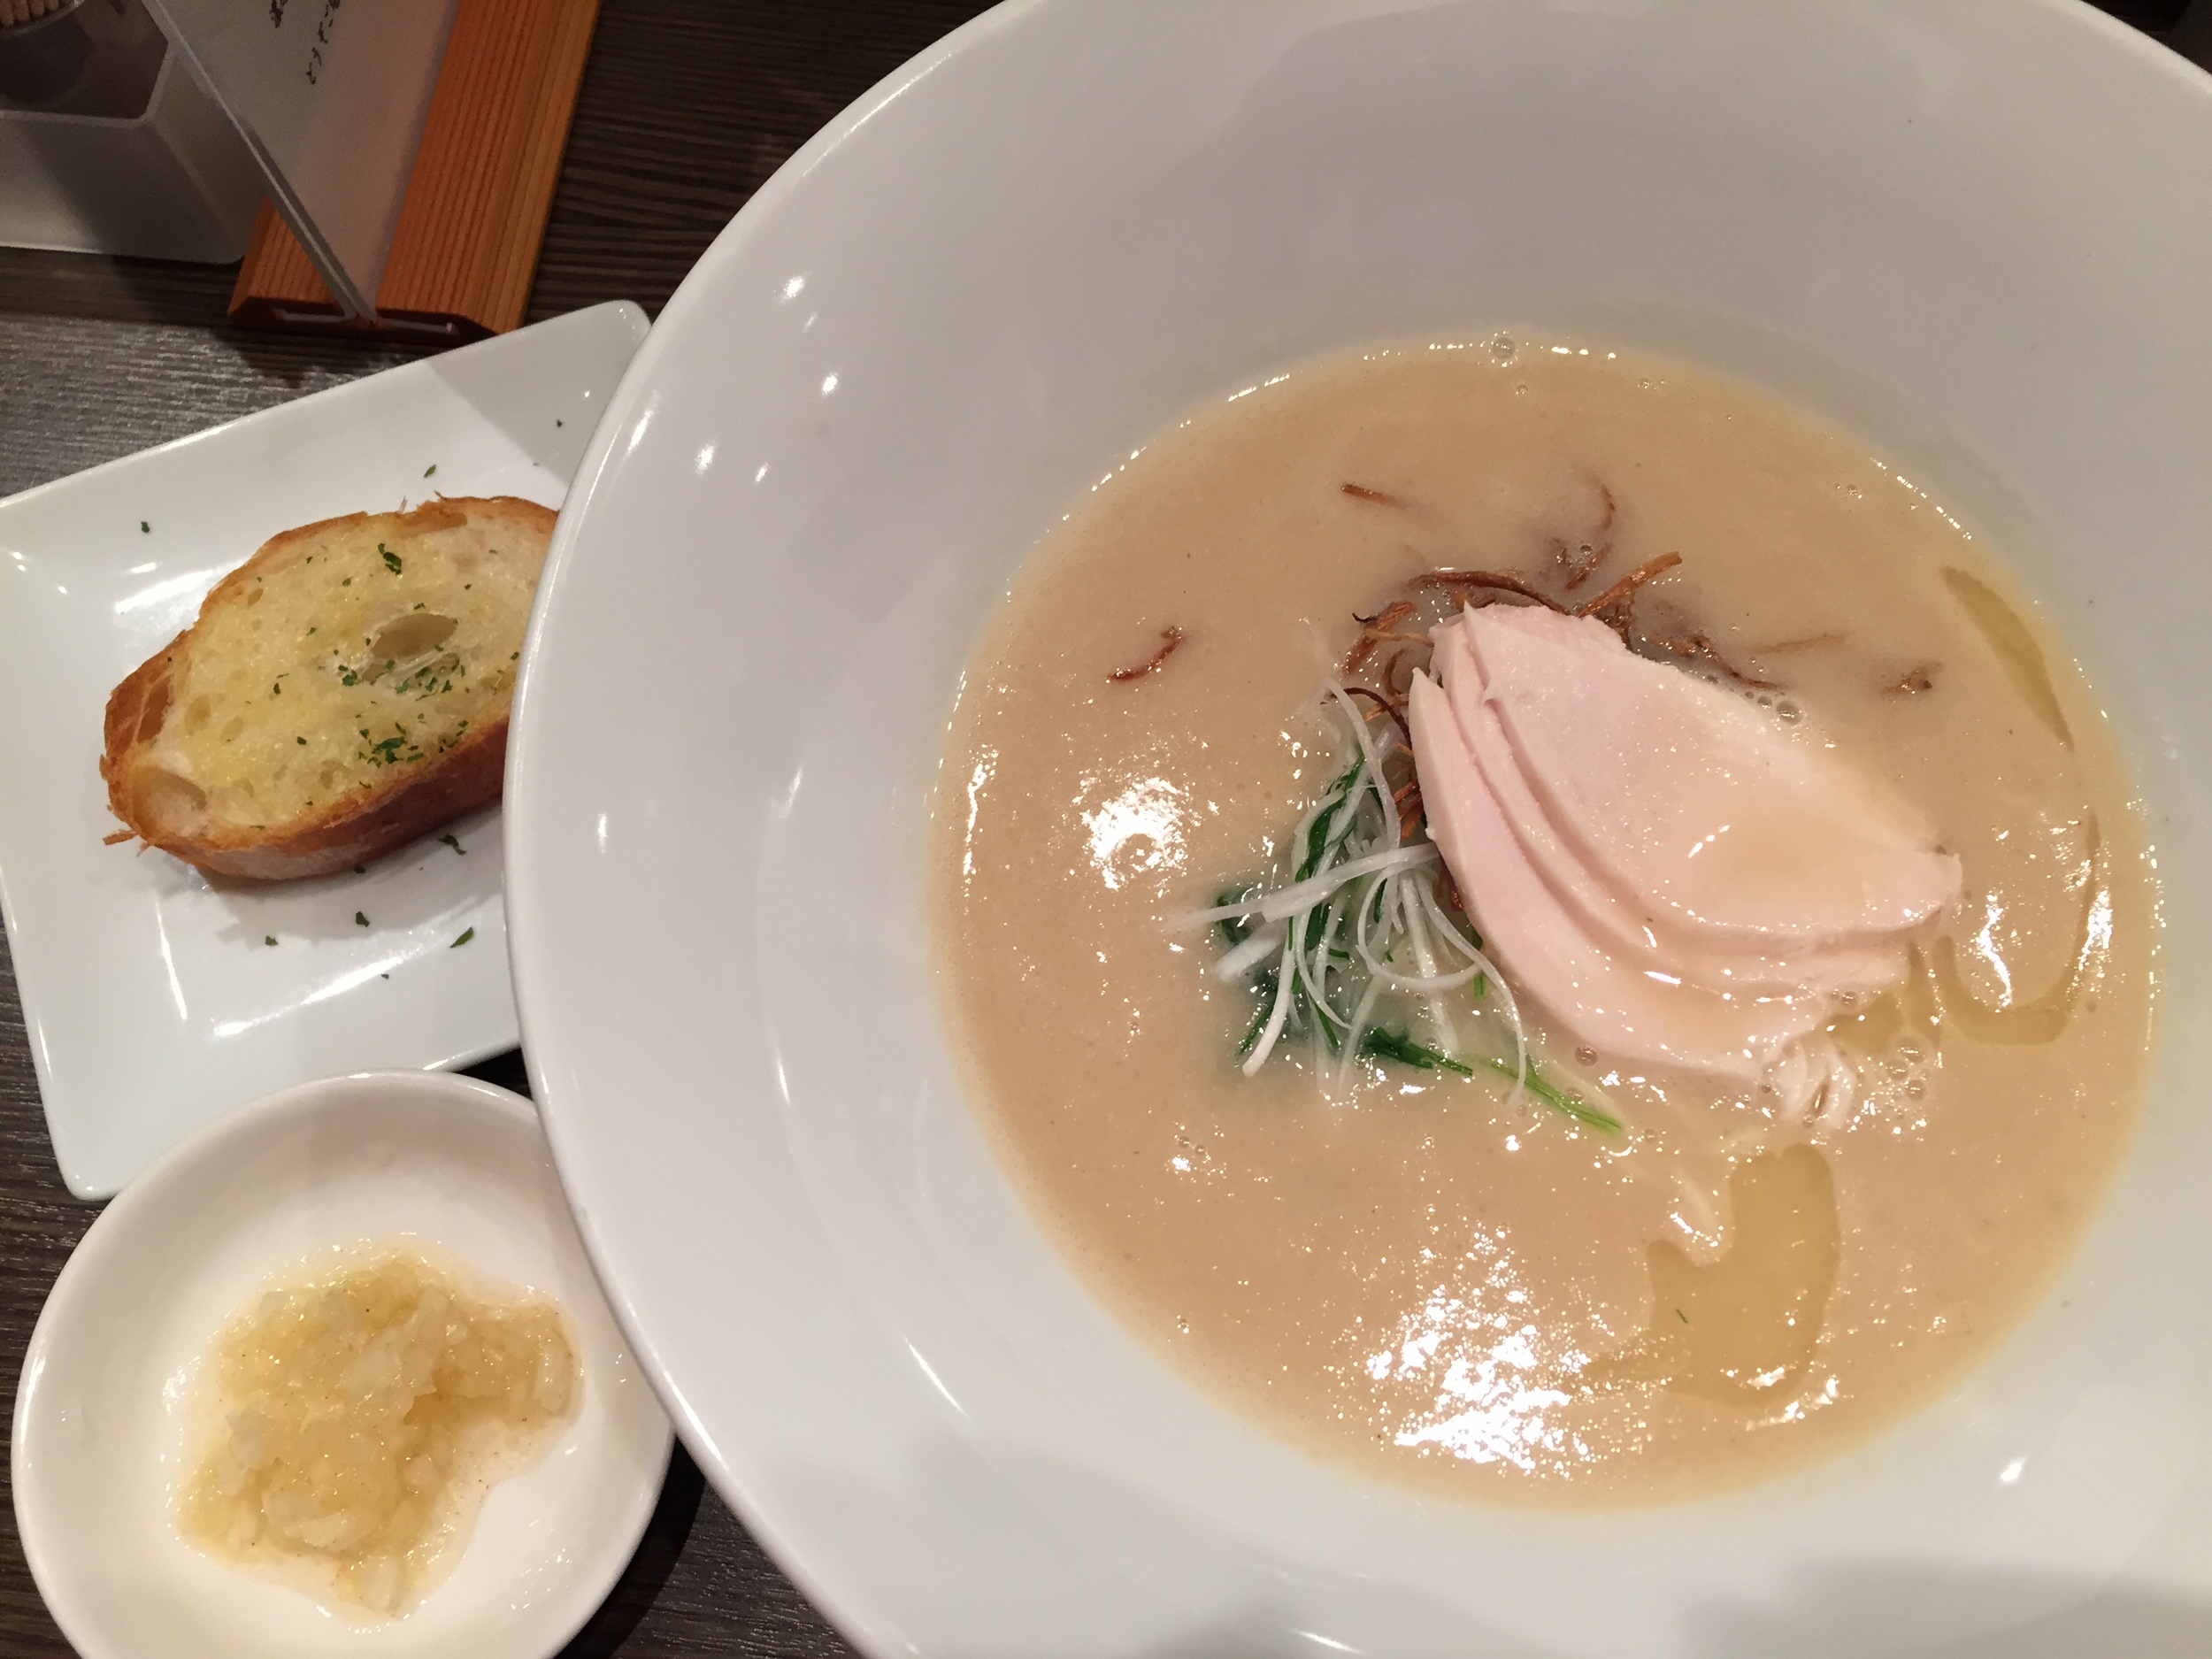
They serve tori paitan here which is ramen with a creamy chicken soup. There are only two menu items and they were out of one so we ordered the torishiroramen - their signature creamy chicken soup with a shiodare.  There were delicate pieces of perfectly tender chicken and thin fried onions and shredded negi (Japanese green onion) on top with a crispy piece of garlic toast and some sweet minced garlic on the side.  It was a graceful dish and very well orchestrated.  The restaurant is more upscale in a seated restaurant style space.  The line here took a little longer because of this but it was well worth the wait. They were voted best rookie tori paitan by Tokyo Ramen of the Year magazine in 2014, deservedly so.  


Roasted Nori

Roasted Nori (Seaweed) Makes as much as you need

Prep time: 2 minutes

These days you can find roasted and flavored seaweed in grocery stores, coffee shops, even vending machines. I prefer to roast my own because I feel like some of the varieties out there are too oily or don’t stay crispy when you eat it with steamed rice. If you purchase a package of seaweed made for sushi in big sheets, you can roast these over an open gas flame in seconds. I promise you'll never go back to those instant packs. These are crispier, tastier and you can make much more for the cost.

Ingredients:

Japanese nori (seaweed) in sheets

cooking spray or sesame oil

Directions:

  1. Spray both sides of each sheet of seaweed with cooking spray or take a folded paper towel with some sesame oil on it to apply.
  2. Over a low flame on a gas stove, gently waft the seaweed back and forth on both sides until the seaweed crisps up.
  3. Set the finished roasted seaweed sheets on a paper towel and repeat with additional sheets.
  4. Sprinkle each sheet with sea salt and stack them about 4 or 5 high.
  5. Cut into fourths with a sharp chef's knife or with kitchen shears.

Here's a short tutorial video on how it's done! http://youtu.be/4nbZ4g3wFCM